Ford Mondeo (petrol engines). Manual - part 42
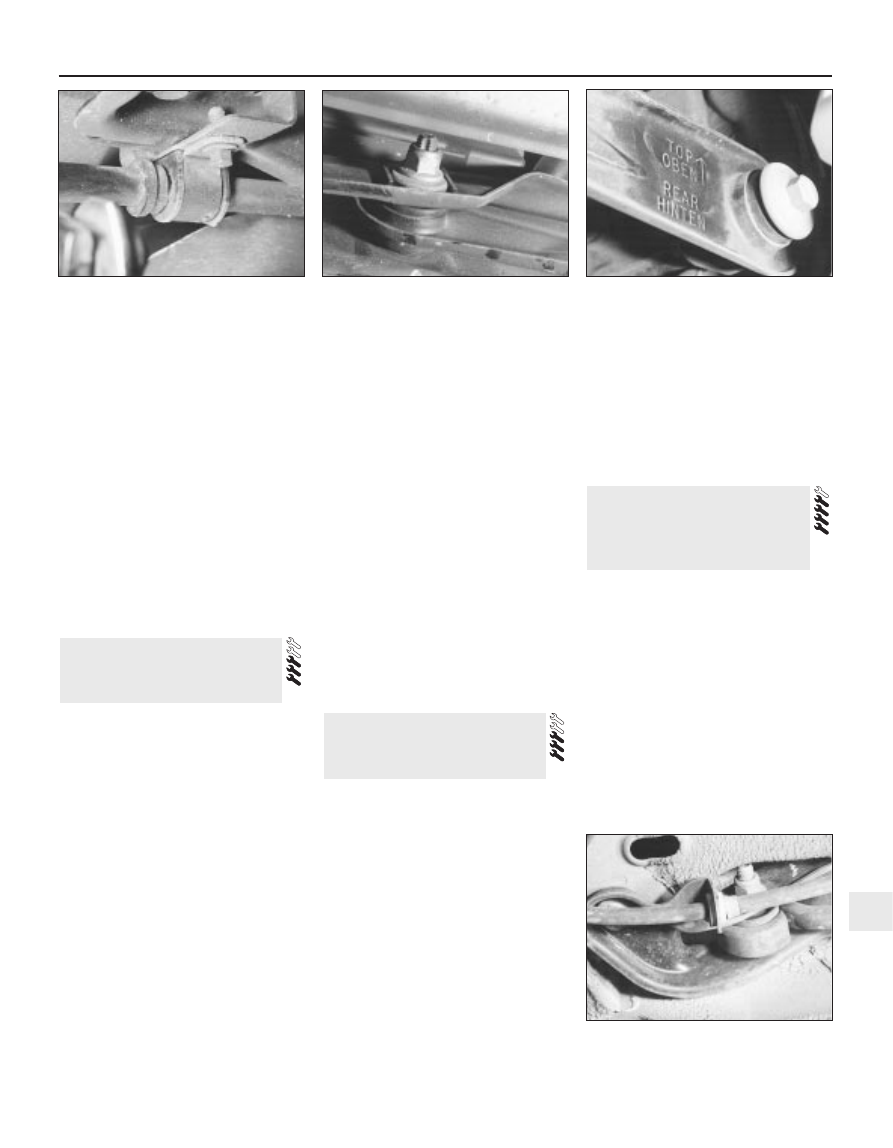
3 Unscrew the bolts securing the anti-roll bar
mounting clamps to the rear suspension
crossmember, then unhook the clamps and
withdraw the anti-roll bar from under the
vehicle (see illustration).
4 Examine the rubber bushes for the
mounting clamps and links, and if necessary
renew them. The links are available
individually.
Refitting
5 Locate the anti-roll bar on the rear
crossmember, hook the mounting clamps in
position, and insert the bolts. Tighten the
bolts to the specified torque.
6 Locate the anti-roll bar links in the front
lower arms on both sides, making sure that
the rubber bushes are in position. Refit the
nuts and tighten them to the specified torque.
7 Refit the rear wheels, and lower the vehicle
to the ground.
Removal
1 Chock the front wheels, then jack up the
rear of the vehicle and support it on axle
stands. Remove the appropriate rear wheel.
Front lower arm
2 To remove the front lower arm, it is
necessary to remove the fuel tank first. Refer
to Chapter 4 for details.
3 Unscrew the nut and disconnect the anti-
roll bar link from the lower arm. Hold the
actual link with an adjustable spanner or grips
while unscrewing the nut, to prevent damage
to the link joint. Recover the rubber bush.
4 Unscrew and remove the bolt securing the
front lower arm to the knuckle.
5 Unscrew and remove the bolt securing the
front lower arm to the crossmember.
6 Withdraw the front lower arm from under
the vehicle.
Rear lower arm
7 Unscrew and remove the bolt securing the
rear lower arm to the knuckle.
8 The bolt securing the rear lower arm to the
crossmember has an eccentric head and
spacer, which are used to adjust the rear toe
setting. Before removing this bolt, mark its
position, using a scriber or similar sharp
instrument through the aperture in the
crossmember.
9 Unscrew and remove the bolt securing the
rear lower arm to the crossmember (see
illustration). The bolt may be removed
through the aperture in the crossmember.
Recover the eccentric spacer.
10 Withdraw the rear lower arm from under
the vehicle.
Refitting
11 Refitting is a reversal of the removal
procedure, but the arm mounting bolts should
be finger-tightened initially, and only fully
tightened after the vehicle is lowered to the
ground, so that its weight is on the rear
suspension. Note that the rear lower arm is
marked “TOP” for correct refitting (see
illustration). The rear toe setting should be
checked, and if necessary adjusted, at the
earliest opportunity.
Removal
1 Chock the front wheels, then jack up the
rear of the vehicle and support it on axle
stands. Remove the appropriate rear wheel.
2 Disconnect the handbrake cable from the
tie-bar bracket on the underbody.
3 Unscrew and remove the bolt securing the
tie-bar bracket to the rear suspension
knuckle.
4 Unscrew the bolts securing the tie-bar
bracket to the underbody, and withdraw the
bracket from the vehicle (see illustration).
5 Mount the bracket in a vice, then unscrew
and remove the bolt, and remove the tie-bar
from the bracket.
6 It is not possible to renew the rubber
bushes - if they are worn excessively, the tie-
bar should be renewed complete.
Refitting
7 Refitting is a reversal of the removal
procedure. The bracket-to-underbody bolts
should be fully tightened to the specified
torque before lowering the vehicle. The bolts
securing the tie-bar to the bracket and
knuckle should be finger-tightened initially,
and only fully tightened after the vehicle is
lowered to the ground, so that its weight is on
the rear suspension.
Note: Before attempting to remove the rear
suspension crossmember, tools to hold the
coil springs in compression must be obtained.
Careful use of conventional coil spring
compressors will prove satisfactory.
Removal
1 Chock the front wheels, then jack up the
rear of the vehicle and support it on axle
stands. Remove both rear wheels.
2 Remove the complete exhaust system as
described in Chapter 4.
3 Unscrew and remove the bolts securing the
tie-bars to the rear suspension knuckles, and
disconnect the tie-bars.
4 Unscrew the nuts securing the rear anti-roll
bar links to the front lower arms. Hold the
16 Rear suspension
crossmember
(Saloon/Hatchback models) -
removal and refitting
15 Rear suspension tie-bar
(Saloon/Hatchback models) -
removal and refitting
14 Rear suspension lower arms
(Saloon/Hatchback models) -
removal and refitting
Suspension and steering systems 10•13
10
14.11 “TOP” marking on the rear lower
arm
15.4 Tie-bar bracket on the underbody
13.3 Rear anti-roll bar mounting clamp
14.9 Bolt securing the rear lower arm to
the crossmember