Nissan Qashqai (2007-2010). Manual - part 838
 

  Index      Nissan     Nissan Qashqai - service and repair manual 2007 - 2010 year


Search            copyright infringement  


Content   ..  836  837  838  839   ..


Nissan Qashqai (2007-2010). Manual - part 838


PREPARATION

VTL-17

< PREPARATION >

[AUTOMATIC AIR CONDITIONER]

C

D

E

F

G

H

J

K

L

M

A

B

VTL

N

O

P

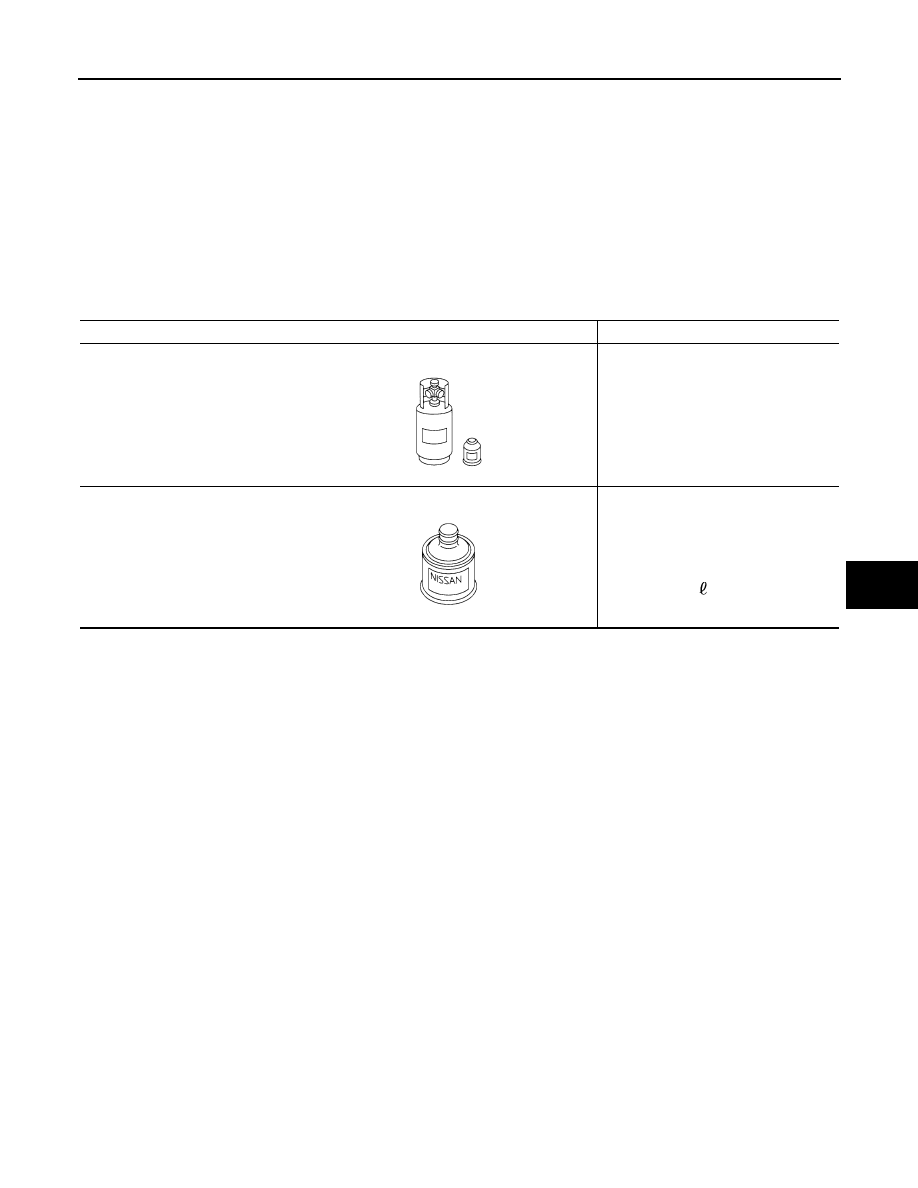
Sealant or/and Lubricant

INFOID:0000000001093698

HFC-134a (R-134a) Service Tool and Equipment

• Never mix HFC-134a (R-134a) refrigerant and/or its specified lubricant with CFC-12 (R-12) refrigerant and/

or its lubricant.

• Separate and non-interchangeable service equipment must be used for handling each type of refrigerant/

lubricant.

• Refrigerant container fittings, service hose fittings and service equipment fittings (equipment which handles

refrigerant and/or lubricant) are different between CFC-12 (R-12) and HFC-134a (R-134a). This is to avoid
mixed use of the refrigerants/lubricant.

• Never use adapters that convert one size fitting to another: refrigerant/lubricant contamination occurs and

compressor malfunction may result.

Tool name

Description

HFC-134a (R-134a) refrigerant

Container color: Light blue
Container marking: HFC-134a (R-
134a)
Fitting size: Thread size

• Large container 1/2

-16 ACME

Nissan A/C System Oil Type S 
(DH-PS)

Type: Polyalkylene glycol oil (PAG), 
type S (DH-PS)
Application:
HFC-134a (R-134a) swash plate com-
pressors (Nissan only)

Capacity: 40 m

 (1.4 US fl oz., 1.4 

Imp fl oz.) 

S-NT196

S-NT197

VTL-18

< ON-VEHICLE MAINTENANCE >

[AUTOMATIC AIR CONDITIONER]

AIR CONDITIONER FILTER

ON-VEHICLE MAINTENANCE

AIR CONDITIONER FILTER

Exploded View

INFOID:0000000001093699

Removal and Installation

INFOID:0000000001093700

REMOVAL

1.

Remove passenger instrument lower panel. Refer to 

IP-12, "Removal and Installation"

.

2.

Remove glove box assembly (RHD). Refer to 

IP-12, "Removal and Installation"

.

3.

Remove glove box air duct (RHD).
• Remove fixing screw (1)
• Pull outside to remove air duct (2)

4.

Remove LH foot duct (3). Refer to 

VTL-48, "FOOT DUCTS : Removal and Installation"

.

5.

Remove LH lower instrument panel (LHD).

1.

Hi-Level ventilation door unit assem-
bly

2.

Blower motor assembly

3.

Filter cover

4.

In-cabin microfilter

5.

Blower unit

6.

Intake door motor

7.

Intake door unit assembly

E1IIA0002GB

E1IIA0021ZZ

AIR CONDITIONER FILTER

VTL-19

< ON-VEHICLE MAINTENANCE >

[AUTOMATIC AIR CONDITIONER]

C

D

E

F

G

H

J

K

L

M

A

B

VTL

N

O

P

6.

Remove accelerator pedal assembly (LHD). Refer to 

ACC-3, "Removal and Installation"

.

7.

Remove clutch and brake pedal assembly (LHD). Refer to 

CL-8, "Removal and Installation"

 (Clutch

pedal), 

BR-17, "Removal and Installation"

 (Brake pedal for LHD), 

BR-61, "Removal and Installation"

(Brake pedal for RHD).

8.

 Remove filter cover (1) then remove air conditioner filter (2).

INSTALLATION

Installation is basically the reverse order of removal.

Replacement

INFOID:0000000001093701

Replace air conditioner filter.
Refer to 

MA-7, "Periodic Maintenance"

.

When replacing filter, affix a caution label inside the glove box.

E1IIA0003ZZ

VTL-20

< ON-VEHICLE REPAIR >

[AUTOMATIC AIR CONDITIONER]

PRESET SWITCH

ON-VEHICLE REPAIR

PRESET SWITCH

Exploded View

INFOID:0000000001093702

Removal and Installation

INFOID:0000000001093703

REMOVAL

Refer to 

IP-12, "Removal and Installation"

.

INSTALLATION

Installation is basically the reverse order of removal.

1.

Preset switch

2.

Preset switch fixing screw

3.

Cluster lid D

4.

Power socket

5.

Button

E1IIA0004ZZ


Content   ..  836  837  838  839   ..