Nissan Qashqai (2007-2010). Manual - part 514
CLUTCH MASTER CYLINDER
CL-11
< ON-VEHICLE REPAIR >
C
E
F
G
H
I
J
K
L
M
A
B
CL
N
O
P
6.
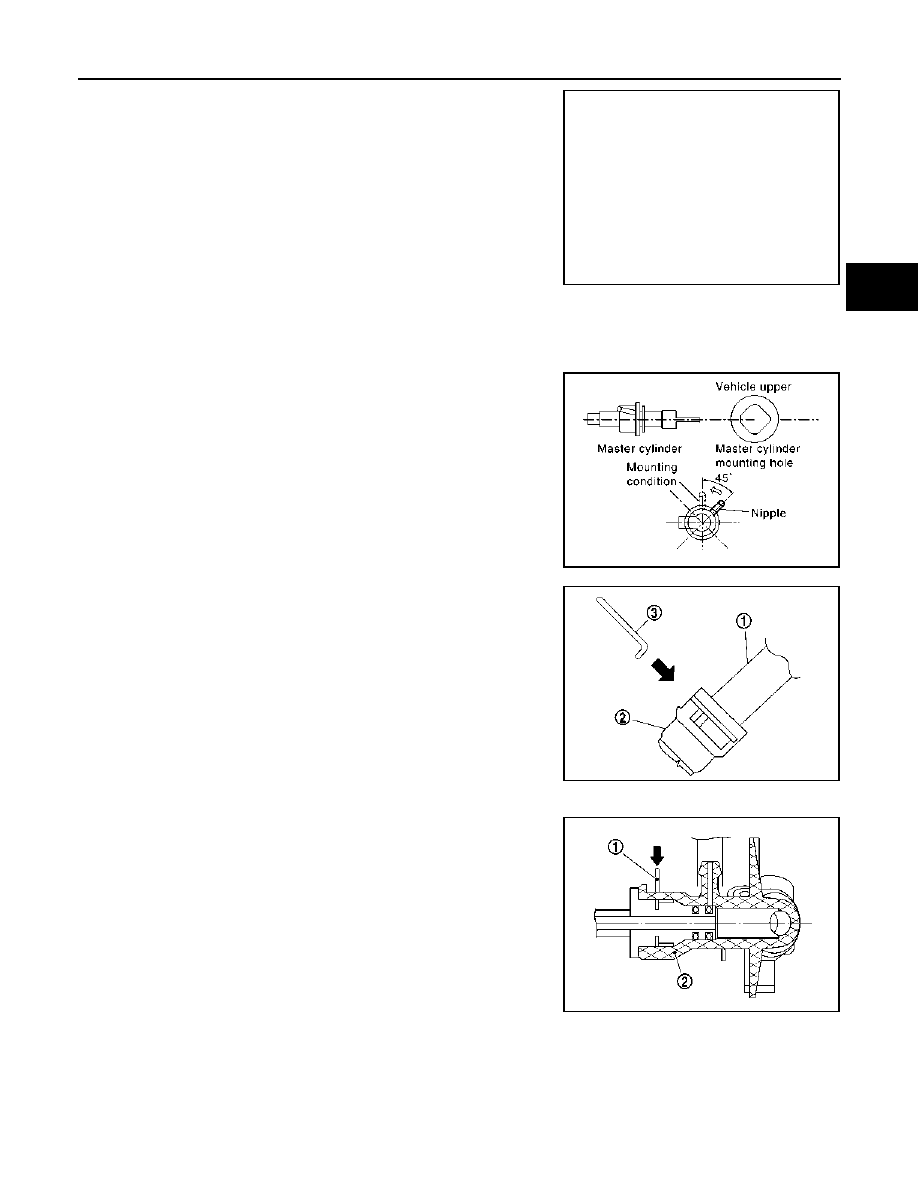
Remove lock pin (1) from connector of master cylinder (2) and
separate clutch tube (3).
7.
Rotate master cylinder assembly clockwise by 45
°
and then
remove master cylinder assembly from the vehicle.
INSTALLATION
CAUTION:
Keep painted surface on the body or other parts free of clutch fluid. If it spills, wipe up immediately
and wash the affected area with water.
1.
Tilt master cylinder assembly clockwise by 45
°
and insert it to
the mounting hole. Rotate counterclockwise and secure it. At
this time, nipple is upward of the vehicle.
2.
Install master cylinder rod end to clutch pedal assembly.
3.
Install hose to reservoir tank assembly and master cylinder
assembly.
CAUTION:
Set hose with painted mark facing upward.
4.
Install clutch tube (1) into connector of master cylinder assembly
(2) until it stops.
5.
Install lock pin (3) into connector of master cylinder assembly
until it stops.
6.
Fill new clutch fluid according to the following.
a.
Fill reservoir tank assembly with new clutch fluid.
b.
Connect a transparent vinyl hose to air bleeder of bleeding con-
nector.
c.
Push the lock pin (1) of the bleeding connector (2).
• RS5F92R
PCIB1497E
SCIA1286E
PCIB1500E
PCIB1495E