Lexus LS500h (2023 year). Manual in english - page 4
120
3-3. Adjusting the seats
Seat cushion (front) angle adjust-
ment
Vertical height adjustment
Lumbar support adjustment
Seat cushion length adjustment (if
equipped)
■
Center Display
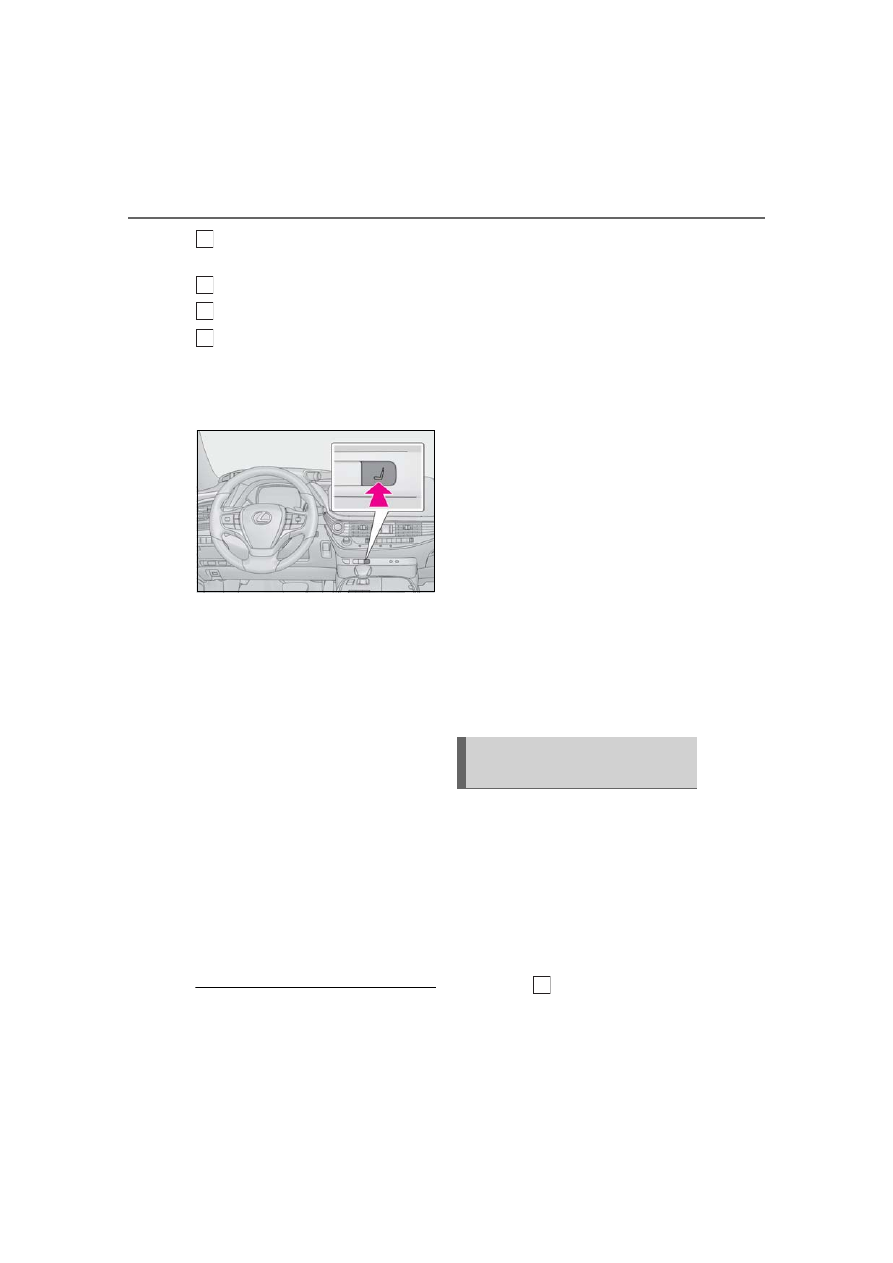
1
Press the seat switch.
2
Select “Adjustments”.
3
Select the driver’s seat or front pas-
senger’s seat.
4
Select the button for the desired
adjustment.
Head restraint (
Shoulder bolster (if equipped)
Lumbar support
Pelvic support
Hip support (if equipped)
Seatback side bolster and seat
cushion side bolster (if equipped)
5
Perform adjustment using the dis-
played buttons.
The seat will move while a button is
selected.
■
When adjusting the front seats
While adjusting a front seat, to avoid con-
tact with the ceiling, instrument panel or
rear seats, the operation of the seat may be
restricted or parts of the seat other than that
being adjusted may move.
■
Operation after the power switch is
turned off
After a certain time elapses after the power
switch is turned off, the following parts of
the front seats will move to their neutral
positions.
●
Shoulder bolster (if equipped)
●
Lumbar support
●
Pelvic support
●
Hip support (if equipped)
●
Seatback side and seat cushion side bol-
ster (if equipped)
■
Automatic angle adjustment of the rear
displays (if equipped)
When a seat is adjusted, the angle of the
rear display will be adjusted automatically
to maintain an optimal viewing angle for the
rear display from the rear seat.
■
Pre-collision seatbacks for the passen-
ger seats
■
Customization
Some functions can be customized.
(
■
Using the driver’s seat adjustment
switches to adjust the front passen-
ger’s seat (front passenger mode)
The mode of the driver’s seat adjust-
ment switches can be changed to
adjust the front passenger’s seat.
1
Press the mode change button on
the driver’s side door.
The indicator
will illuminate when front
D
E
F
G
Operating the front passenger’s
seat from the driver’s seat
A