Jaguar XJ (X350). Service manual - part 80
 

  Index      Jaguar     Jaguar XJ (X350) - service and repair manual 2003-2009 year


Search            


Content   ..  78  79  80  81   ..


Jaguar XJ (X350). Service manual - part 80


12 


  CAUTION: The final tightening of the rear suspension components must be carried 

out with the vehicle on its wheels. 


Tighten to 55 Nm.  


Shock Absorber and Spring Assembly – Armoured  

Removal  


1 . Remove the luggage compartment floor covering.  


1) Remove the luggage compartment floor covering securing screws.


2) Remove the luggage compartment floor covering. 


2 . NOTE:  


Left-hand shown, right-hand similar. 

 
Remove the luggage compartment side trim panel. 


3 . NOTE:  


Left-hand shown, right-hand similar. 

 
Remove the shock absorber and spring assembly trim panel. 


Published: Mar 12, 2014

Vehicles 

www.


4 . NOTE:  


Left-hand shown, right-hand similar. 

 
Remove the shock absorber and spring assembly retaining nuts. 


5 . Remove the rear wheel and tire assembly. 

For additional information, refer to   


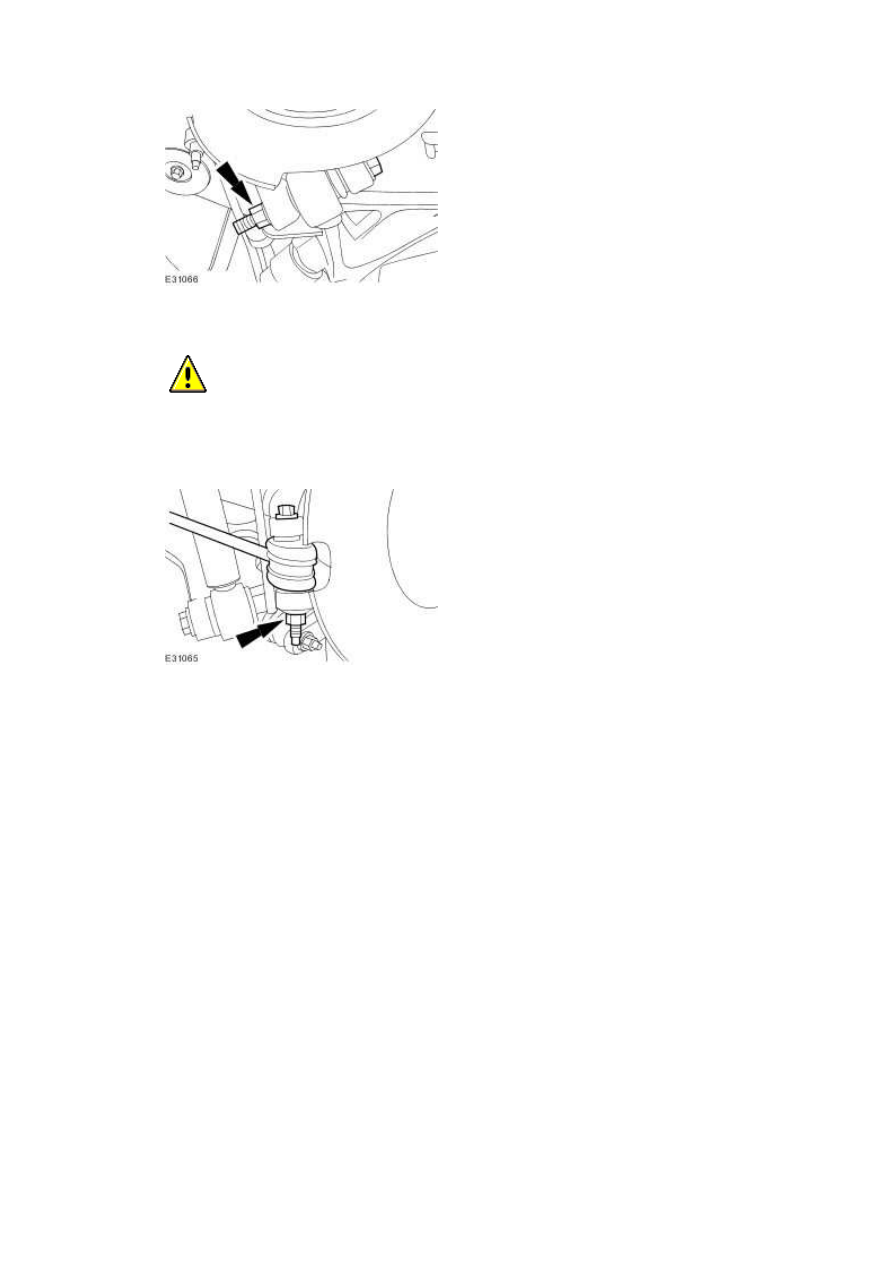
6 . NOTE:  


Left hand shown, right-hand similar. 

 
Detach the stabilizer bar link.  


7 . NOTE:  


Left hand shown, right-hand similar. 

 
Remove the shock absorber and spring assembly. 


Remove the retaining bolt. 


Installation  

NOTE:  


If a new shock absorber and spring assembly is to be installed, make sure the ride height adjustment retaining nuts are set to 
the correct measurement.  


.  

NOTE:  


If a new shock absorber and spring assembly is to be installed, make sure the ride height adjustment retaining nuts 
are set to the correct measurement.  

 
NOTE:  


The shock absorber and spring assembly ride height measurement is taken from the lower side of the lock nut to the 
lower body of the shockabsorber.  

 
Adjust the shock absorber and spring assembly to the correct setting.  
For additional information, refer to   


2 . NOTE:  


Left hand shown, right-hand similar. 

 
Install the shock absorber and spring assembly. 


Tighten to 133 Nm.  


3 . NOTE:  


Left hand shown, right-hand similar. 

 
Tighten to 48 Nm.  


www.


Content   ..  78  79  80  81   ..