Harley Davidson 1999-2005 Harley Dyna Models. Repair Manual - page 21
-------------------------------------------------------------------------------------------------------------------------------------------------------------
400
CHAPTER NINE
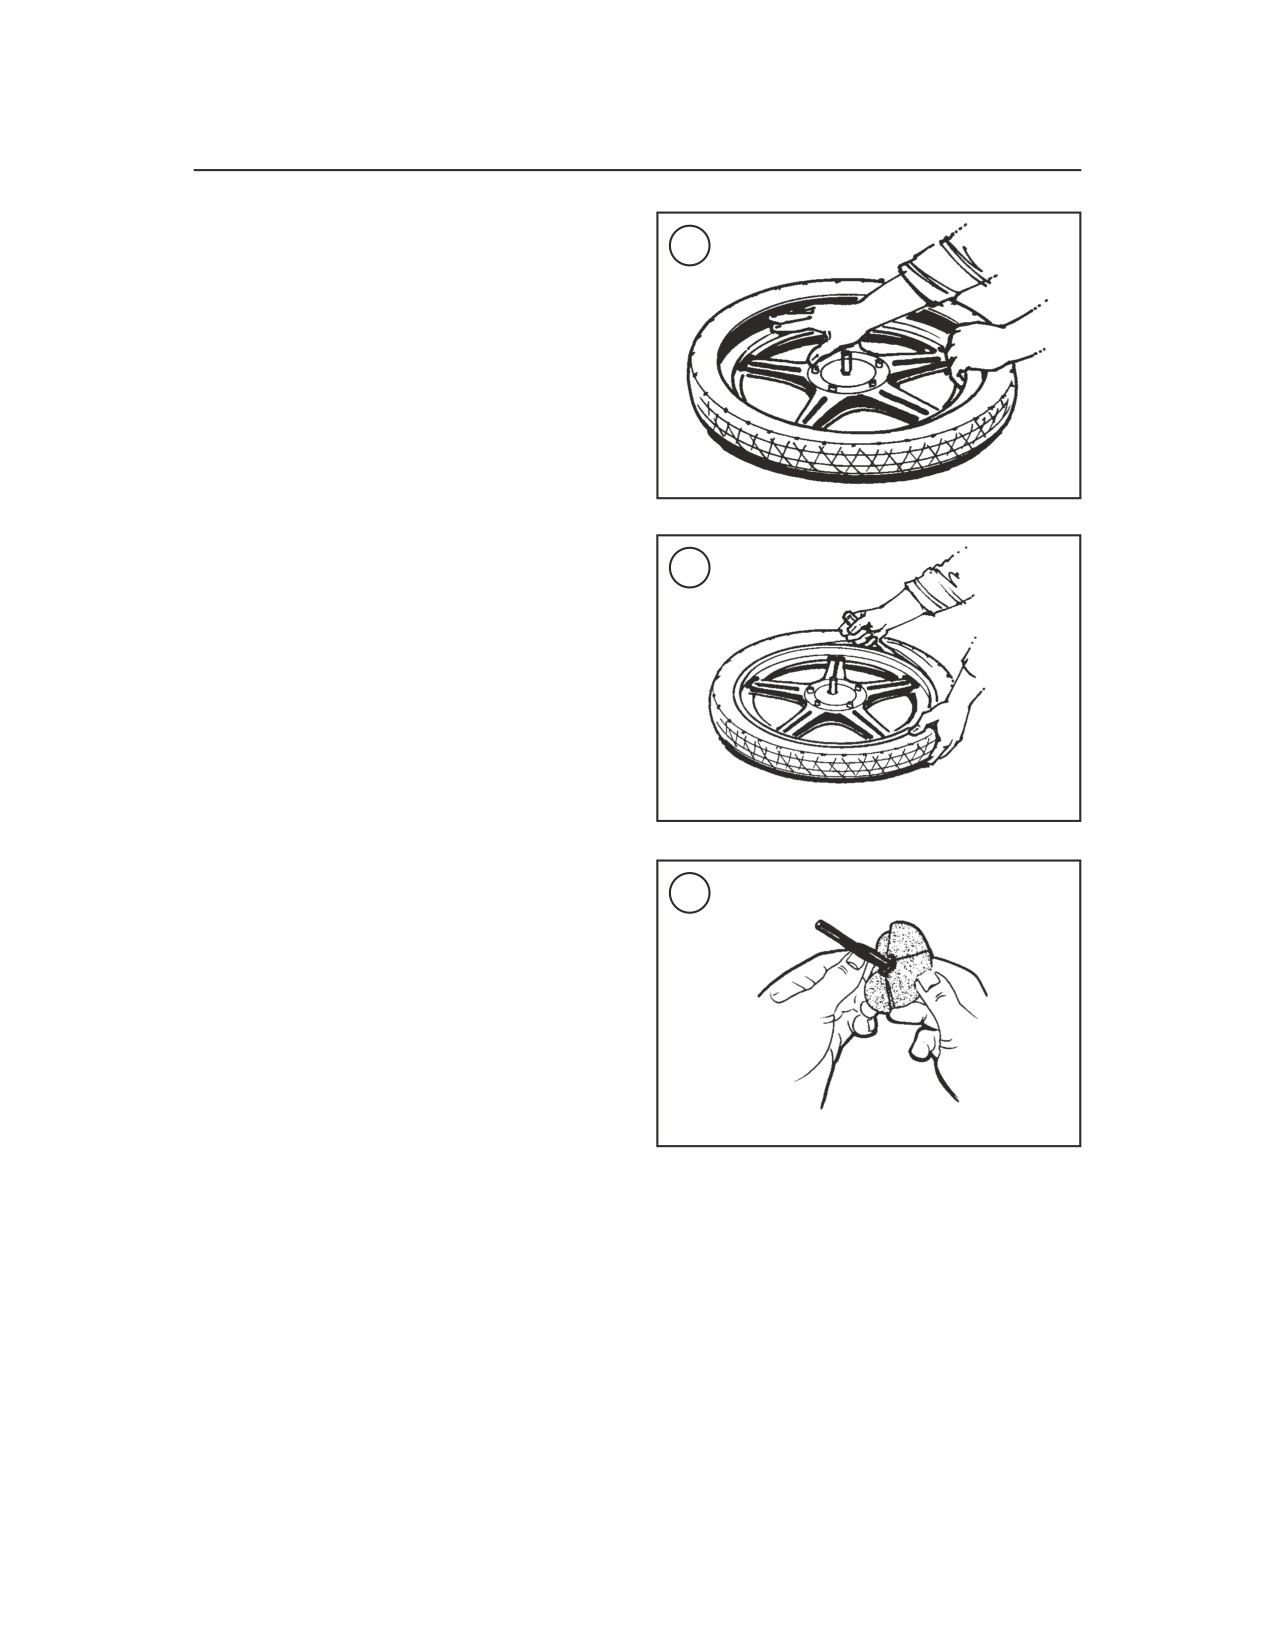
7. Press the upper bead into the rim opposite the
valve stem (Figure 61). Pry the bead into the rim on
61
both sides of the initial point with both hands and
work around the rim to the valve stem (Figure 62).
If the tire wants to pull up on one side, either use a
tire iron or one knee to hold the tire in place. The
last few inches are usually the toughest to install.
Continue to push the tire into the rim by hand.
Re-lubricate the bead if necessary. If the tire bead
wants to pull out from under the rim use both knees
to hold the tire in place. If necessary, use a tire iron
for the last few inches.
8. Bounce the wheel several times, rotating it each
time. This will force the tire bead against the rim
62
flanges. After the tire beads are in contact with the
rim, inflate the tire to seat the beads.
9. Place an inflatable band around the circumference
of the tire. Slowly inflate the band until the tire beads
are pressed against the rim. Inflate the tire enough to
make it seat, deflate the band and remove it.
WARNING
In the next step, never exceed 40 psi
(276 kPa) inflation pressure as the tire
could burst, causing severe injury.
Never stand directly over a tire while
inflating it.
63
10. After inflating the tire, check to see that the
beads are fully seated and that the rim lines are the
same distance from the rim all the way around the
tire. If the beads will not seat, deflate the tire and lu-
bricate the rim and beads with soapy water.
11. Re-inflate the tire to the pressure listed in Table
4. Install the valve stem cap.
12. Balance the wheel as described in this chapter.
13A. Install the front wheel as described in this chapter.
13B. Install the rear wheel as described in this chapter.
TIRE REPAIRS
Tubeless tires have TUBELESS molded into the
sidewall and the rims have SUITABLE FOR
NOTE
TUBELESS TIRES or equivalent stamped or cast
Changing or patching on the road is
on them.
very difficult. A can of pressurized tire
If the tire is punctured, it must be removed from
inflator and sealer may inflate the tire
the rim to inspect the inside of the tire and to apply a
and seal the hole, although this is only
combination plug/patch from inside the tire (Figure
a temporary fix.
63). Never attempt to repair a tubeless motorcycle
tire using a plug or cord patch applied from outside
WARNING
Do not install an inner tube inside a
the tire.
tubeless tire. The tube will cause an
After repairing a tubeless tire, don’t exceed 50
abnormal heat buildup in the tire.
mph (80 km/h) for the first 24 hours.