Ford Mondeo (petrol engines). Manual - part 114
30 Detach the mounting plate from the lock.
31 Release the door-ajar sensor from the clip
(see illustration).
32 Prise the plastic shield from the locating
post (see illustration).
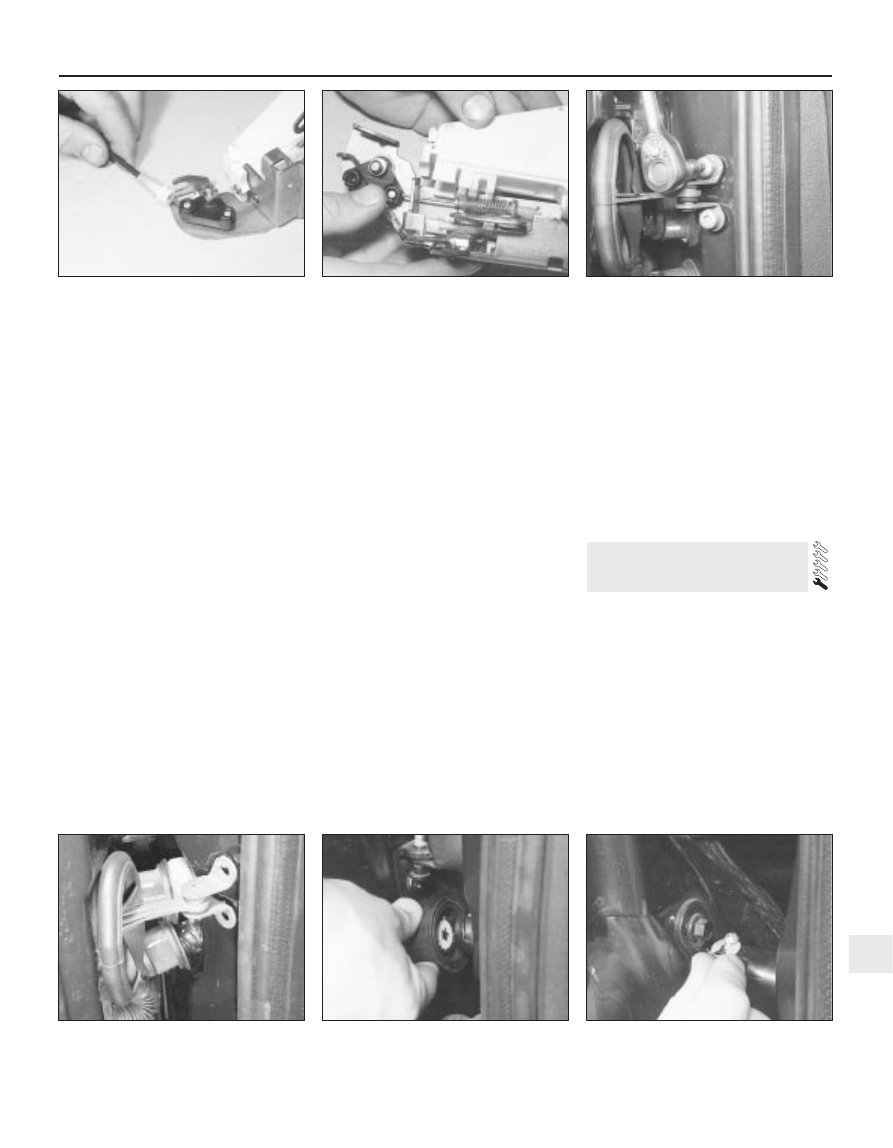
33 Slide the outer cable from the lock
bracket (see illustration), then turn the inner
cable through a quarter-turn to remove it from
the bell crank.
34 Unscrew the mounting screws and
remove the lock motor (see illustration).
Lock motor - rear door
35 Remove the exterior handle as described
earlier in this Section.
36 Unscrew and remove the three lock
mounting screws.
37 Release the sensor wiring loom from the
clip on the door.
38 Disconnect the wiring multi-plug from the
door lock.
39 Disconnect the interior handle illumination
light.
40 Remove the screws, and remove the
interior handle.
41 Remove the lock assembly.
42 Release the door-ajar sensor from the
clip.
43 Prise the plastic shield from the locating
post.
44 Slide the outer cable from the lock
bracket, then turn the inner cable through a
quarter-turn to remove it from the bell crank.
45 Unscrew the mounting screws and
remove the lock motor.
Striker
46 Using a pencil, mark the position of the
striker.
47 Undo the mounting screws using a Torx
key, and remove the striker.
Check strap
48 Disconnect the battery negative (earth)
lead (Chapter 5, Section 1).
49 Using a Torx key, unscrew and remove
the check strap mounting screw(s). On the
front door, there are two screws; on the rear
door, there is only one.
50 Prise the rubber grommet from the door
aperture, then unscrew the mounting nuts and
withdraw the check strap from the door.
Refitting
Handles (exterior and interior)
51 Refitting is a reversal of the removal
procedure.
Lock barrel
52 Check that the retaining clip is fitted
correctly.
53 Align the grooves on the barrel with the
grooves on the body and operating lever, then
carefully push the barrel into the handle until it
engages the clip.
54 The remaining refitting procedure is a
reversal of removal.
Lock motor
55 Refitting is a reversal of the removal
procedure.
Striker
56 Refitting is a reversal of the removal
procedure, but check that the door lock
passes over the striker centrally. If necessary,
re-position the striker before fully tightening
the mounting screws.
Check strap
59 Refitting is a reversal of the removal
procedure.
Removal
1 Disconnect the battery negative (earth) lead
(Chapter 5, Section 1).
2 Using a Torx key, unscrew and remove the
check strap mounting screw(s). On the front
door, there are two screws; on the rear door,
there is only one (see illustrations).
3 Disconnect the wiring connector(s) by
twisting them anti-clockwise. On the front
door, there are two connectors; on the rear
door, there is only one (see illustration).
4 Extract the small circlips from the top of the
upper and lower hinge pins (see illustration).
5 Have an assistant support the weight of the
15 Door - removal and refitting
Bodywork and fittings 11•13
11
15.2B Front door check strap removed
15.3 Disconnecting a door wiring
connector
15.4 Extract the small circlips . . .
14.33 Slide the outer cable from the lock
bracket
14.34 Removing a lock motor
15.2A Front door check strap mounting
screw removal