Westfalia. Testing repair electrical manual - part 67
 

  Index      Westfalia     Westfalia (903.662) testing repair electrical manual in english


Search            copyright infringement  


Content   ..  65  66  67  68   ..


Westfalia. Testing repair electrical manual - part 67


AS86.00-Z-0002-
01A

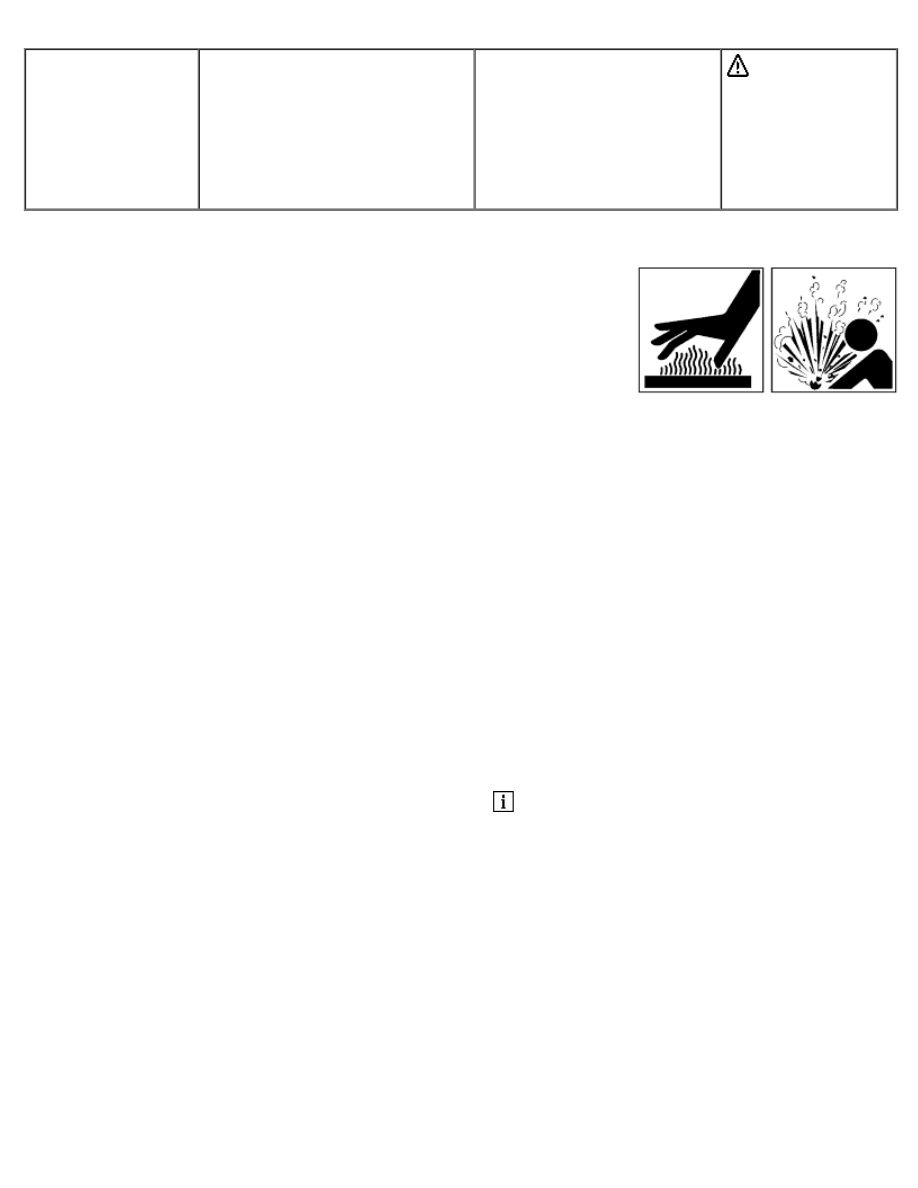
Risk of injury caused by hot
water exiting from the lines of the
fresh water system

Shut off the water heater in a
timely manner before starting
repair work. Let the water in
the lines and in the
components of the fresh
water system cool down to
room temperature.

 Danger!

Potential risks 

Risk of injury 
If the water heater was in operation up to the start of the repair work,
then during repair work, scalding could occur from contact with the hot
water or injuries could occur from components under high pressure.


D00.00-1130-01

Safety precautions/instructions 
- Shut off the water heater in a timely manner
before starting repair work. 
- Let water in the lines cool down to room
temperature. 
- Let components of the system cool down to room
temperature. 
- Wear protective gloves, protective clothing and
eye protection. 
- Workshop personnel must demonstrate their
knowledge in accordance with the OSHA
requirements (Occupational Safety and Health
Administration) and be able to act accordingly. 
- All work involving assembly and disassembly and
all leak tests must be performed as per the relevant
regulations and requirements of the ANSI, NFPA
and UL standards.


First aid measures: 
Move the victim out of the risk area. 
If scalding occurs: Remove clothes immediately. 
Place the affected body part under cold running
water for at least 15 min. Cover the affected area
with a sterile Metalline burn compress. Apply the
Metalline coated side to the burn and wrap loosely
with a gauze bandage or a triangular bandage. The
burn compress will not stick to the wound, is heat
insulating and protects the wound from
contamination. 
Do not cover minor scalds (no blistering present)
with bandages, but rather leave them exposed to
the open air. 

 If injuries are serious, consult a physician

immediately.

AS67.00-Z-0002-
01A

Risk of injury from contusions to
hands if window glass is not
secured

Secure windows against
falling down.

 Danger!

Injury hazard 
When working on the power windows or the
windows in the vehicle doors, the unsecured
window can falll down and can cause injury by
pinching hands


Rules of behavior/protective measures 
Secure window against falling down with shop-
made retaining hook or special tool.

AS65.00-Z-0002-
01B

Risk of death caused by falling
down from the roof of the
vehicle. Risk of injury to other
persons caused by falling objects
during work in the area of the
roof.

Work on or in the area of the
vehicle's roof may only be
performed on suitable
equipment (ladders,
scaffolds, lifting platforms).
Sufficiently secure the area
to be worked in.

 Danger!

Potential risks 

Risk of death 
Problems with maintaining a center of balance can occur when lifting
heavy components or when in an unfavorable working position. This
can cause persons working on or in the area of the roof to fall. 

Risk of injury 
During work on a vehicle roof, persons in the immediate area of the
vehicle may suffer injuries caused by objects falling, dropping, slipping
or rolling off the vehicle.


D00.00-1121-01

Safety precautions/instructions 
- Wear protective work shoes. 
- Use suitable lifting devices for large and heavy
components or, if necessary, get someone to help. 
- Use only ladders, scaffolds or lifting platforms that
are equipped with devices that prevent people from
falling. 
- Only perform work on a vehicle's roof if the
immediate area is physically closed off to all other
persons.


First aid measures 
First aid should be performed by a person who has
the qualification in accordance with the OSHA
requirements (Occupational Safety and Health
Administration). 

 If injuries are serious, consult a physician

immediately.

AH60.00-P-0003-
01N

General information on riveting

Model 168, 169, 171, 199,
203, 209, 211, 215, 219,
230, 240, 414, 639, 903

General 
DIN 8593 describes rivets as non-detachable
fasteners for parts of the same or different
materials. 
The connection is accomplished by the deformation
of the fastening element (rivet). 
Riveting is a type of connection which has been
tested and approved by DaimlerChrysler and which
has significant advantages over MIG plug welding
in terms of corrosion protection following repair
work. 
Deformation of joined parts due to heating does not
occur during riveting as connections are made
cold. 
For this reason, the priorities for fastening
techniques for repair have been redefined as
follows: 
1. Resistance spot welding 
2. Rivets 
3. MAG plug welding and other welds 

Rivet types, their application and positioning are
described in the respective repair documents. 
For the repair of hybrid construction vehicles, joints
are both blind riveted and bonded. 
Bonding achieves greater strength and 
ensures that joints are properly sealed. 


 Standard bonded load-bearing sections 

For standard bonded load-bearing sections that are
not rebonded following accident repair, the number
of rivets is indicated in the specific repair
description. 
Always observe these specifications to ensure
operating stability 

 Always seal riveted flanges with body

sealant. 

Rivet forms for hybrid construction vehicles 

 Various types of blind rivets. 

Preparation of rivet points 
Always drill and deburr rivet holes. 
To prevent notching in the rivet and good flow
characteristics of the shaft material in the hole, the
edges of the rivet holes should be chamfered or
countersunk. 

Rivet materials 
The rivet should always be of the same material as
the components to be connected, or at least 
of the same type of material in order to avoid
damage from electrochemical corrosion or
loosening as a result of various thermal expansion
rates. 
The primary rivet materials are: 

 Steel 
 Aluminum alloys


Riveting procedure 

 Clean connection points 
 Insert blind rivet 
 Pull back pin with hand riveter or electric or

hydraulic riveter until it tears off at the
predetermined fracture point.

AR72.20-D-2411-
01B

Installing door strap


 Rear door

Number

Designation

Models 
690.6,
901, 
902,
903, 904

BA72.20-N-1003-
01A

Screw, door strap to rear door

Nm 10

Version C (old version) 

 Install threaded plate (4) with

short leg pointing towards hinge
side. 

Version D (modified version) 

 Install threaded plate (4) with

long leg pointing toward hinge
side.


D72.20-0056-06

AR72.20-D-4075A

Remove/install inside door opener on rear door

1.7.03

MODEL
 

901.06 /36 /37 /46 /66 /67, 902.06 /07 /36 /37 /46 /47 /66 /67, 903.06 /07 /36 /37 /46 /47 /66 /67,
904.06 /36 /46 /66, 690.63 /64

MODEL
 

YD1, YD2, YD3, YD4, YD5, YD6, YD7, WD1, WD2, WD3, WD6, WD7

1 Panel 
2 Inside door opener 
3 Release cable 
4 Door paneling


D72.20-1173-06


Remove/Install


1

Push covering (1) in direction of
arrow


2

Unscrew inside door opener (2)
and pull out of door paneling (4)

BA72.20-N-1005-
01A

3

Unhook release cable (3) on
inside door opener (2)


4

Install in the reverse order


 Rear door

Number

Designation

Models 
690.6,
901, 
902,
903, 904

Model
WD1/WD2/
WD3/WD6/
WD7/YD1/
YD2/YD3/
YD4/YD5/

YD6/YD7

BA72.20-N-1005-
01A

Bolt for inner actuation on
tailgate

Nm 10

10

AR72.20-D-4055A

Remove/install rear door lock

7.3.96

MODEL
 

901.06 /36 /37 /46 /66 /67, 902.06 /07 /36 /37 /46 /47 /66 /67, 903.06 /07 /36 /37 /46 /47 /66 /67,
904.06 /36 /46 /66 except CODE (W90) Delete item rear doors

MODEL
 

690.63/ 64

D72.20-1175-09

1 Inside door opener 
2 Door paneling 
3 Bolt


4 Release cable 
5 Door lock 
6 Central locking motor


7 Connector 
8 Connector


Remove/Install


1

Remove inside door opener (1)


AR72.20-D-
4075A

2.1

Remove door paneling (2) from
rear door

Except freezer vehicle or
refrigerator vehicle, code ZA5 or
ZA


2.2

Remove insulating element for
rear door

On freezer vehicle or refrigerator
vehicle, code ZA5 or ZA8

AR83.65-D-
2260A

3

Disconnect connectors (7, 8) and
expose cable.

On vehicles with central locking,
code FZ0 or FZ1 

 Installation: Observe routing

of electric leads.


Content   ..  65  66  67  68   ..