DYNAPAC Paver finisher F 121 C, F 141 C Type 635. Operation & Maintenance (Order number: 4812026925) - page 7
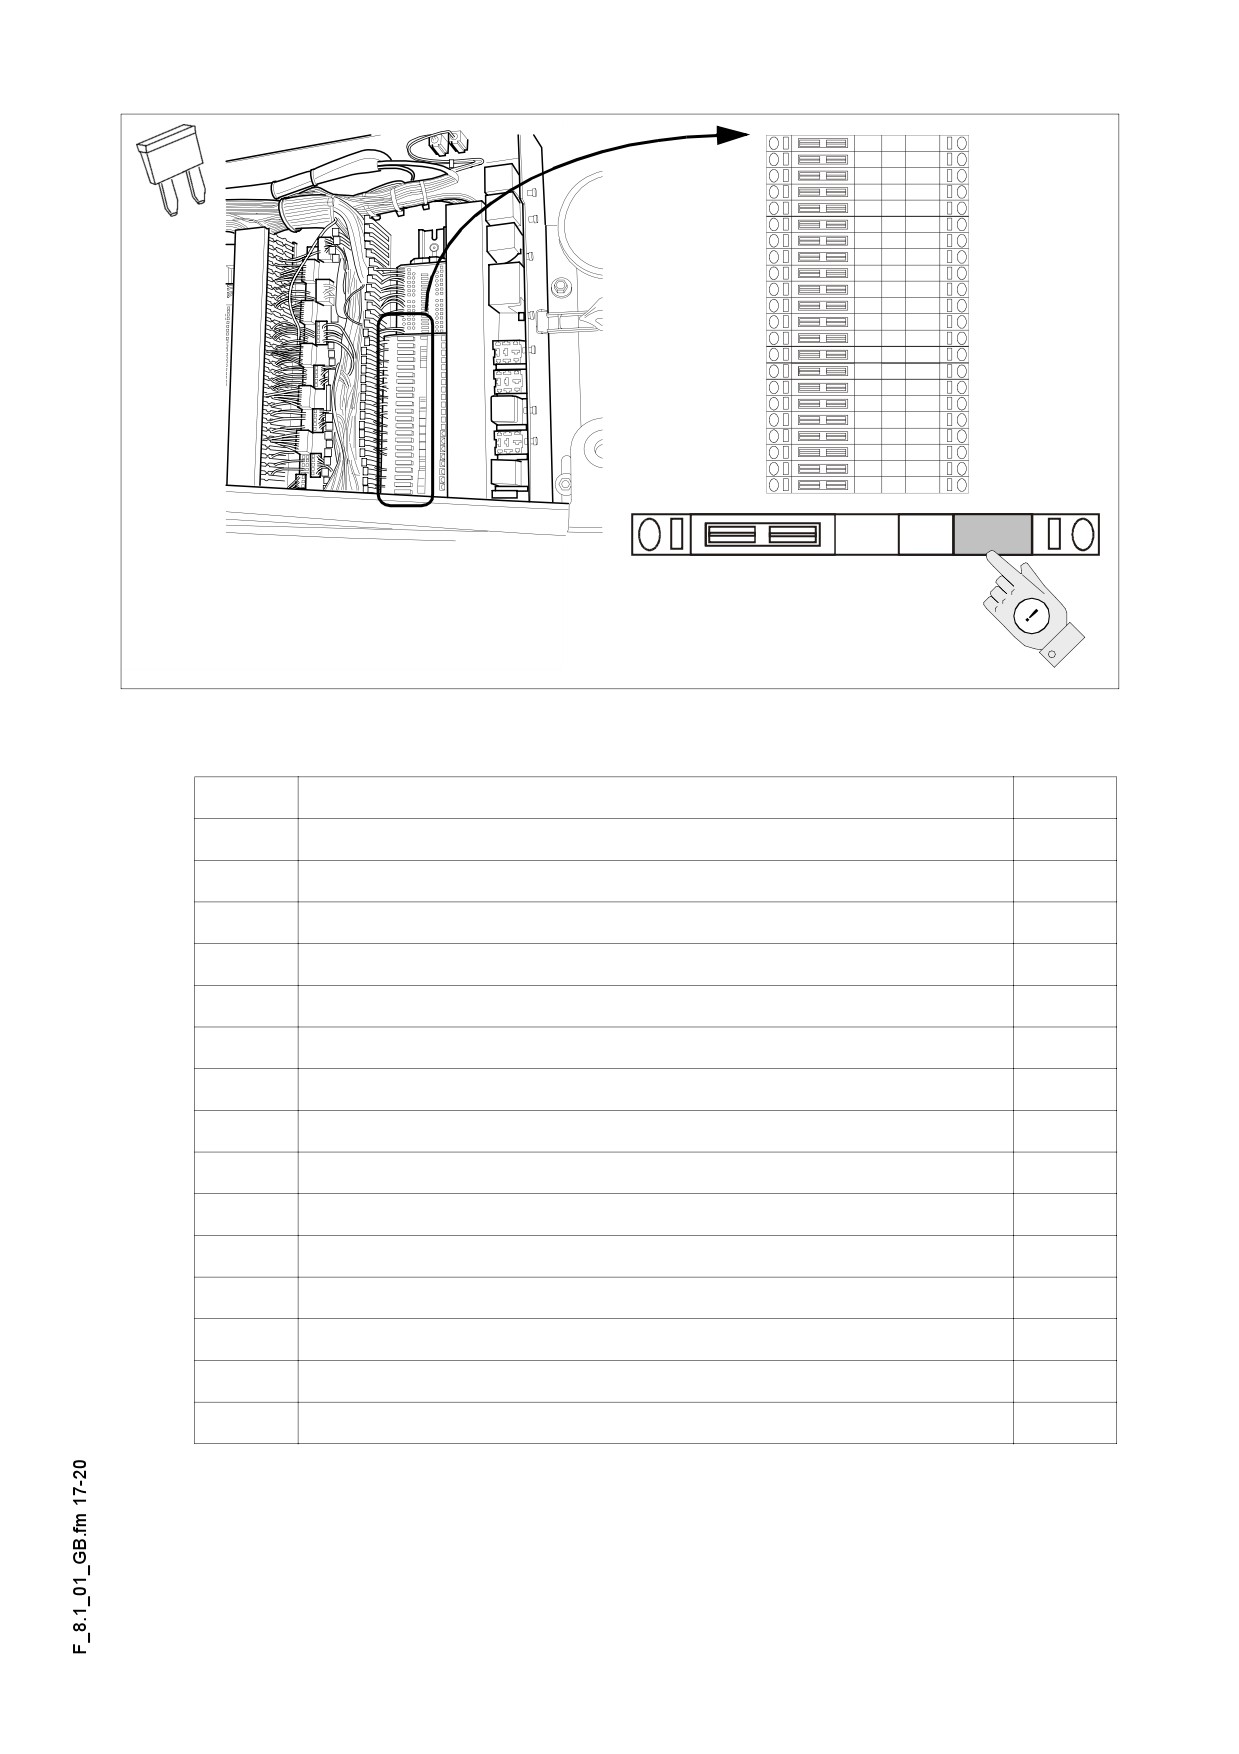
Fuses in the switching cabinet
F5.5
F.
A
5.1
Machine drive
15
5.2
Machine drive
1
5.3
Temperature control, electric heating
10
5.4
Gas heating
10
5.5
Connection sockets with On-Off switch buttons
10
5.6
Connection sockets with On-Off switch buttons
10
5.7
Connection sockets with On-Off switch buttons
10
5.8
Connection sockets with On-Off switch buttons
10
5.9
Starting the engine
10
7.1
Slave A51
5
7.2
Slave A52
5
7.3
Slave A53
5
7.4
Slave A54
5
7.5
Slave A55
5
7.6
Slave A56
5
F 8.1 17

F.
A
41
Engine regulation
25
44
Machine drive
1
51
Spray equipment
3
52
Emulsion spray appliance
3
53
Diesel fuel pump
5
54
Flasher
3
55
Headlight (glass fibre reinforced roof)
10
59
Working floodlights (o)
15
80
Power supply Master A1
7,5
82
Particle filter (o)
3
83
Exhaust equipment (o)
3
84
Seat heating
10
85
Windscreen wiper
7,5
86
Reserve
10
88
Power supply Master A1
7,5
F 8.1 18
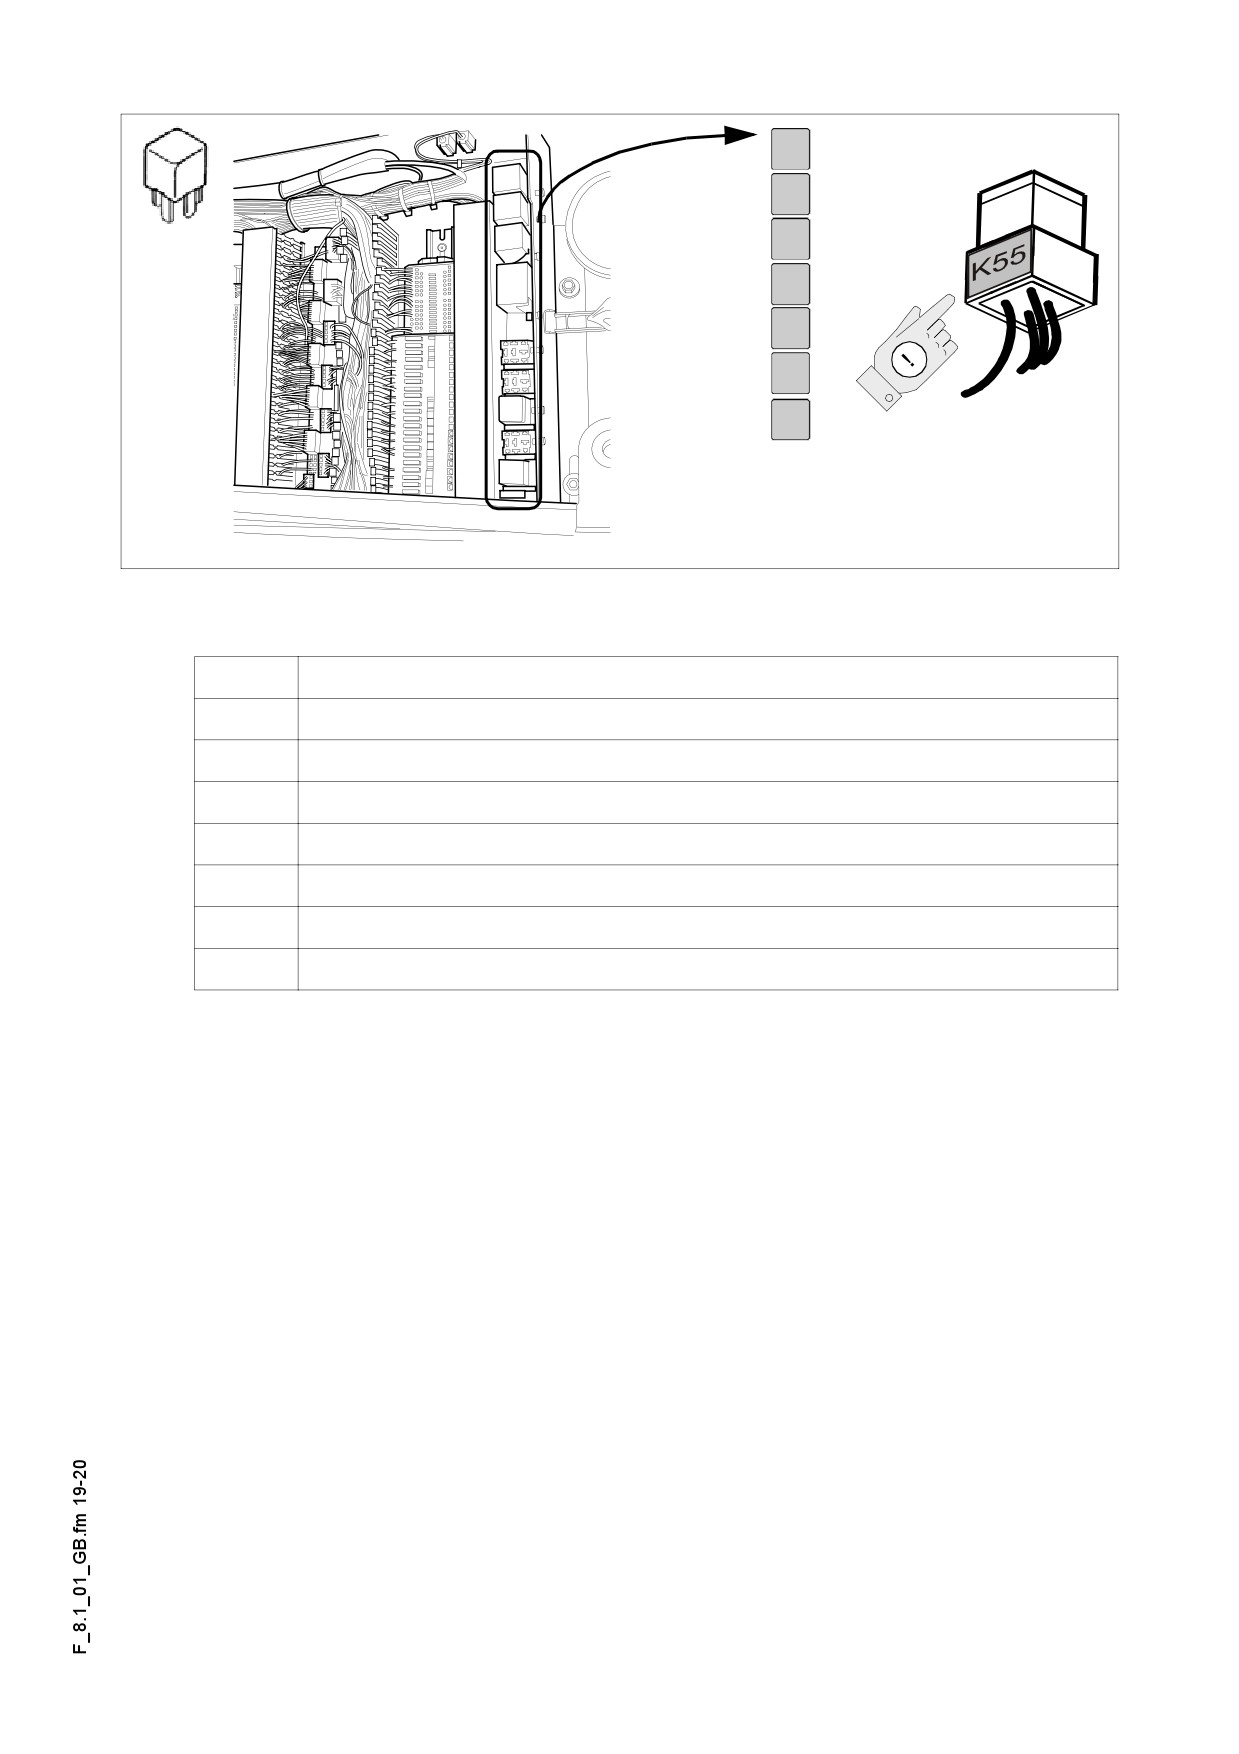
Relays in the switching cabinet (C)
K
15
Starting the engine
94
Power supply, terminal 15
145
Engine regulation
49
Reversing sound alert
47
Starter button interlocking
42
Machine drive
30
Horn
F 8.1 19
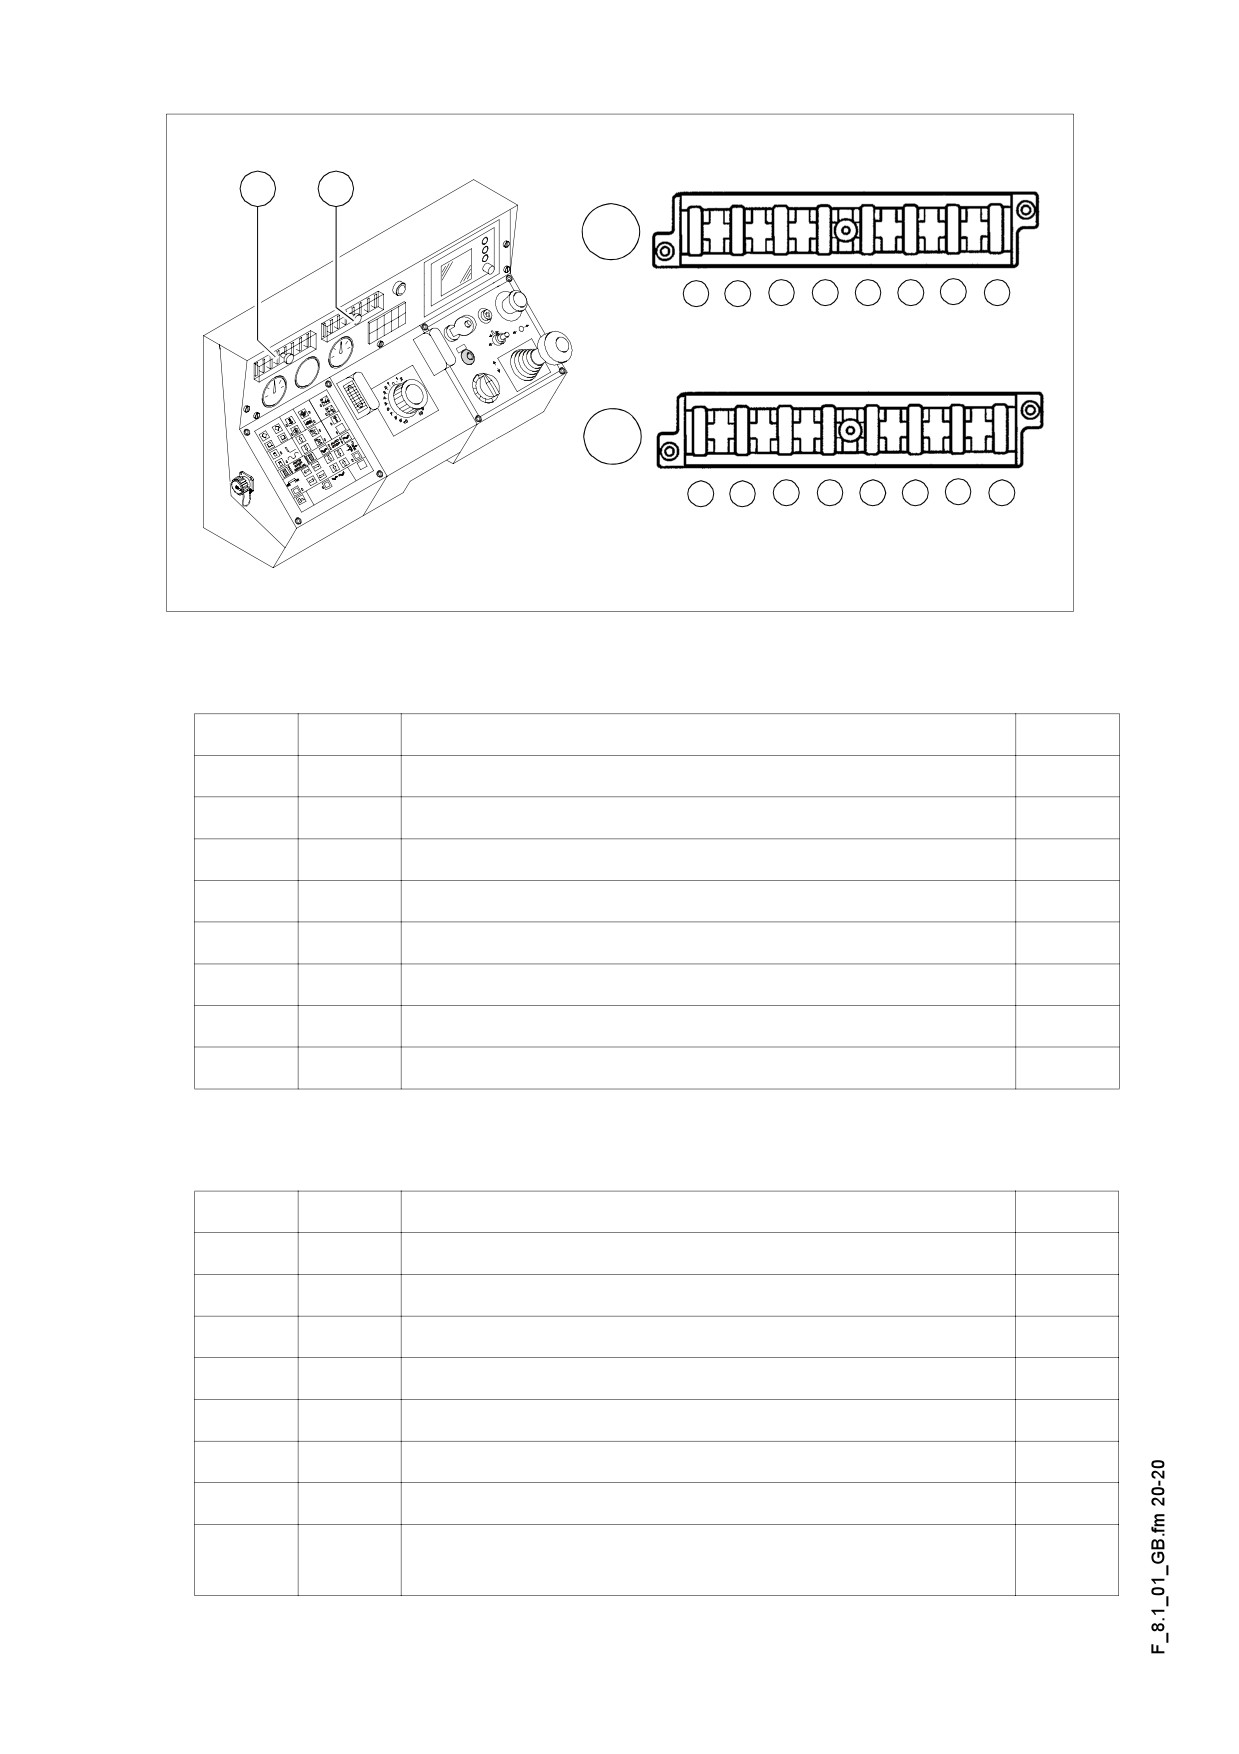
Fuses on the operating panel
A
B
A
1
2
3
4
5
6
7
8
B
1
2
3
4
5
6
7
8
Bedienpult_SPS_Kette_635_Fuse1/Fuse1.tif/Fuse.bmp
Fuse carrier (A)
No.
F
F1,1
- F1,8
A
1.
1.1
Emergency stopping
7.5
2.
1.2
Monitoring systems, Bat 15+ relay, motor sensors
3
3.
1.3
Display power supply, keyboard
3
4.
1.4
free
5.
1.5
free
6.
1.6
free
7.
1.7
Screed power supply,cabin movement (o)
5
8.
1.8
free
7.5
Fuse carrier (B)
No.
F.
A
1.
2.1
free
2.
2.2
Horn, reversing alert
3
3.
2.3
Windscreen wiper (o), road profile adjustment
7,5
4.
2.4
Headlights on the left/right sides
7,5
5.
2.5
RH-side low beam headlight
3
6.
2.6
LH-side low beam headlight
3
7.
2.7
RH-side position light
3
LH-side position light, instrument panel light, instru-
8.
2.8
3
ment light
F 8.1 20
F 9.0
Maintenance - Points of lubrication
1
Maintenance- Points of lubrication
A The information related to the lubrication points of the various sub-units are included
in the specific maintenance descriptions and additional reading is recommended as
follows.
A In case of applying a central lubrication unit (o) the number of the lubrication points
may differ from the data provided in the description.
F 9.0 1
1.1
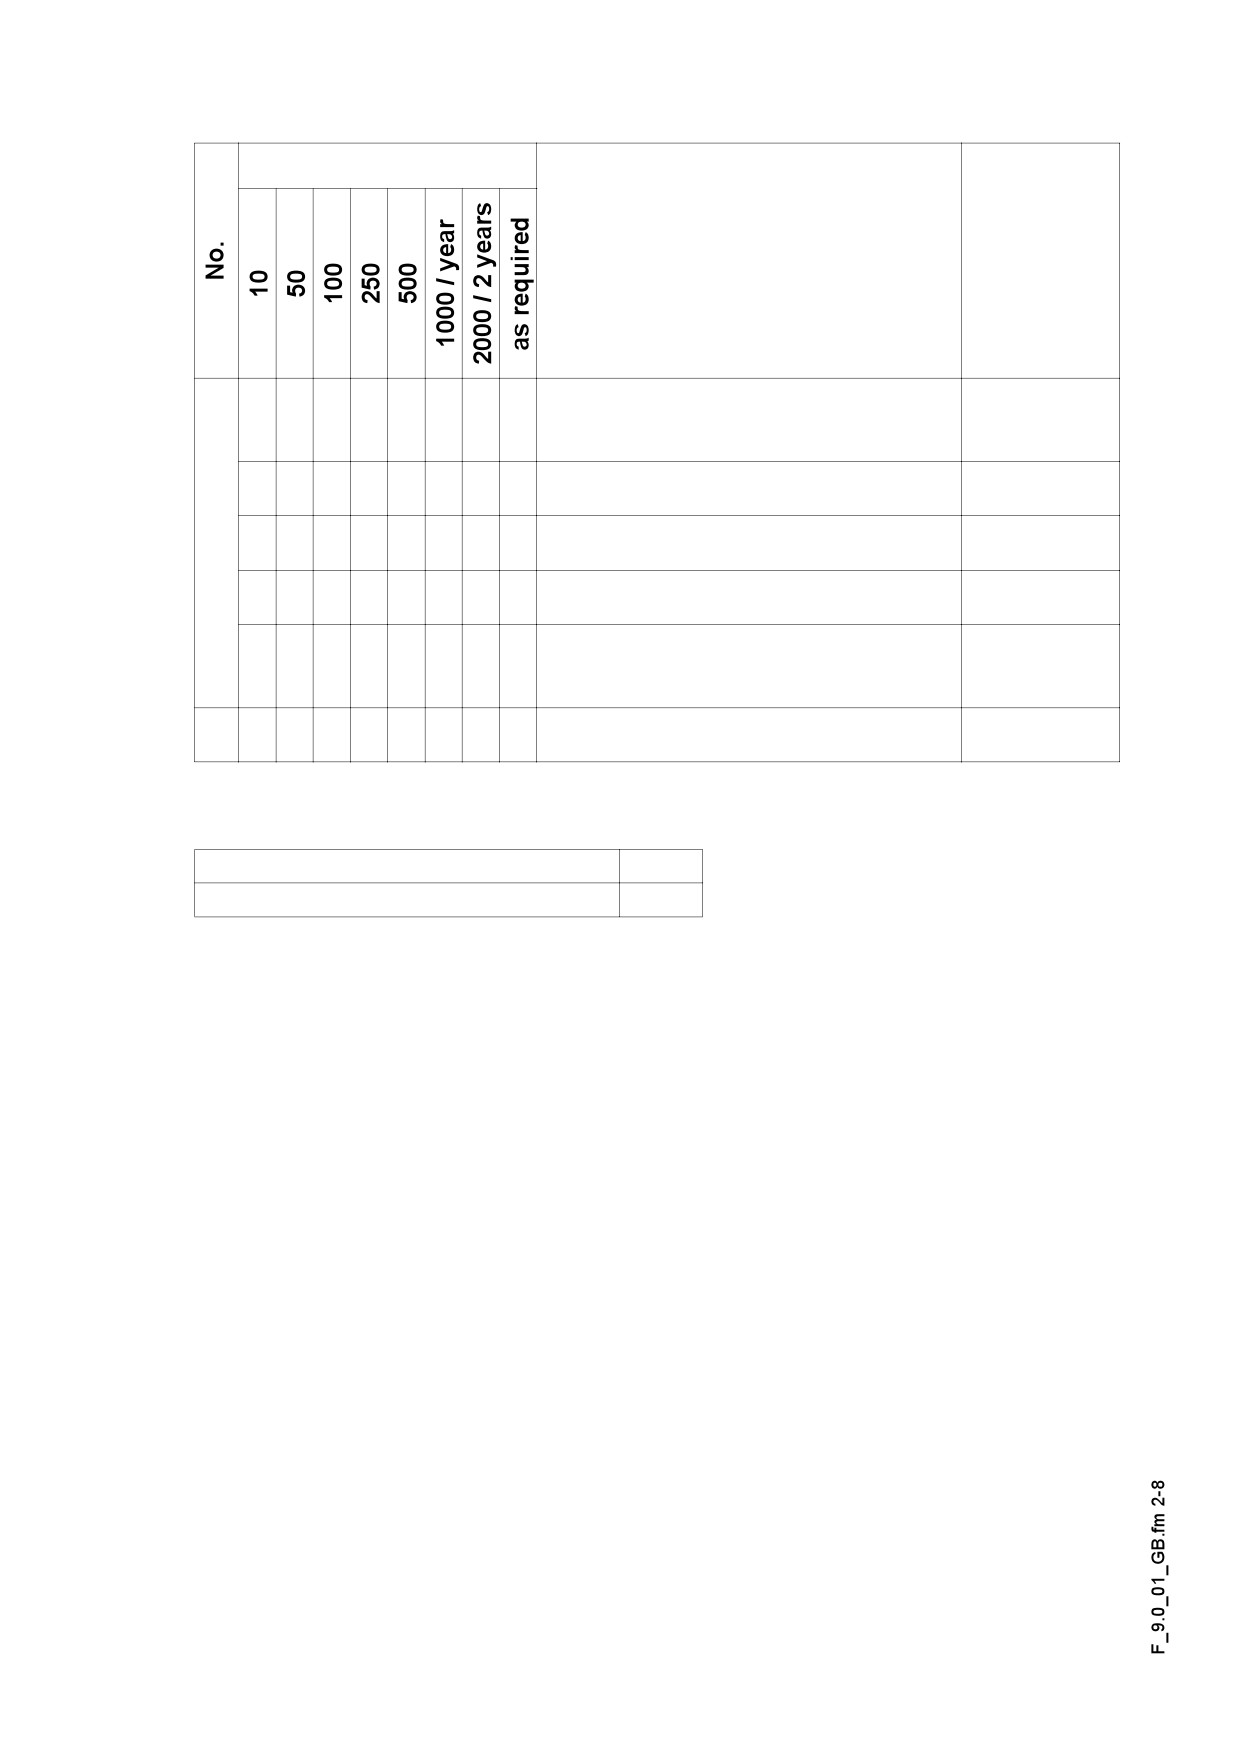
Maintenance intervals
Interval
Points of maintenance
Remark
- Check the filling level of the lubri-
q
(o)
cant tank
q
- Fill up the lubricant tank
(o)
1
q
- Vent the central lubrication unit
(o)
q
- Check the pressure limiting valve
(o)
- Check the leakage of the lubri-
q
(o)
cant at the consumer unit
2
q
- Bearings
Maintenance
q
Maintenance during run-in period
g
F 9.0 2
1.2
Points of maintenance
Central lubrication (1)
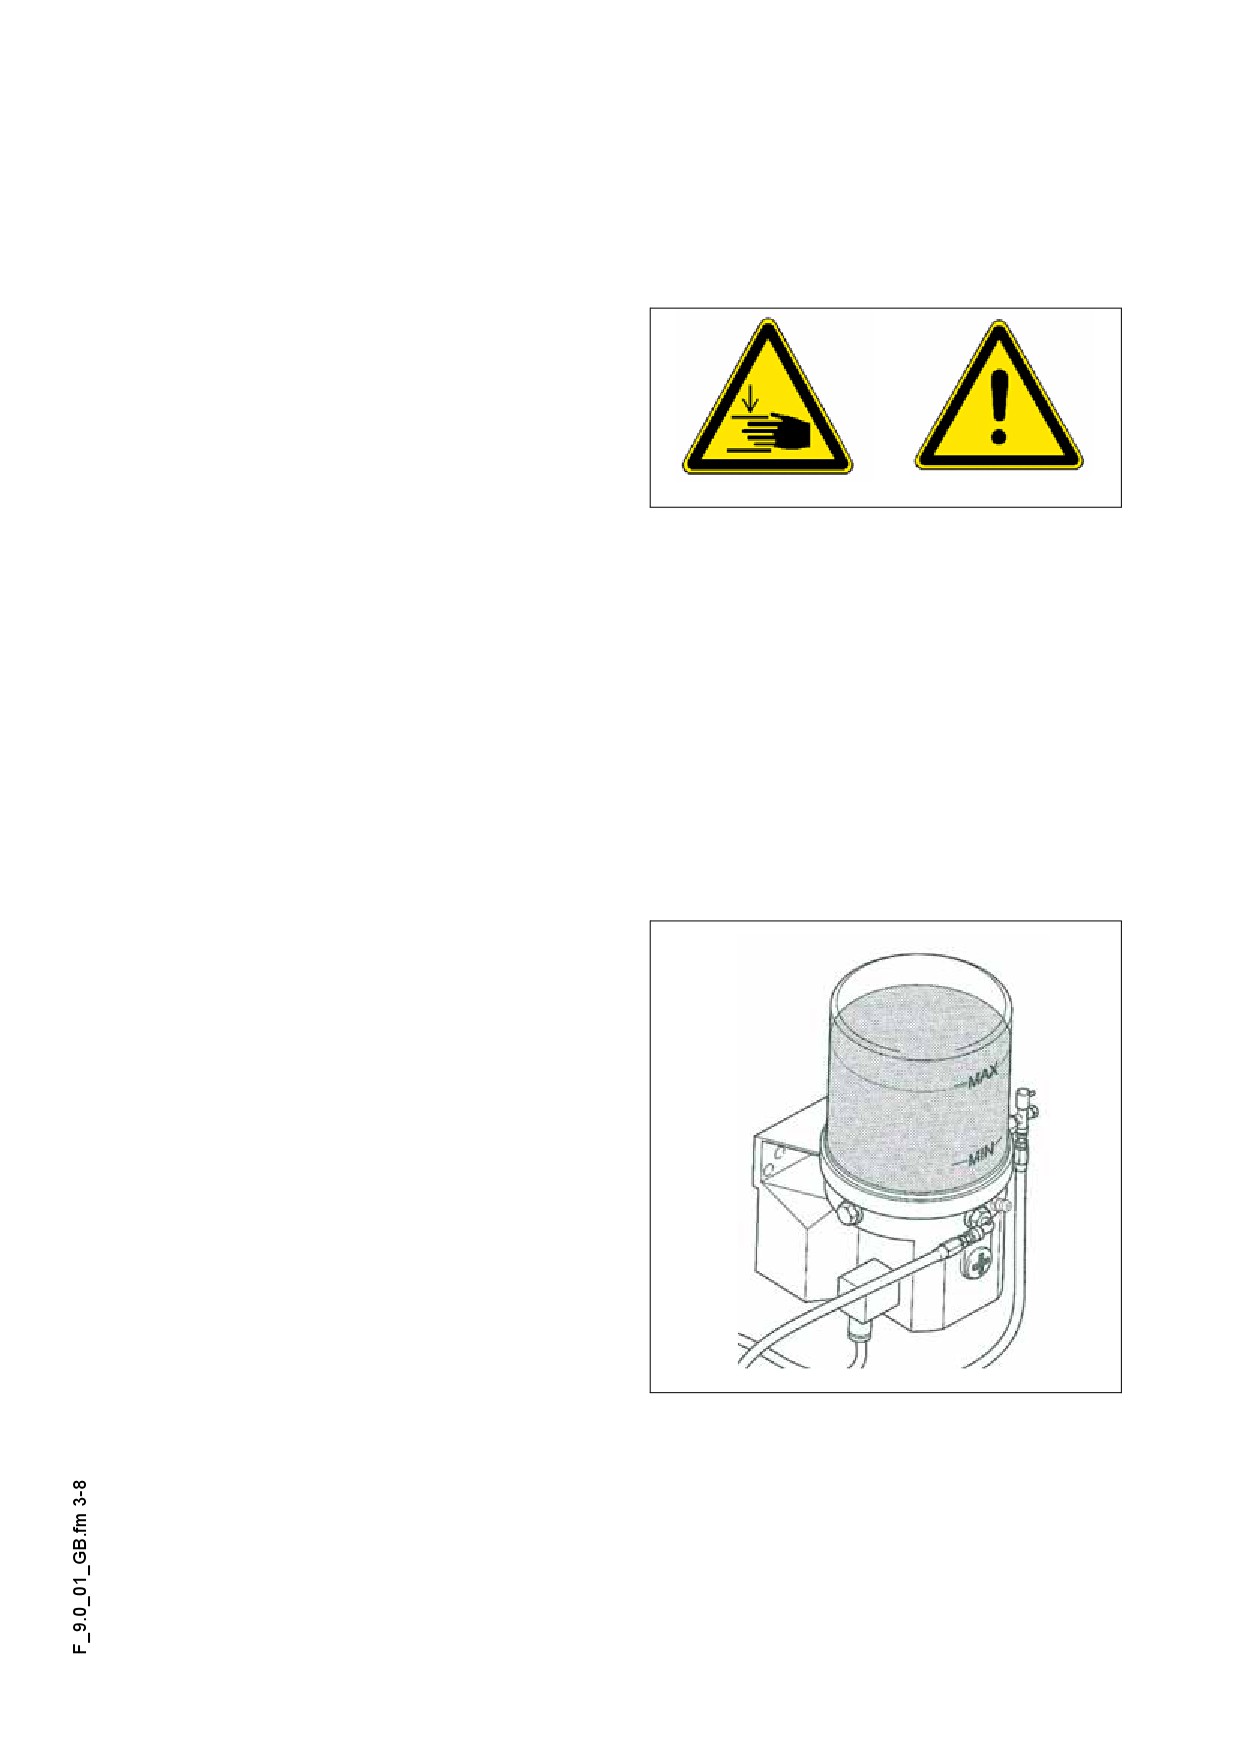
Danger of injuries!
Do not reach into the tank when the
f
pump is running.
Operate the central lubrication system
f
with a mounted safety valve only!
Handverl.jpg/Gefahr.jpg
During operation do not perform mainte-
f
nance operations on the safety valve!
The lubricant ejected may cause injuries as the equipment operates under high pres-
f
sure!
Make sure that the starting of the diesel engine should be prohibited while work is per-
f
formed on the equipment!
Observe the rules applicable to the operation of the hydraulic equipment!
f
Take care of perfect cleanliness when work is performed on the central lubrication
m
system.
The lubrication points of the following
units can be provided with grease
through the central lubrication system:
- Feeder
- Auger
- Steering, axles (wheel type paver fin-
isher)
Lincoln3.jpg
F 9.0 3
Central lubrication unit
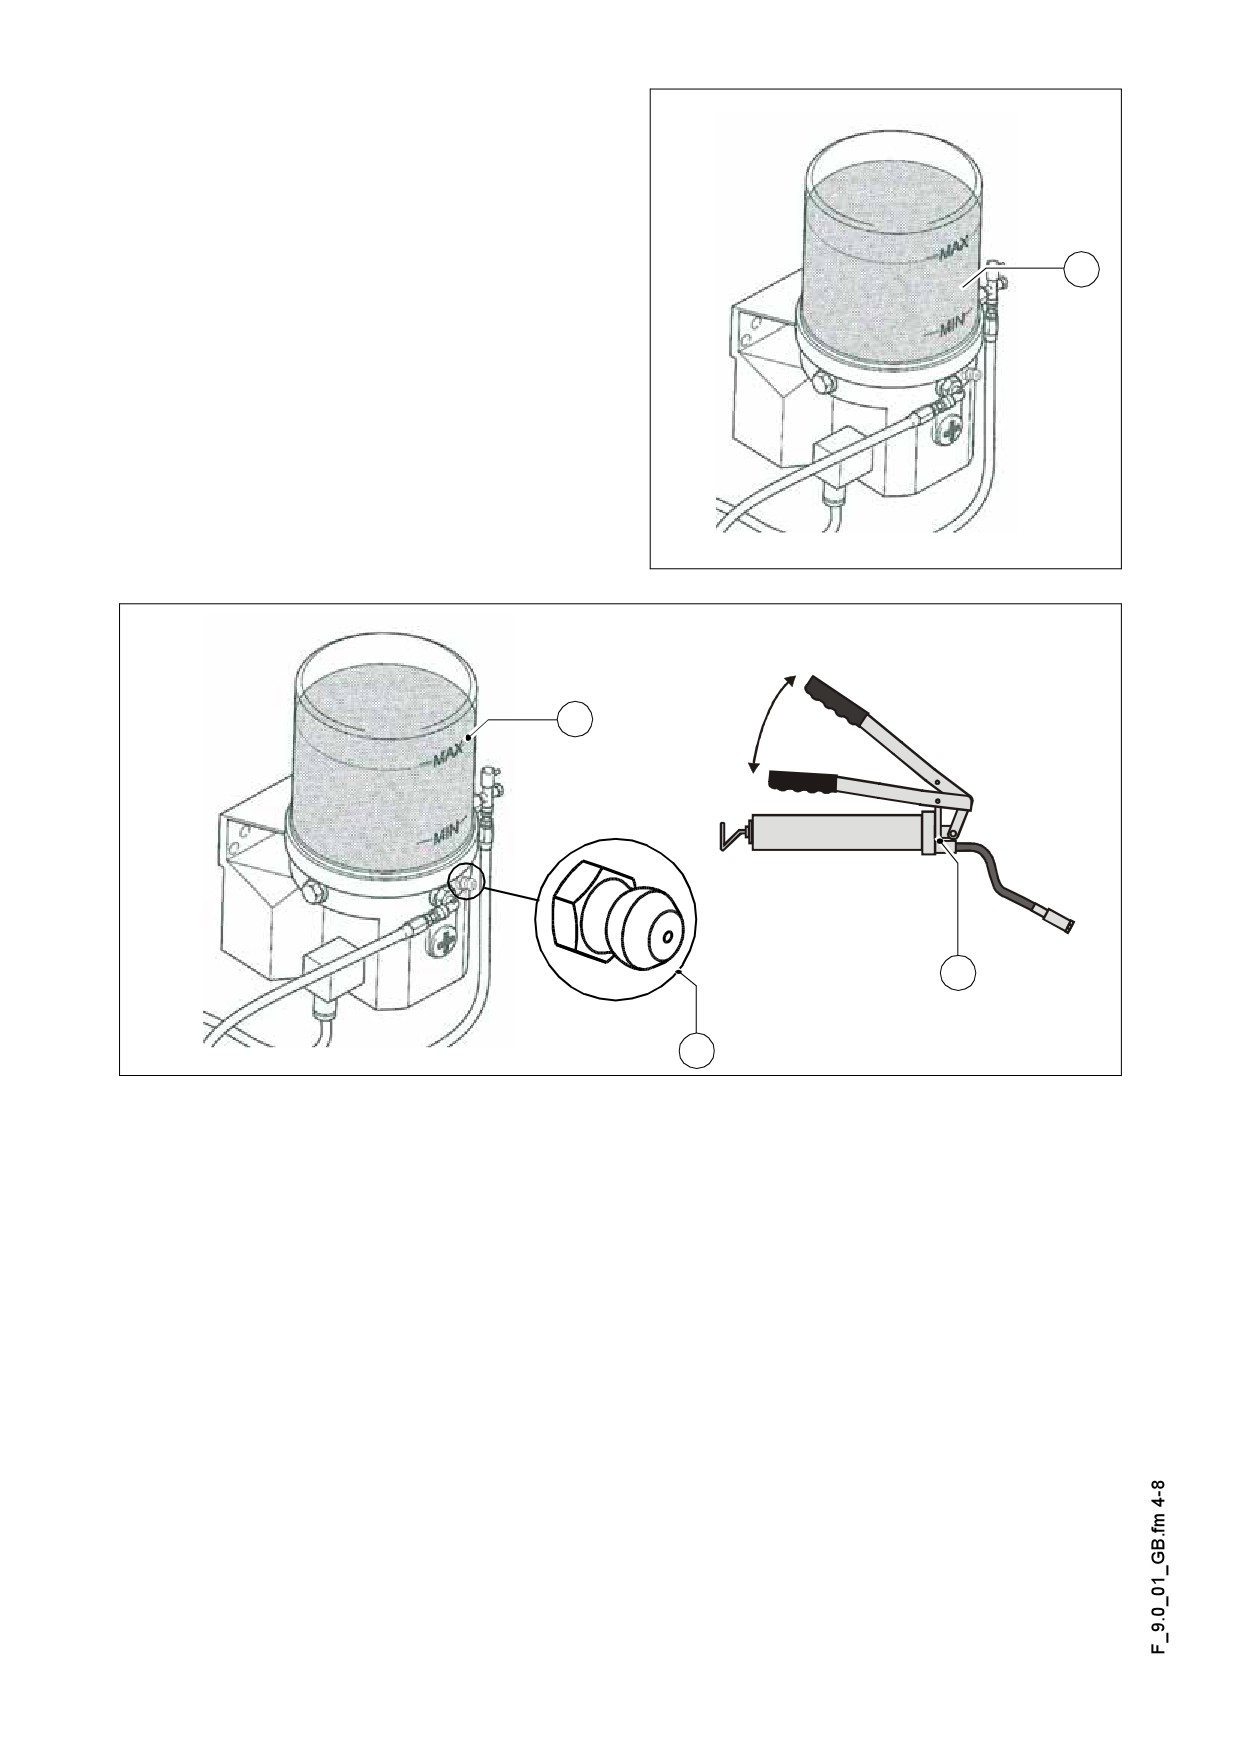
Check the filling level
A The lubrication tank shall always be
filled so that the system could not „run
dry“ and the proper lubrication of the
points of lubrication is ensured and there
a
is no need for a time consuming venting
operation.
- Always keep the filling level above the
„MIN“ mark of the tank (a).
Lincoln3.jpg/Lincoln4.jpg
Fill up the lubricant tank
a
c
b
Lincoln3.jpg/Grease2.wmf/Greasegun.wmf
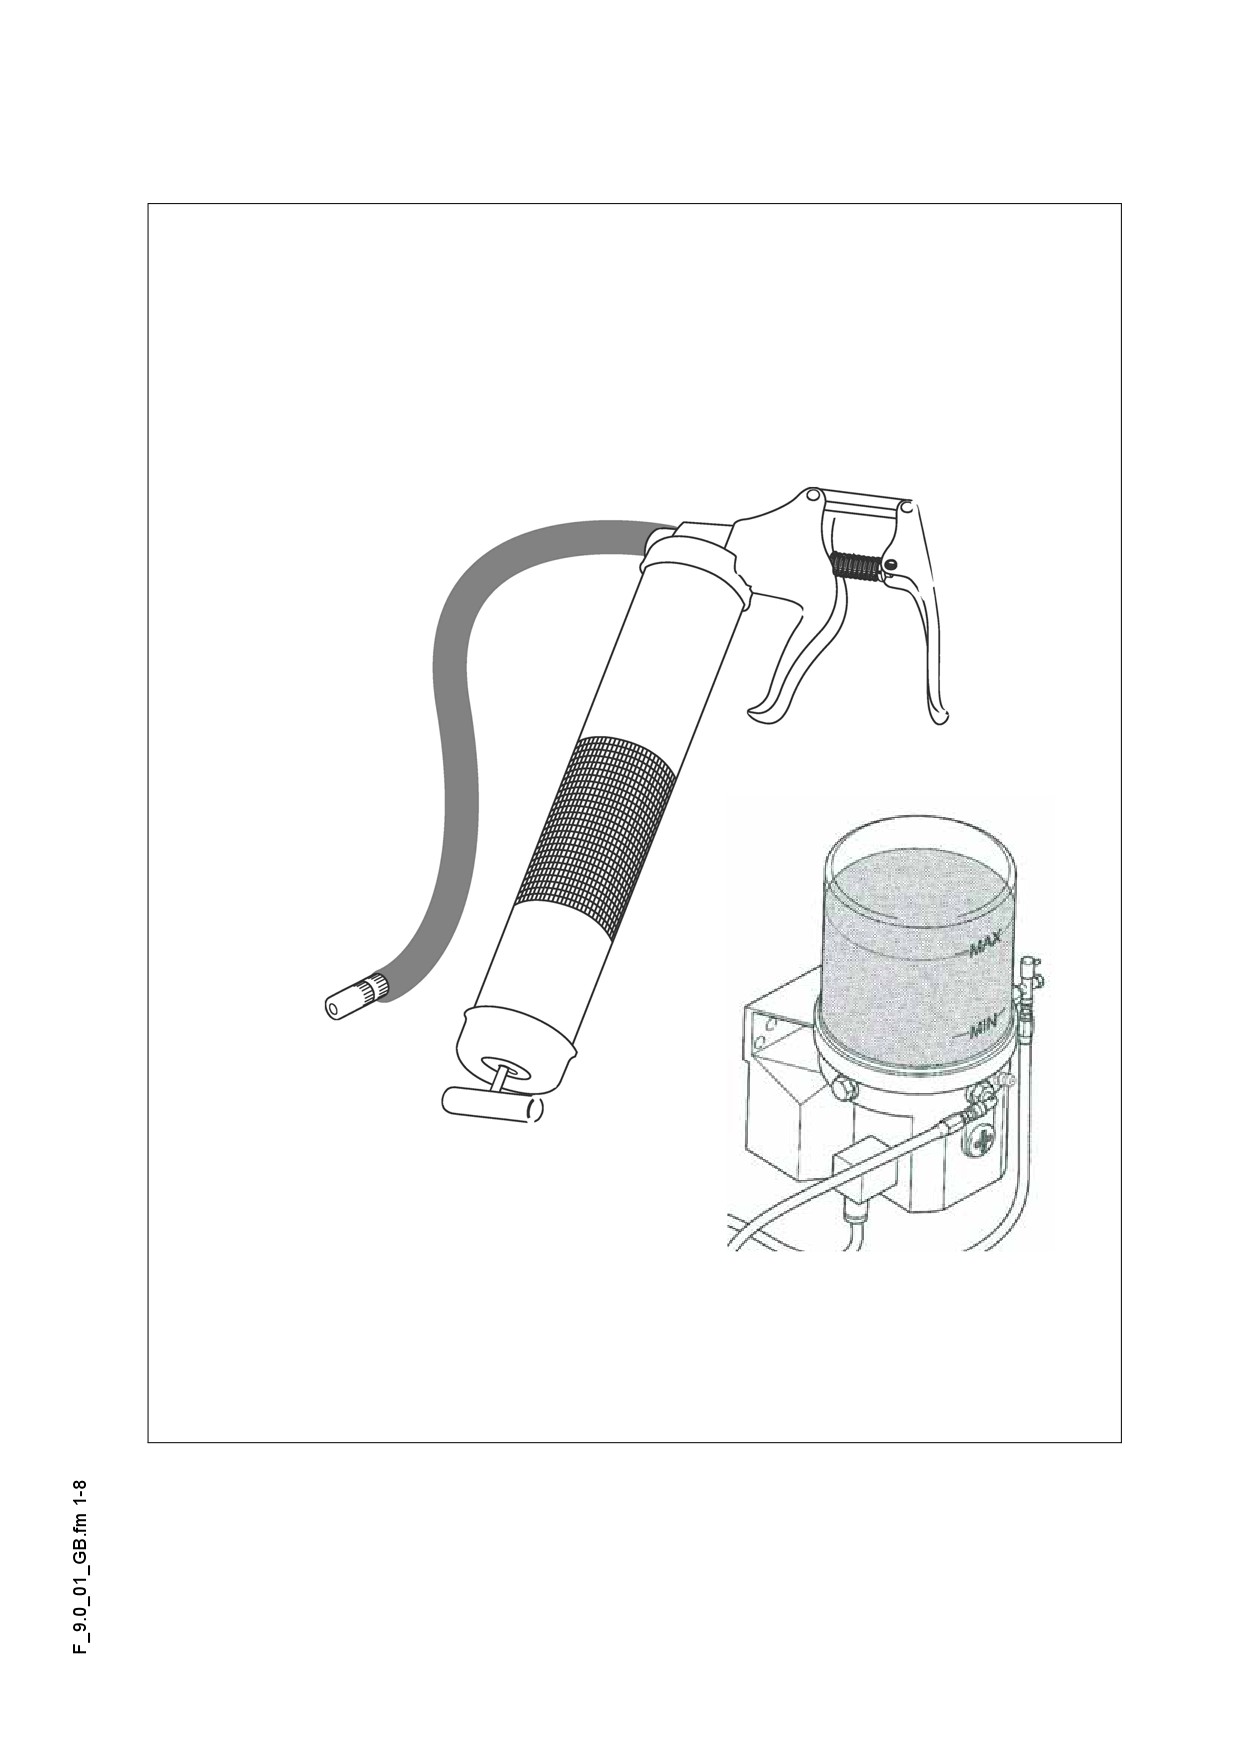
- A grease nipple (b) is mounted for filling on the lubricant tank (a).
- Connect the grease gun (c) supplied with the machine to the filling head (b) and fill
the lubricant tank (a) until the MAX mark.
A In case of an empty lubricant tank the pump may work for even 10 minutes before is
reaches its full delivery performance after filling.
F 9.0 4
Vent the central lubrication unit
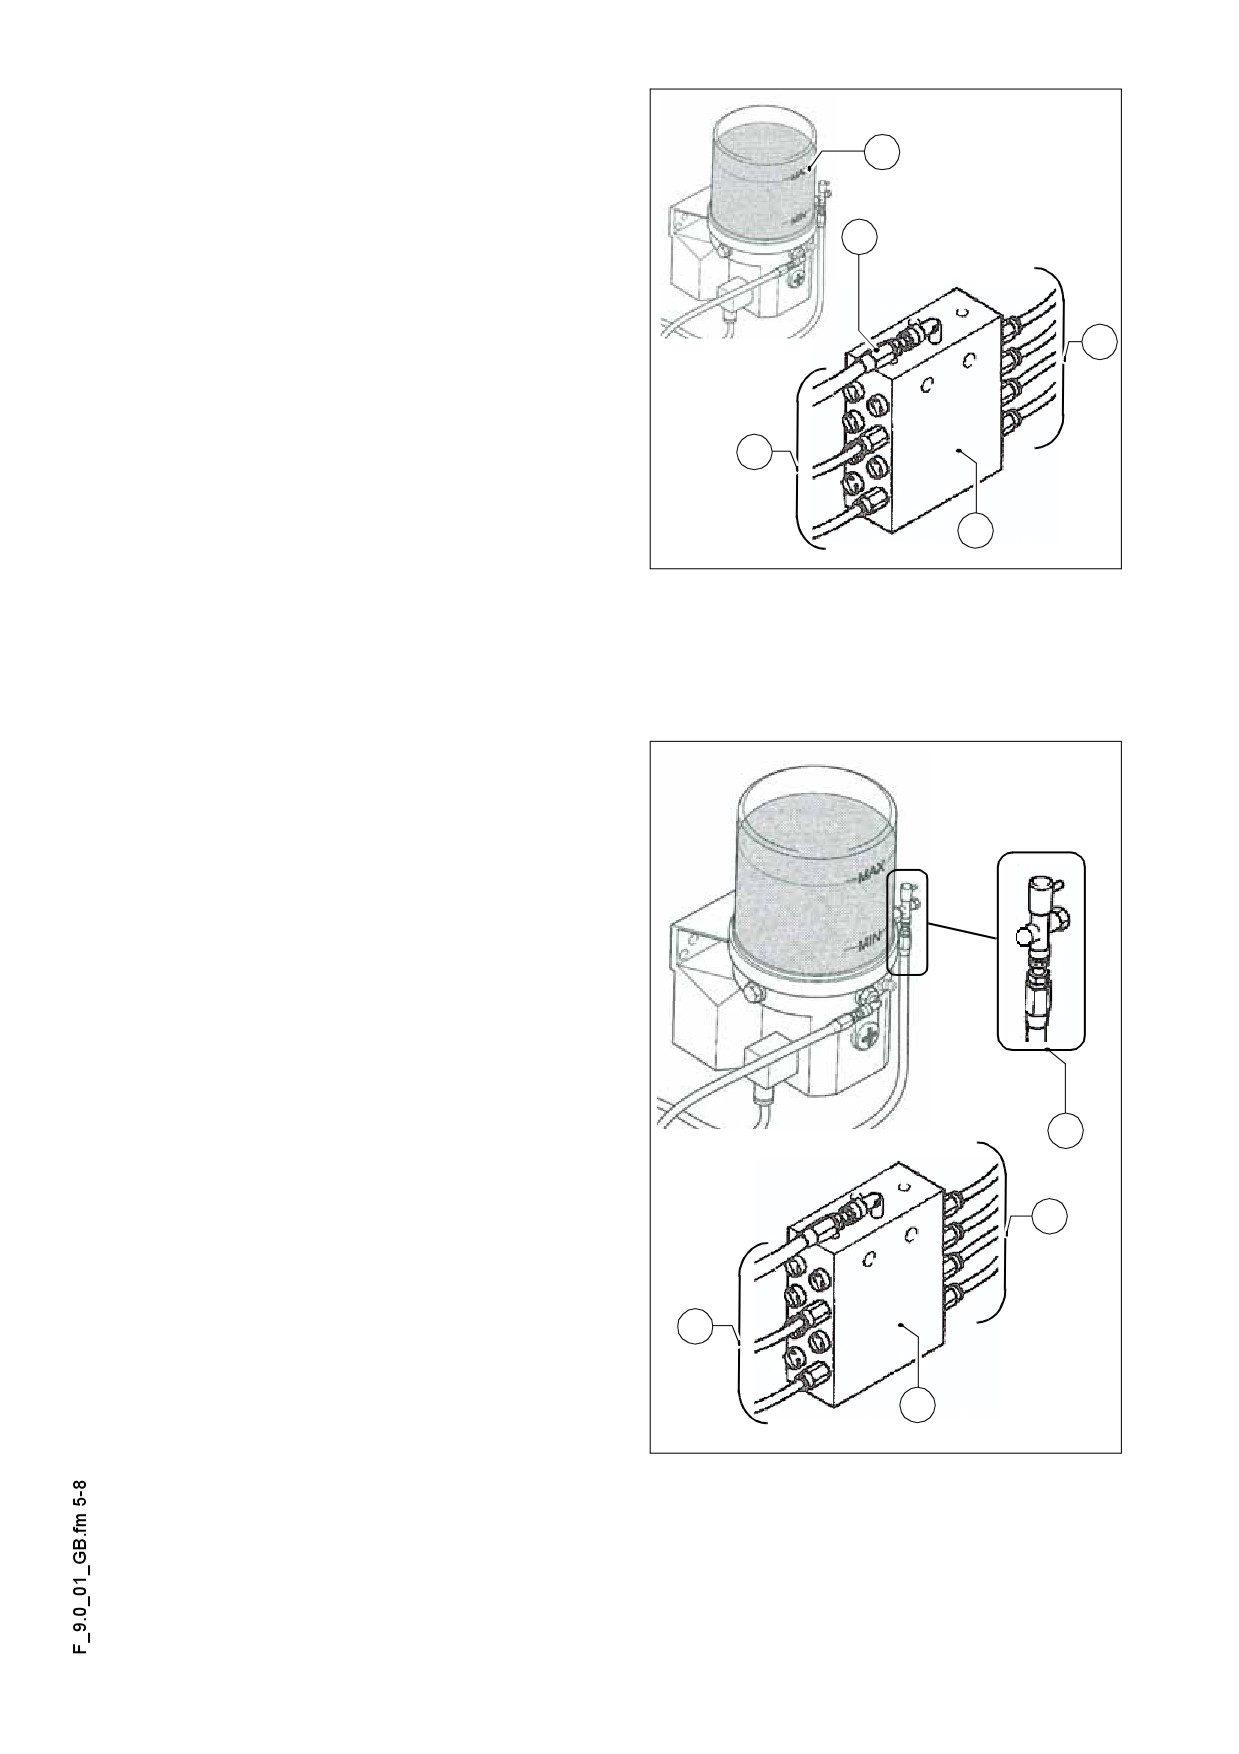
The venting of the lubrication system be-
c
comes necessary if the central lubrica-
tion unit was operated with an empty
a
lubrication tank.
- Untighten the main line (a) of the lu-
brication pump at the flow divider (b).
d
- Start the operation of the central lu-
brication unit with the refilled lubri-
cant tank (c).
- Leave the pump running until grease
d
is squeezed from previously untight-
ened main line (a).
b
- Retighten the main line (a) at the
Lincoln3.jpg/Lincoln4.jpg
flow divider.
- Remove all the manifold lines (d) at the flow divider.
- Reconnect again the manifold lines once lubricant is discharged through them.
- Check the tightness of all the connections and lines.
Check the pressure limiting valve
If lubricant is discharged at the pressure
m
limiting valve (a), this refers to failure in
the system.
The consumers receive not enough lu-
bricant.
- Disconnect the manifold lines
(b),
which run from the flow divider (c) to
the consumers, one after the other.
- If lubricant is ejected from one of the
disconnected distribution pipes (b)
a
under pressure, then the clogging,
which led to the tripping of the pres-
sure limit valve, must be searched
b
for in this lubrication circuit.
- After correcting the fault and the re-
peated connection of all the lines,
check once again for lubricant dis-
b
charge from the pressure limit valve
(a).
- Check the tightness of all the con-
c
nections and lines.
Lincoln3.jpg/Lincoln4.jpg/Lincoln5.jpg
F 9.0 5
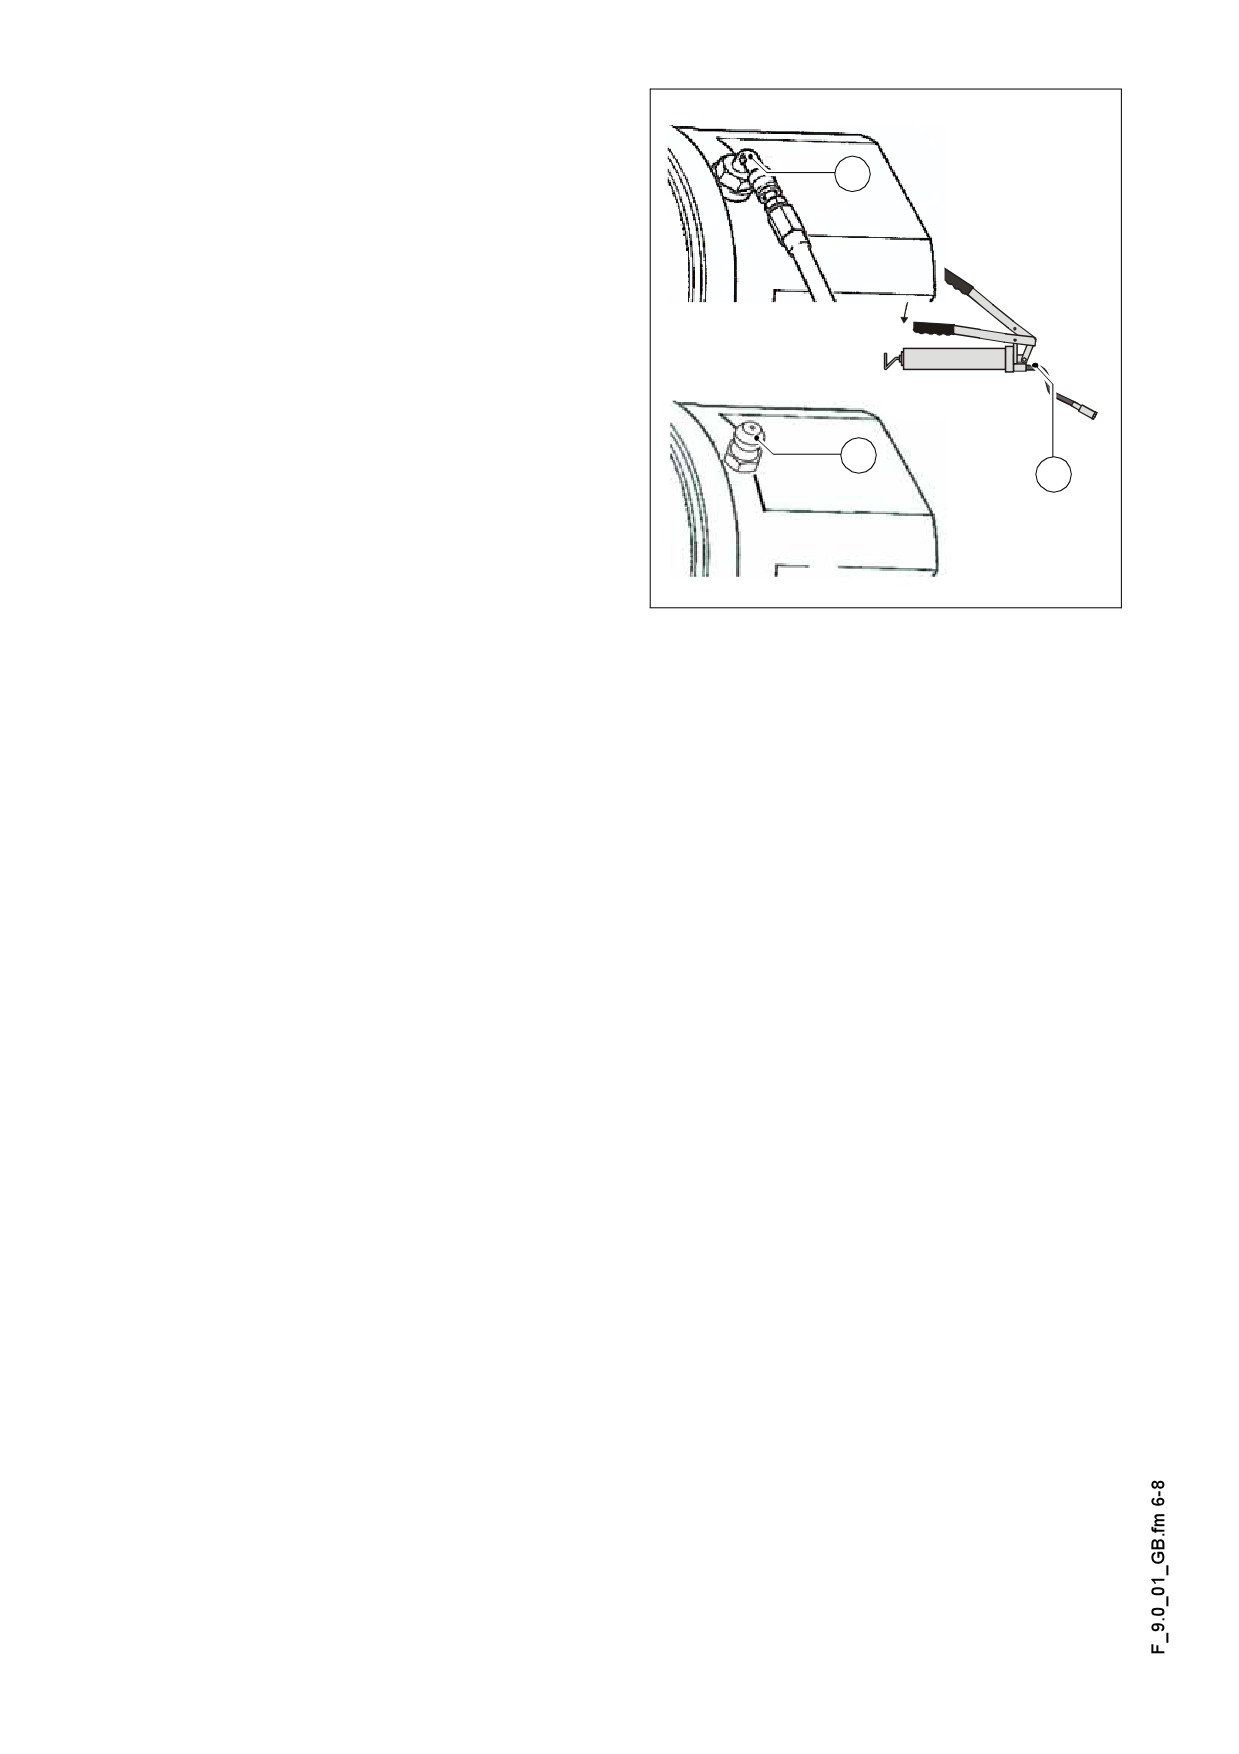
Check the leakage of the lubricant at
the consumer unit
a
Check the continuity of all the lubrication
canals at the consumers.
- Disconnect the lubrication pipe (a)
and fit a standard grease nipple (b).
- Connect the grease gun (c) supplied
with the machine to the grease nip-
ple (b).
- Keep on operating the grease gun
until lubricant is visibly discharged.
b
c
- If necessary, eliminate the faults of
the lubricant flow.
- Refit the lubricant pipelines.
- Check the tightness of all the con-
Lincoln6.jpg/Lincoln8.jpg/Greasegun.wmf
nections and lines.
F 9.0 6
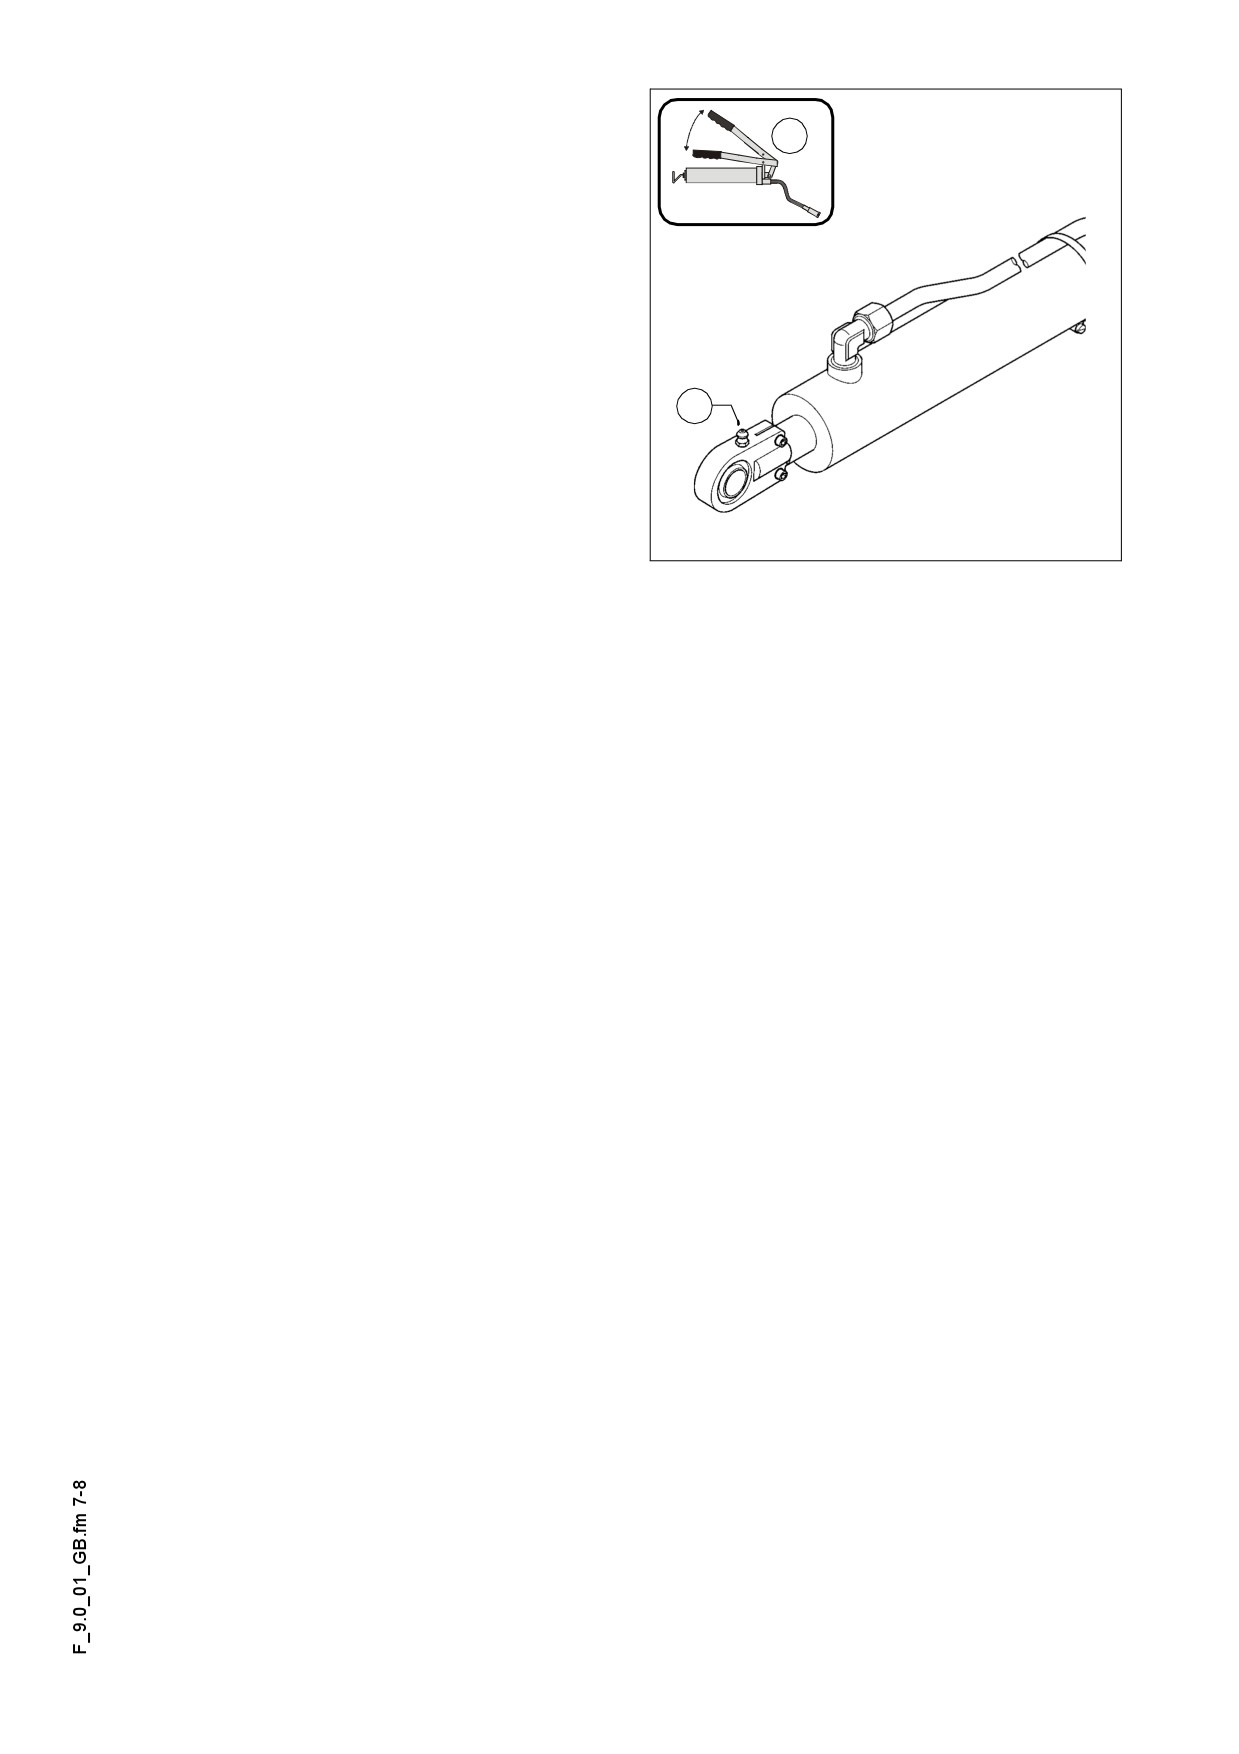
Bearings (2)
2x
There are grease nipples on the bearing
points of the hydraulic cylinder
(one
each, at the top and bottom) (a).
a
Zylinder.bmp
F 9.0 7
F 10.0 Checks, decommissioning
1
Tests, check-up, cleaning, stopping
F 10.0 1
1.1
Maintenance intervals
Interval
Points of maintenance
Remark
1
q
- General observation
2
q
q
- Checks by a specialist
3
q
- Cleaning
4
q
- Conservation of paver finisher
Maintenance
q
Maintenance during run-in period
g
F 10.0 2
2
General observation
The daily practice includes the walk around the machine with checking the following
items:
- Are there injuries on the parts or control elements?
- Are there leaks on the engine, the hydraulics, the gear box, etc.?
- Are all the locking points secure (conveyor, auger, screed)?
m Repair the detected faults immediately in order to avoid risks of accidents and envi-
ronmental pollution!
3
Checks by a specialist
A Subject the paver finisher, the screed and the optional gas or electric operated equip-
ment to checks by a specialist
- as required (according to the circumstances of application and operating condi-
tions),
- however, minimum once a year, so that the machine retains its reliable operating
condition.
F 10.0 3
4
Cleaning
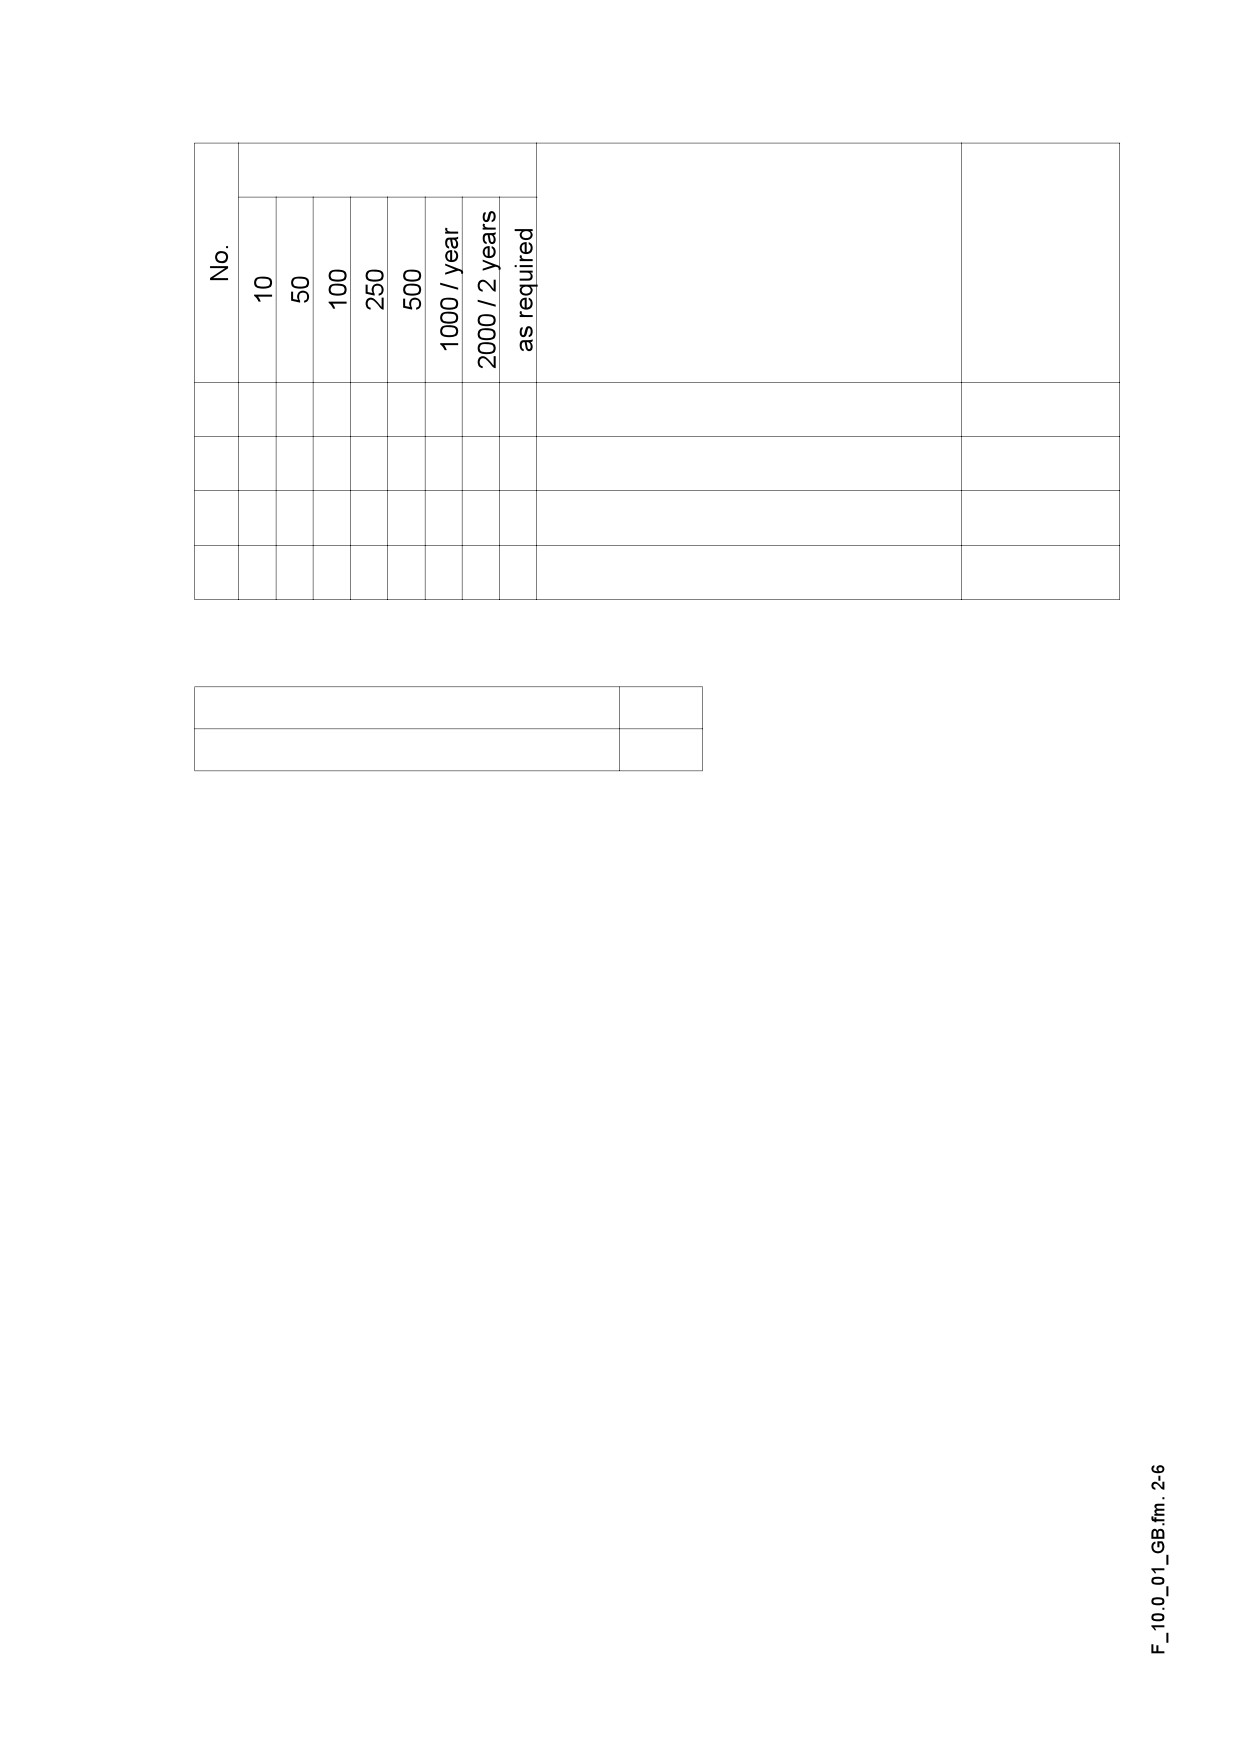
- Clean all parts which come into contact with the material to be laid.
- Spray the polluted parts with the separating agent spray equipment (o).
m Before cleaning with high pressure jet, lubricate all the bearings with grease as spec-
ified.
- Clean the machine with water after laying mineral mixes, lean concrete etc.
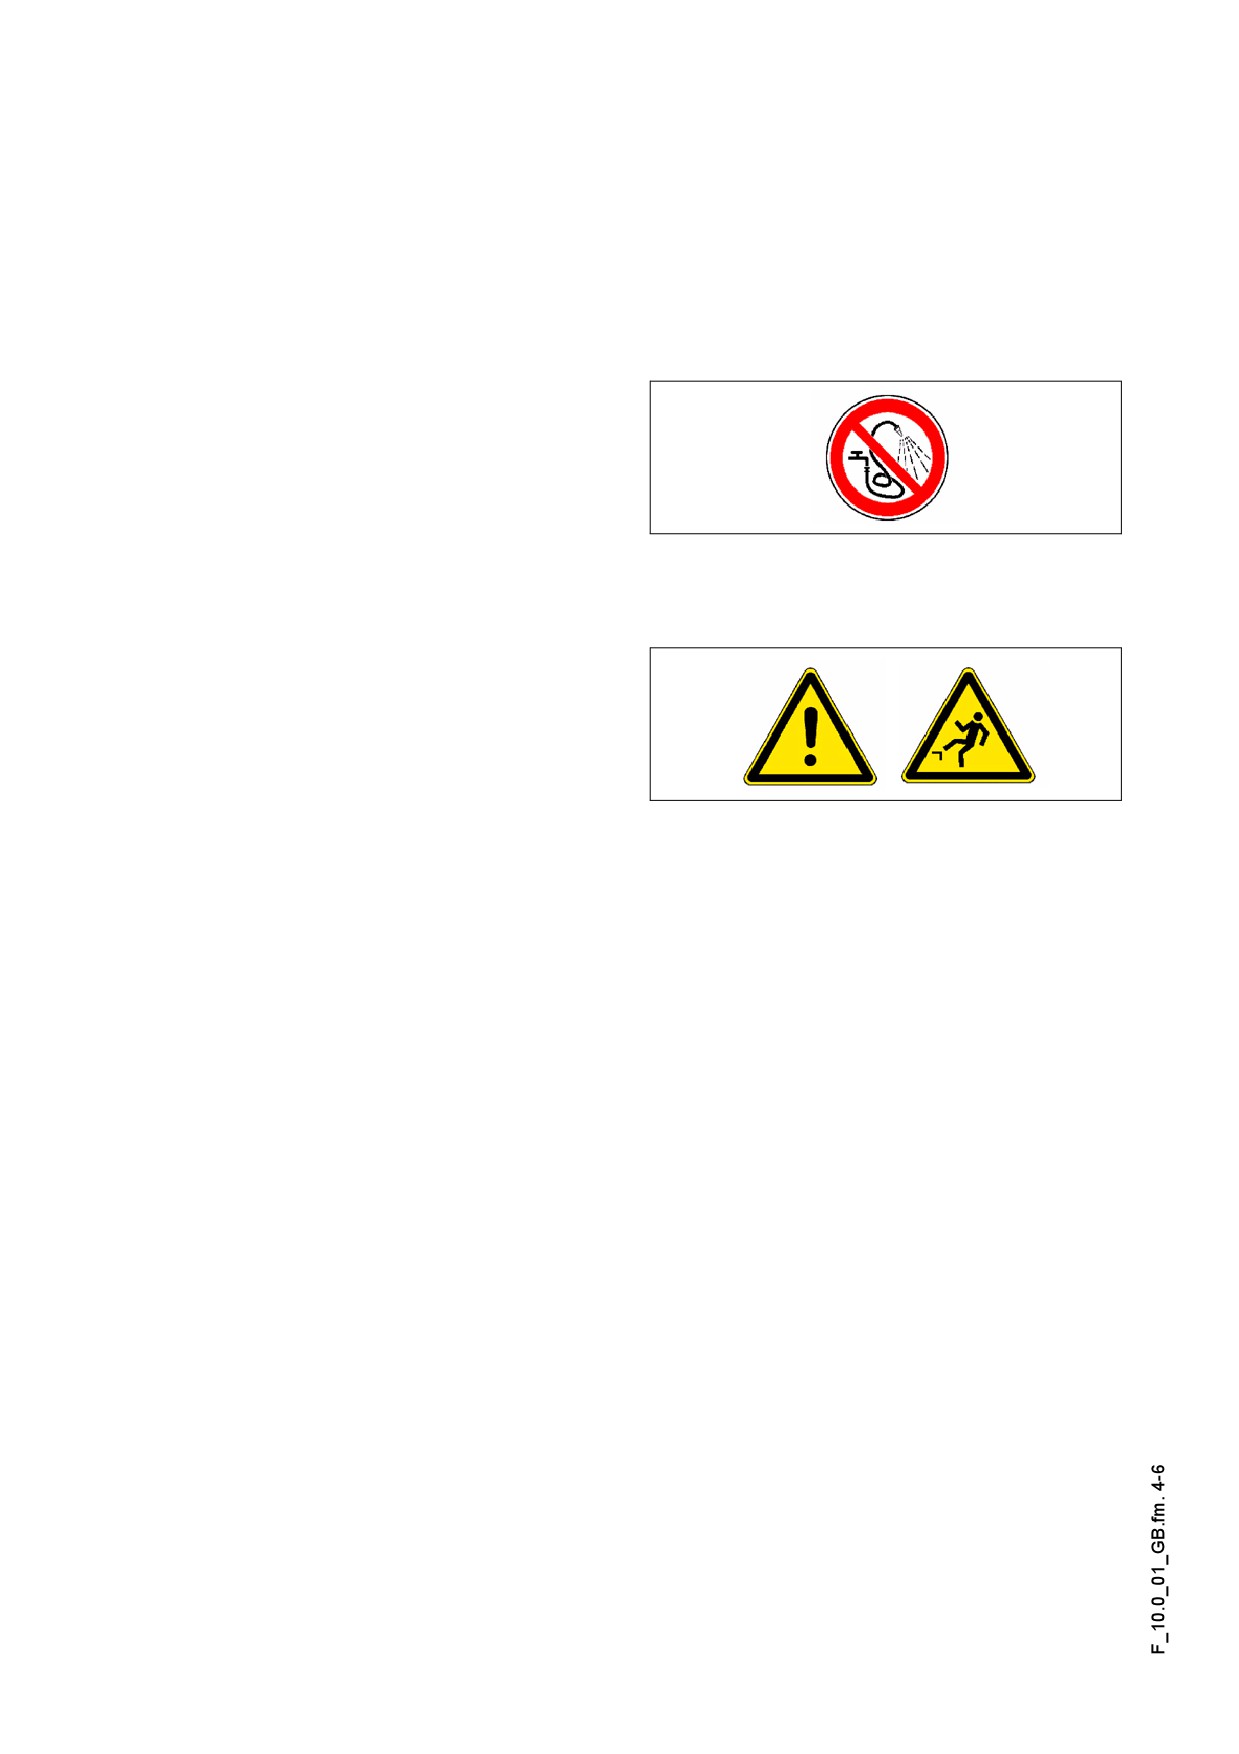
m Do not spray water on the bearings,
electric or electronic parts.
- Remove the residue of the material
laid.
m After cleaning with high pressure jet, lubricate all the bearings with grease as speci-
fied.
f Risk of slipping! Take care of the clean-
liness of the walkways and steps, make
sure that they are free of grease and oil.
F 10.0 4
5
Conservation of paver finisher
5.1
Downtime up to 6 months
- Stop the machine in a place protected from intensive sunshine, wind, moisture and
frost.
- Lubricate all the lubrication points with grease as specified, use the optional central
lubrication unit as appropriate.
- Change the oil in the Diesel engine
- Tightly seal the muffler of the exhaust pipe.
- Remove the batteries, charge and store them at room temperature in well ventilat-
ed premises.
Recharge the dismounted batteries every 2nd month.
m
- Protect all shiny metal surfaces, e.g. piston rods of the hydraulic cylinder against
corrosion using an appropriate agent.
- If the machine cannot be halted in a closed hall or under a shed, it must be covered
with an appropriate canvas. In each case all the air inlets and outlets shall be tightly
sealed using plastic film and adhesive tape.
5.2
Downtime between 6 months and 1 year.
- Perform all operations described for „Downtime up to 6 months“.
- After draining the engine oil, fill the engine with conservation oil permitted by the
manufacturer of the engine.
5.3
Re-commissioning:
- Perform the operations opposite to what were described in the section „Downtime“.
F 10.0 5

F 11.0
Lubricants and Fuels
1
Lubricants and fuels
Use only the lubricants listed or the equivalent quality products of prestigious produc-
m
ers.
Use only such vessels for filling in oil or fuel, which are clean both outside and inside.
Take into account the filling volumes (see the section „Filling volumes“).
A
Low quality oil or lubricant speeds up wear and the failure of the machine.
m
Mixing synthetic oils with mineral oils is strictly forbidden!
m
Total Fina
BP
Esso
Mobil
Renault
Shell
Wisura
(Total)
SHELL
ESSO
BP universal
Total
Mobilux 2
Universal
Alvania
Grease
Universal
Retinax A
grease L2
Multis EP 2
Mobiplex 47
grease
Grease EP
grease
(LF) 2
Refer to operating instructions for the engine.
Engine oil
The machine is filled with Shell Rimula Super-FE 10 W 40 in the factory.
See (see chapter 1.1)
hydraulic oil
The machine is filled with Shell Tellus Oil 46 product in the factory.
SHELL
Transmission oil
BP Multi
ESSO
MOBIL
Tranself
Total EP 90
Spirax G
90
EP SAE 90
GP 90
GX 90
EP 90
80 W - 90
MOBIL
Chevron
BP
ESSO
Mobilgear
Optimol
Total Carter
NL Gear
SHELL
Energol
Spartan
630
Optigear
Transmission oil
EP 220
Compound
Omala 220
GR-XP 220
EP 220
Mobil-gear
220
220
220
SHC 220
Optimol Optigear 220 is filled in the factory.
Shell
Tivela
Synthetic trans-
220
mission oil 220
The machine is filled with Shell Tivela 220 in the factory.
Dist. water
Gas oil
BP
ATE Disk
Brake oil, -liquid
Blaue Original
Total HB F 4
ELF
brake fluid
Brake-liquid
Coolant (anti-freeze and corrosion protection)
Cooling liquid
AGIP Antifreeze Spezial 956.99.58.15
F 11.0 1
1.1
Hydraulic oil
Preferred hydraulic oils:
a) Synthetic hydraulic fluids based on ester, HEES
Manufacturer
ISO category of viscosity VG 46
Shell
Naturelle HF-E46
Panolin
HLP SYNTH 46
Esso
HE 46
Total Fina Elf
Total Biohydran SE 46
b) mineral oil pressure fluid
Manufacturer
ISO category of viscosity VG 46
Shell
Tellus Oil 46
Total Fina Elf
Total Azolla ZS 46
When changing from mineral oil pressure liquid to biologically decomposing pressure
m
liquid, please, contact our advisory service in the factory.
Use only such vessels for filling in oil or fuel, which are clean both outside and inside.
A
F 11.0 2
1.2
Instructions referring to the oil types applied
Shell Tivela 220
Transmission oil 220 - synthetic oil
Caterpillar drive - planetary gear *
Optimol Optigear 220
Transmission oil 220 - mineral oil
* In case of crawler driven pavers only
A Filled in the factory with the fuel indicated.
F 11.0 3
1.3
Filling volumes
Fuel
Volume
Fuel tank
gas oil
280
liters
Hydraulic oil tank
hydraulic oil
175
liters
Pump distribution gear
Transmission oil 90
4,5
liters
Planetary gear
Transmission oil 220
4,0
liters
Caterpillar drive *
Drive of the conveyor
Transmission oil 220
1,5
liters
(each side)
Central lubrication unit (option)
Grease
Batteries
Ion exchanged water
F 11.0 4
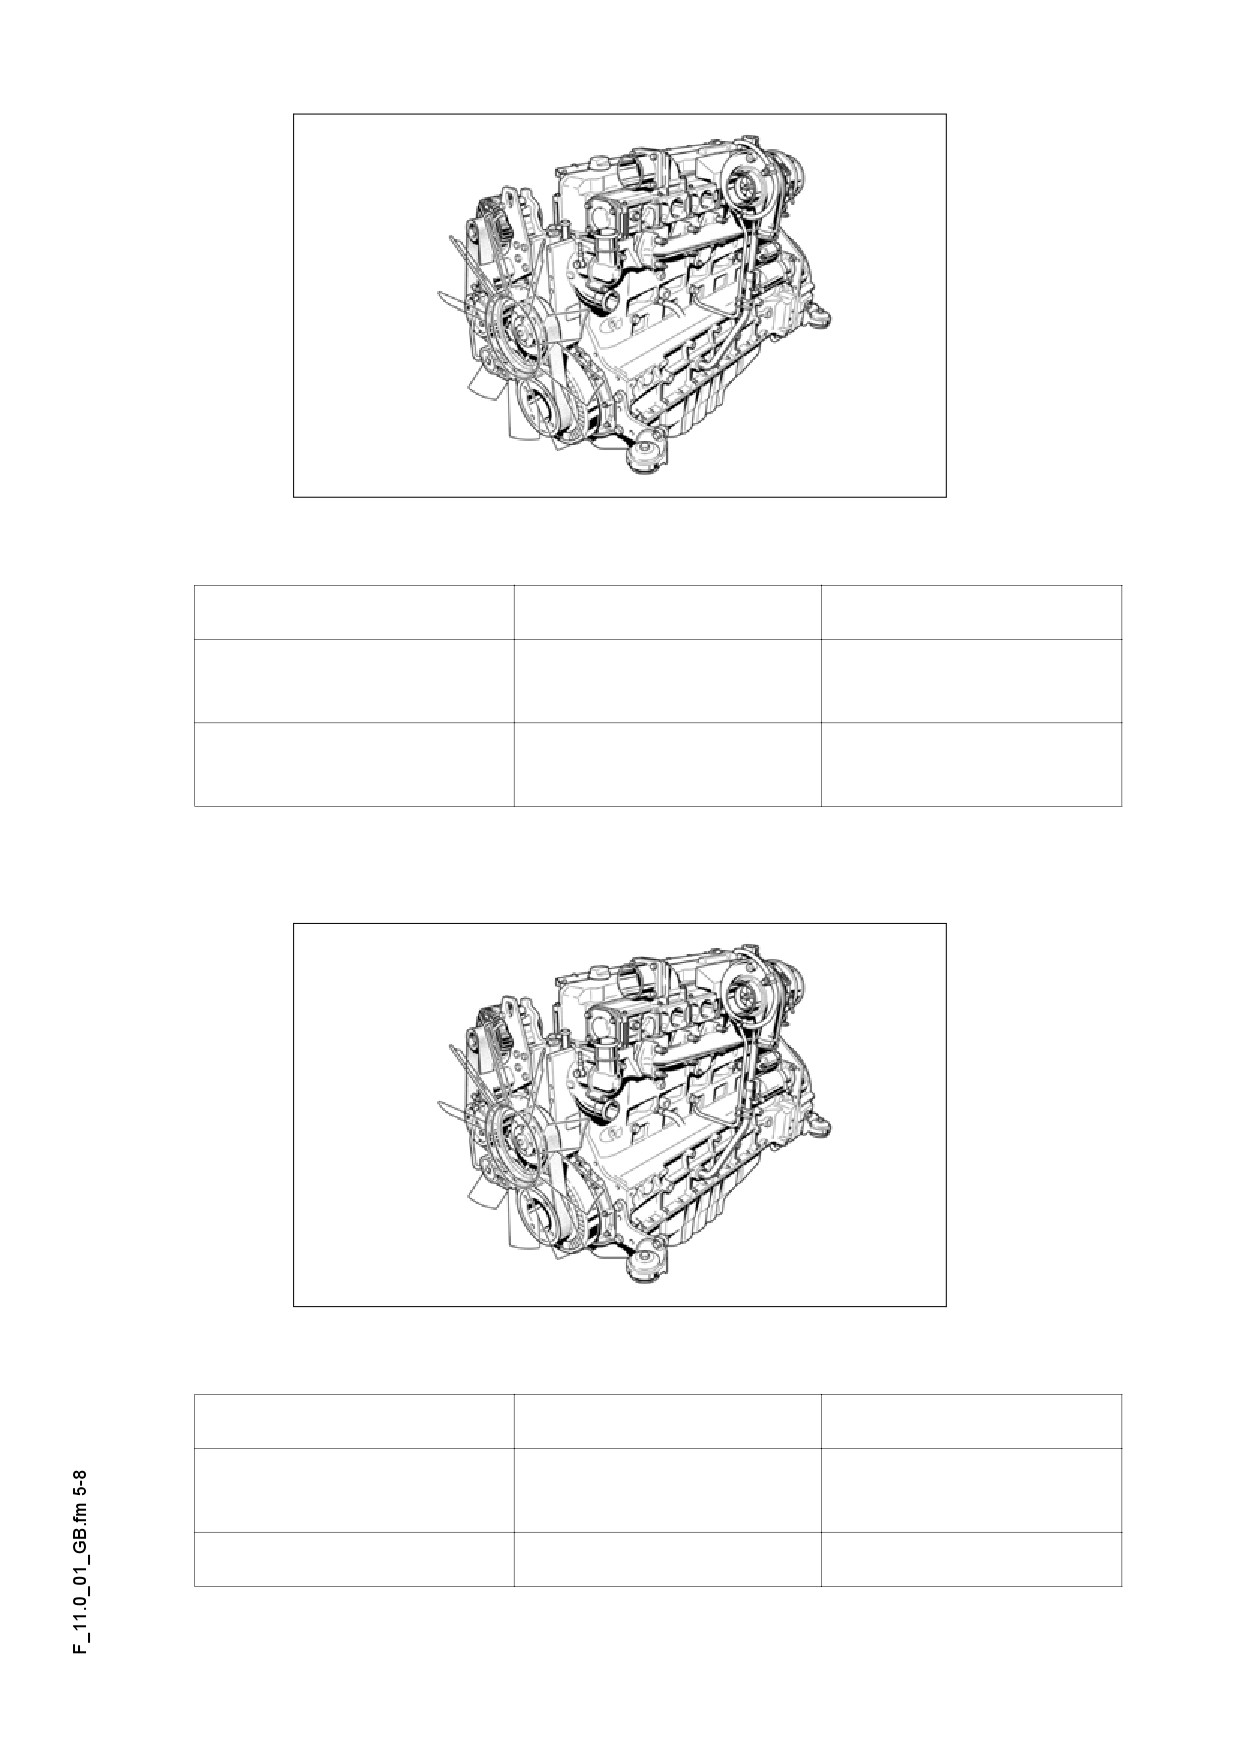
Engine - type Deutz TCD 2013 L06 2V
Deutz_2013L06
Fuel
Volume
Diesel engine
Engine oil 10W40
20,0
liters
(with oil filter change)
Cooling system of the
Coolant
20,0
liters
engine
Engine - type Deutz TCD 2013 L04 2V
Deutz_2013L06
Fuel
Volume
Diesel engine
Engine oil 10W40
15,0
liters
(with oil filter change)
Radiator system
Coolant
20,0
liters
F 11.0 5
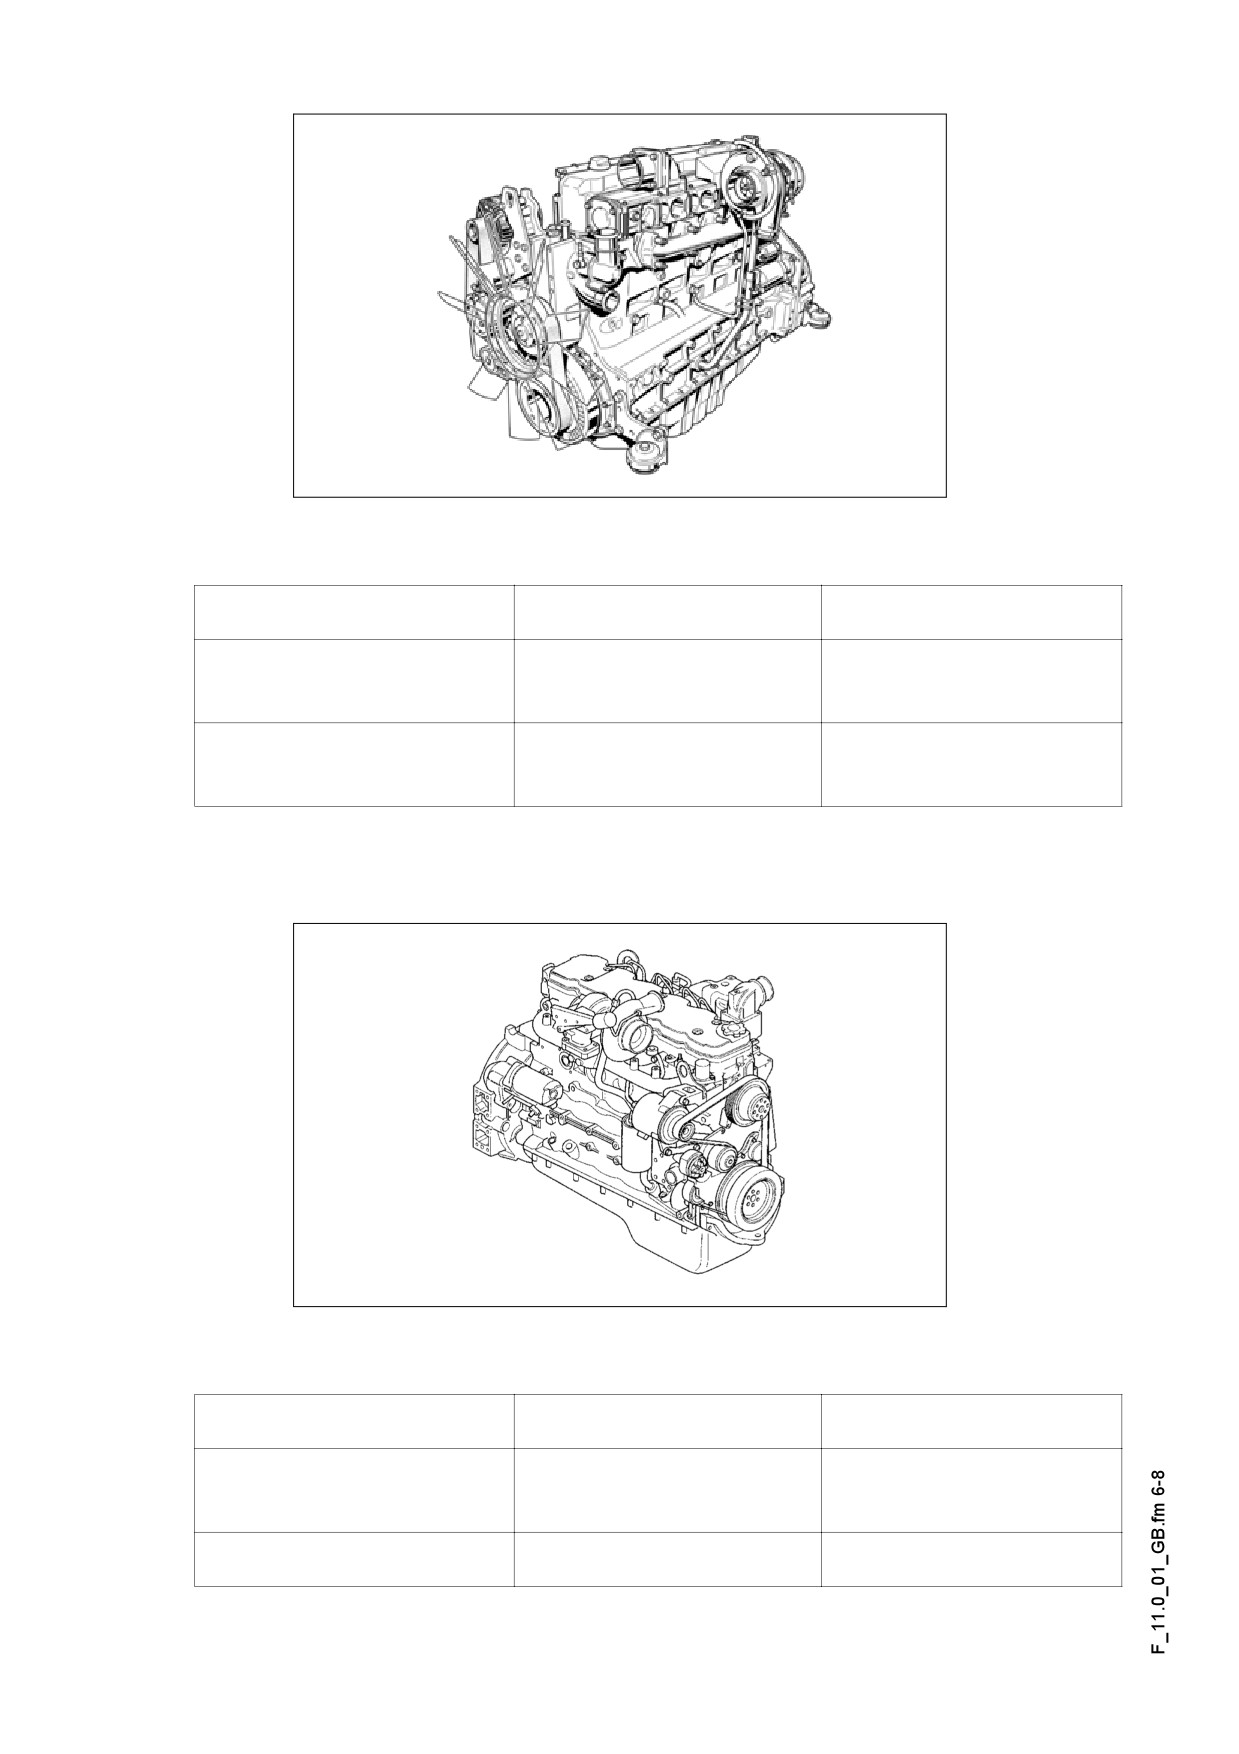
Engine type Deutz TCD 2012 L06 2V
Deutz_2013L06
Operating substance
Volume
Diesel engine
Engine oil 10W40
21,5
liters
(with oil filter change)
Cooling system of the
Coolant
20,0
engine
Engine type Cummins QSB 6.7 C190, C205, C220
Cummins_QSB6.7.tif
Operating substance
Volume
Diesel engine
Engine oil 10W40
16,5
liters
(with oil filter change)
Cooling system
Coolant
20,0
liters
F 11.0 6
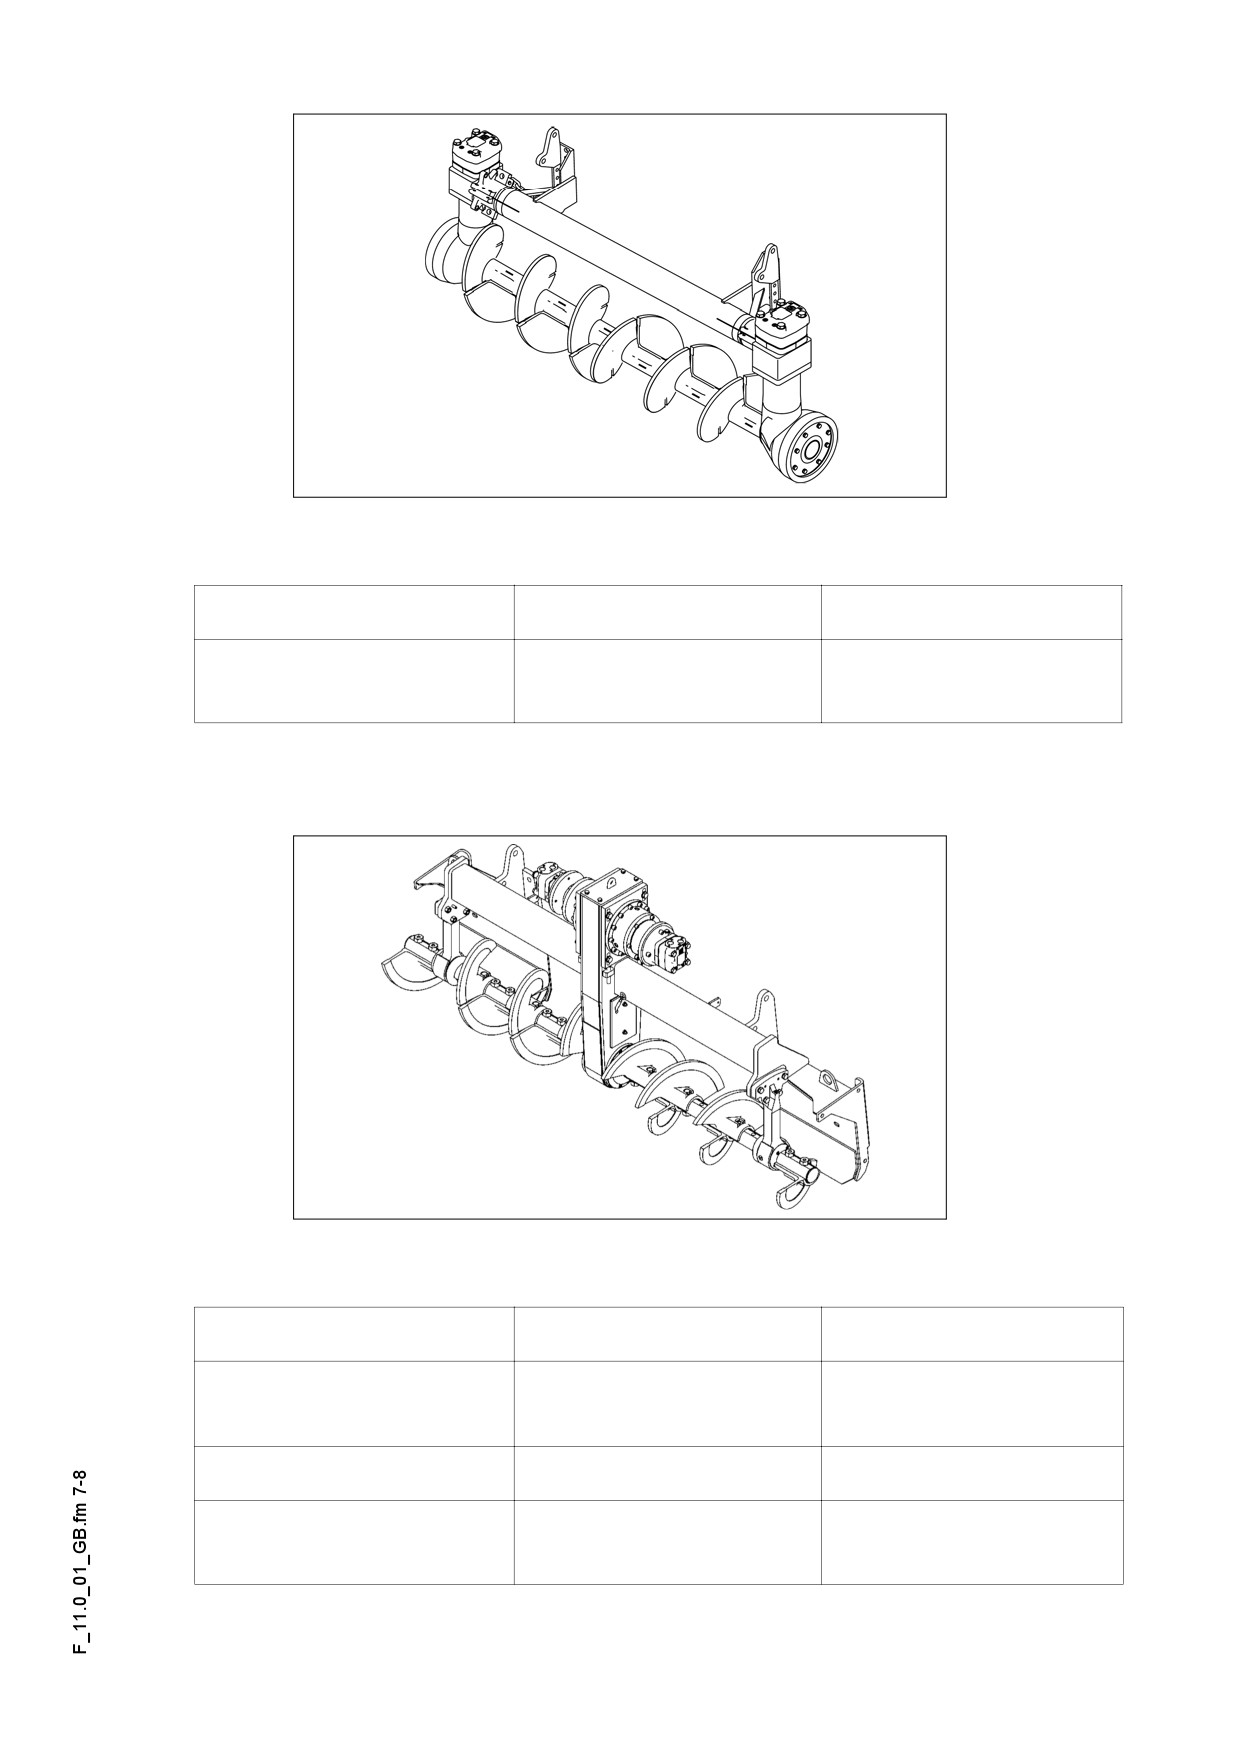
Auger - Type I
Auger_Dyn.bmp
Fuel
Volume
Auger bevel gear
Transmission oil 90
0,6
liters
(each side)
Auger - Type II
Auger_DEM.bmp
Fuel
Volume
Planetary gear
Transmission oil 90
0,5
liters
auger (each side)
Auger drive case
Transmission oil 460
2,5
liters
Auger - outer bearing
Heat resistant bearing
115
grams
(by bearings)**
grease
** in case of new installation
F 11.0 7
2
Instructions to change from mineral oil to synthetic oil / from synthetic oil to
mineral oil
2.1
Caterpillar drive - planetary gear
m Mixing synthetic oils with mineral oils is strictly forbidden!
- Completely drain the used oil.
A Change the oil when the engine is at op-
erating temperature.
- Rinse the subunit with the new type of
oil.
- For rinsing run the caterpillar drive
for 10 minutes.
- Fill in the oil type to be used according
to the applicable maintenance instruc-
tions.
F 11.0 8
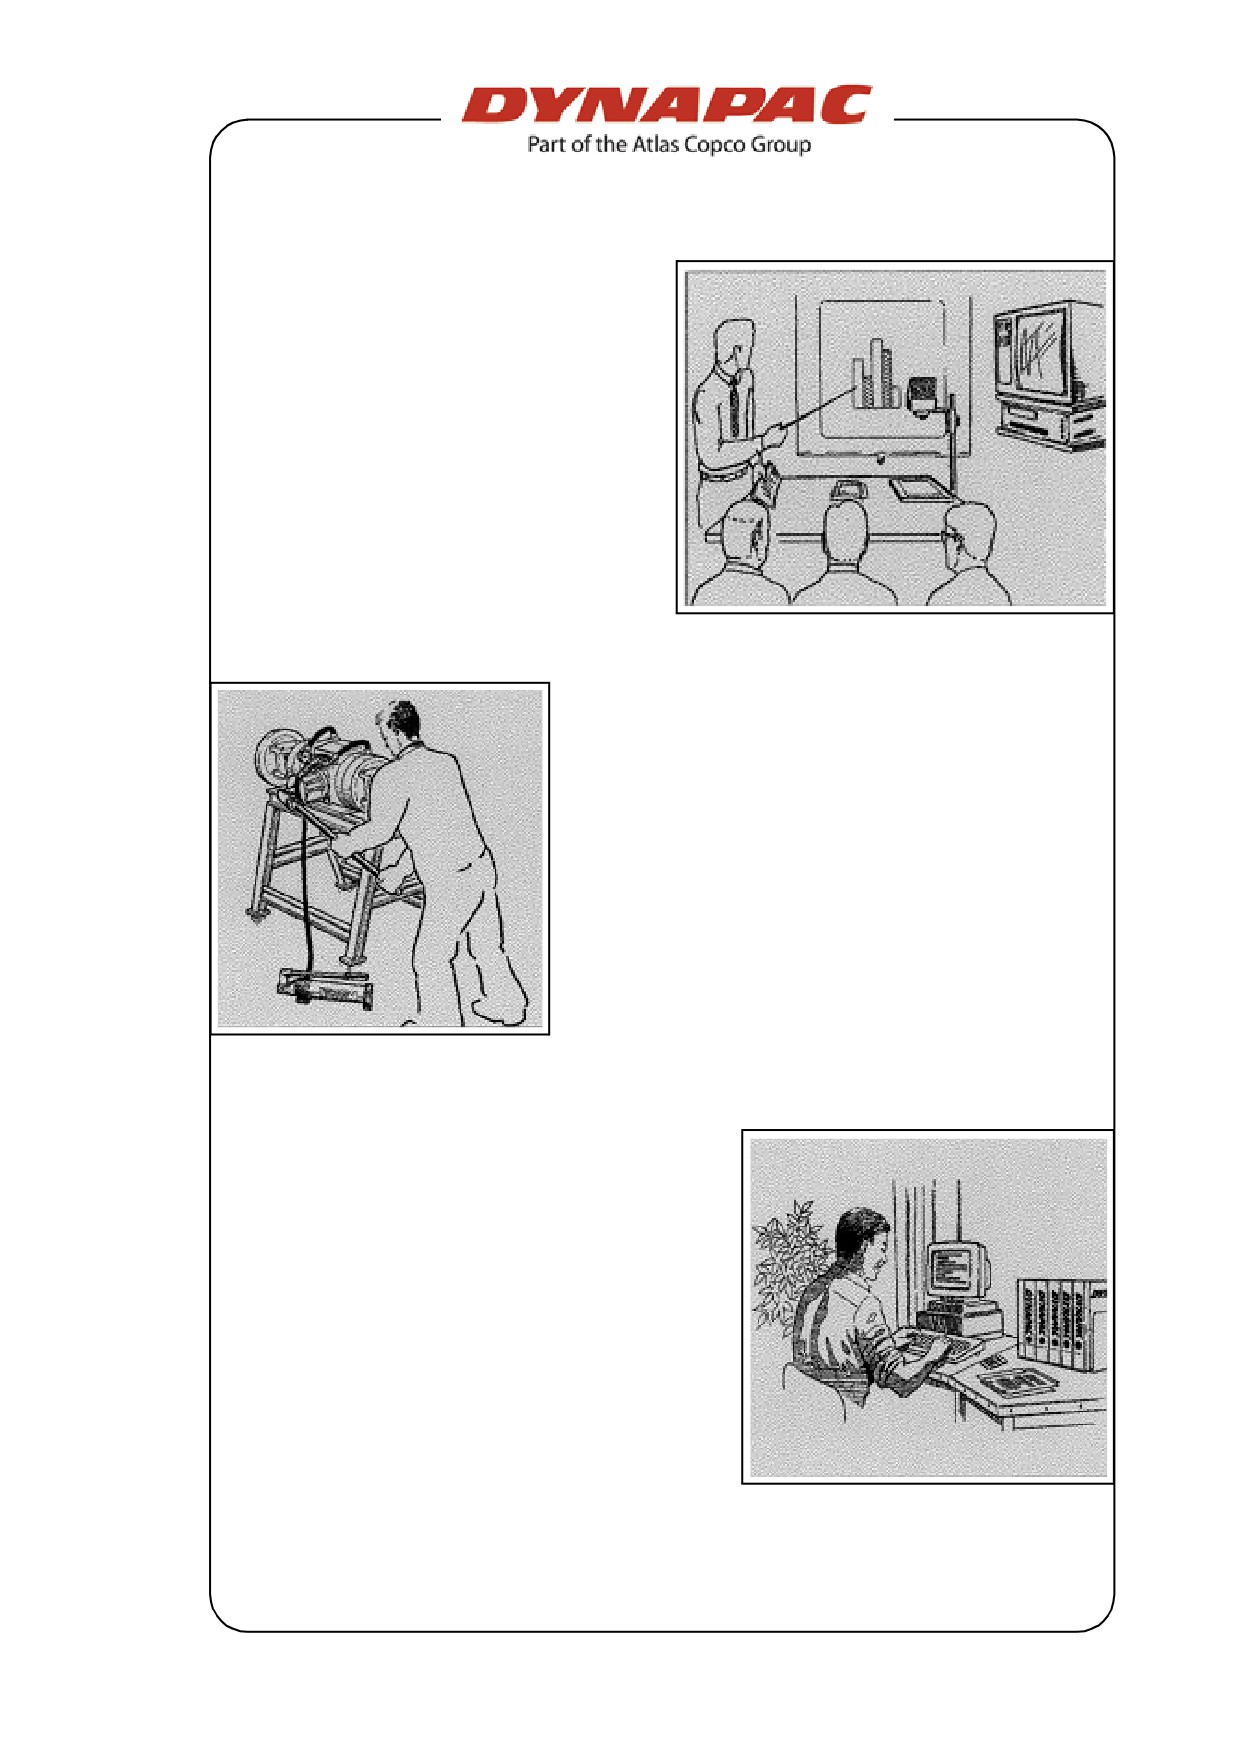
TRAINING/EDU-
CATION
We offer our Customers various
training programmes on DYNAPAC
equipment in our specialised training
centre in our factory. We hold train-
ing sessions also for special arrange-
ments in addition to courses and
programs held on fixed dates
SERVICE
In case of operational failures and questions
related to parts, please, contact one of our au-
thorised service representations. Our skilled
specialists will arrange for the fast and pro-
fessional repair.
OPERATING ADVICE
Anytime when our dealers cannot help you,
please, feel free to contact us directly. The
team of our "Technical Advisors" is at your
disposal.