AIRTRONIC / AIRTRONIC M. Manual - part 4
 

  Index      Engines     Eberspacher AIRTRONIC / AIRTRONIC M - service manual


Search            


Content   ..  2  3  4  5   ..


AIRTRONIC / AIRTRONIC M. Manual - part 4


13

Product information

2

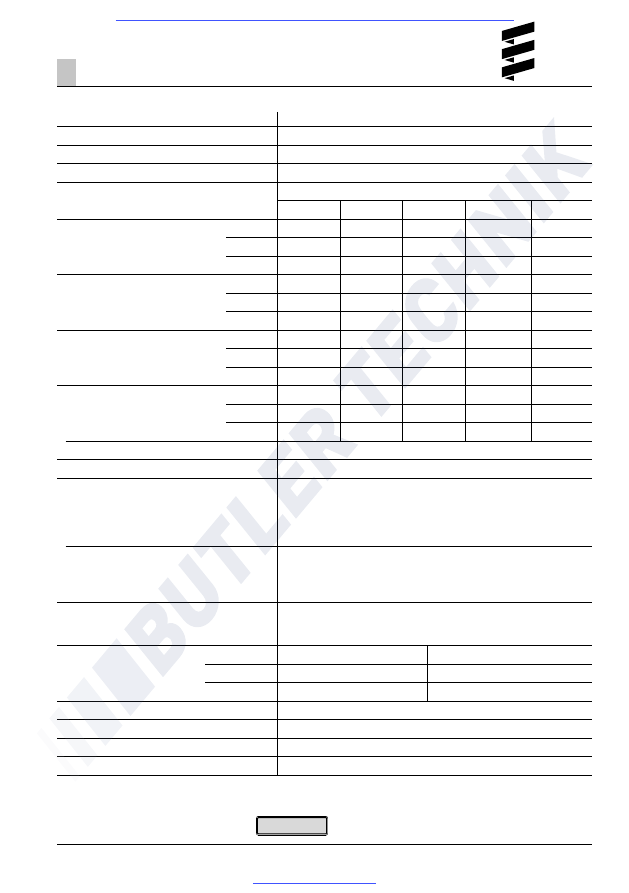
Technichal data

Heatertyp

Heater

Version

Heating medium

Control of the heat flow

Heat flow (watt)

D3

D4

D4 Plus

Heater  air  flow  rate

D3 with hood Ø 90 mm

without  counter-

D4 with hood Ø 90 mm

pressure (kg/h)

D4 Plus with hood Ø 75 mm

Fuel consumption (l/h)

D3

D4

D4 Plus

Elektr. power consumption (watt)

D3

in operation (12 and 24 volt)

D4

D4 Plus

at start (12 and 24 volt)

Rated voltage

Operating range

Lower voltage limit:
An undervoltage protection in the controller
switches off the heater when the voltage
limit is reached.

Upper voltage limit:
An uppervoltage protection in the controller
switches off the heater when the voltage
limit is reached.

Fuel

“Fuel quality“ and “Fuel at low temperatures“
see page 28.

Tolarable ambient temperature

Heater

Dosing pump

Maximum air intake temperature

Interference suppression

Weight

Ventilation mode

Airtronic M

Airtronic D3 / Airtronic D4 / Airtronic D4 Plus

D3 / D4 / D4 Plus

Air

Stage

Power

Large

Medium

Small

Off

3000

2200

1600

900

4000

3000

2000

900

4000

3000

2000

900

150

120

90

60

24

185

150

110

60

24

175

140

100

55

22

0.38

0.28

0.2

0.11

0.51

0.38

0.25

0.11

0.51

0.38

0.25

0.11

24

16

10

7

5

40

24

13

7

5

55

30

16

7

5

ⱕ100

12 or 24 volt

approx. 10.5 volt resp. 21 volt

Undervoltage protection trigger time: 20 seconds

approx. 16 volt resp. 32 volt

Overvoltage protection trigger time: 20 seconds

Commercially available diesel fuel (DIN EN 590)

Operation

Not running

–40 °C to +70 °C

–40 °C to +85 °C

–40 °C to +50 °C

–40 °C to +125 °C

+40 °C

Interference suppression class 5 to DIN EN 55 025

approx. 4.5 kg

possible

Please note!

Safety instructions for technical data and

                   see page 12.

14

Product information

2

Caution!

Safety instructions for technical data!
Failure to comply with the technical data
can result in malfunctions.

Technichal data

Heatertyp

Heater

Version

Heating medium

Control of the heat flow

Heat flow (watt)

Heater air flow rate

with hood Ø 90 mm

without counterpressure (kg/h)

Fuel consumption (l/h)

Elektr. power consumption (watt)

in operation (12 volt)

at start (12 volt)

Rated voltage

Operating range

Lower voltage limit:
An undervoltage protection in the controller
switches off the heater when the voltage
limit is reached.

Upper voltage limit:
An uppervoltage protection in the controller
switches off the heater when the voltage
limit is reached.

Fuel

“Fuel quality“ and “Fuel at low temperatures“
see page 28.

Tolarable ambiet temperature

Heater

Dosing pump

Maximum air intake temperature

Interference suppression

Weight

Ventilation mode

Airtronic M

Airtronic B4

B4

Air

Stage

Power

Large

Medium

Small

Off

3800

3200

2100

1300

185

160

120

85

24

0.54

0.46

0.29

0.18

40

29

15

9

5

ⱕ100

12 volt

approx. 10.5 volt

Undervoltage protection trigger time: 20 seconds

approx. 16 volt

Undervoltage protection trigger time: 20 seconds

Commercially available petrol fuel (DIN EN 228)

Operation

Not running

–40 °C to +50 °C

–40 °C to +85 °C

–40 °C to +20 °C

–40 °C to +125 °C

+40 °C

Interference suppression class 5 to DIN EN 55 025

approx. 4.5 kg

possible

Please note!

Provided no limit values are given, the technical data
listed is subject to the tolerances usually applicable
to heaters of ±10% for nominal voltage, ambient
temperature 20 °C and reference altitude Esslingen.

15


Main dimensions Airtronic

A = Exhaust
B = Fuel
V = Combustion air

1

Minimum installation clearance (space) for opening the lid and for
dismantling the glow plug and the controller.

2

Minimum installation clearance (space) for intake of heater air.

Main dimensions Airtronic M

*

Outlet hood for Airtronic D2:
- Ø 60 mm, included in the universal installation kit
- Ø 75 mm, included in the “Plus” installation kit

**

Outlet hood for Airtronic D3, B4, D4:
- Ø 75 mm, included in the universal installation kit
- Ø 90 mm, included in the universal installation kit or in
the “Plus” installation kit
Outlet hood for Airtronic D4 Plus:
- Ø 75 mm, included in the universal installation kit or in
  the “Plus” installation kit
- Ø 90 mm, included in the universal installation kit or in
  the “Plus” installation kit

Product information

2

**

*

Please note!

Installation of spherical reduction hood is not
permitted in the Airtronic D4 Plus.

16

Installation and location

The heater is suitable and certified for installation in
parts of vehicles used by persons.
Installation in the cab or passenger compartments of
coaches or buses with more than 9 seats is not
allowed.

When installing in compartments used by persons, the
exhaust, combustion air and fuel pipes in these areas
must not have any detachable connections and must
be routed splash-waterproof in the breakthroughs. For
this reason, the heater can be mounted with its foot
using the flange seal in the foot to the vehicle floor or
to an outer wall of the vehicle.

The electronic control is integrated in the heater which
makes wiring during installation much easier.

Installing the diesel heater 24 V in a vehicle
for the transport of dangerous goods as per
ADR

The 24 Volt diesel heater can be installed in vehicles
used for the transport of dangerous goods as per ADR.

The heater fulfils the regulations of ADR with the
corresponding electrical wiring, see circuit diagrams at
the end of this manual.

For information about the ADR regulations, please refer
to page 6, 31 and to the information leaflet no.
25 2161 95 15 80.

For installation of the heater in vehicles for the
transport of dangerous goods, the regulations of
ADR must be observed.

• When installing the heater, always make sure there

is sufficient clearance left for intake of the heater air
and for dismantling the glow plug and controller (see
page 15 “main dimensions“).

• The regulations and safety instructions to be

observed for this chapter are on page 4 – 7.

Installation

3

Please note!

Please note!

1

Heater in front of the passenger seat

2

Heater between the driver’s seat and the
passenger seat

3

Heater under the vehicle floor

4

Heater under the back seat

5

Heater in the boot

Installation position

Installation position in a camper van

In a camper van, the heater is preferably installed in
the inner compartment or luggage compartment.
If it is not possible to install the heater in the
passenger compartment or boot, the heater can also
be mounted, protected against splashing water,
under the vehicle floor.

The "Plus" installation kits are intended for
installation in a camper van.

Please note!


Content   ..  2  3  4  5   ..