Yanmar marine engine 6LPA-STP2, 6LPA-STZP2. Manual - part 18
 

  Index      Engines     Yanmar marine engine 6LPA-STP2, 6LPA-STZP2 - service manual


Search            


Content   ..  16  17  18  19   ..


Yanmar marine engine 6LPA-STP2, 6LPA-STZP2. Manual - part 18


TROUBLESHOOTING

6LPA Series Operation Manual

71

12/05

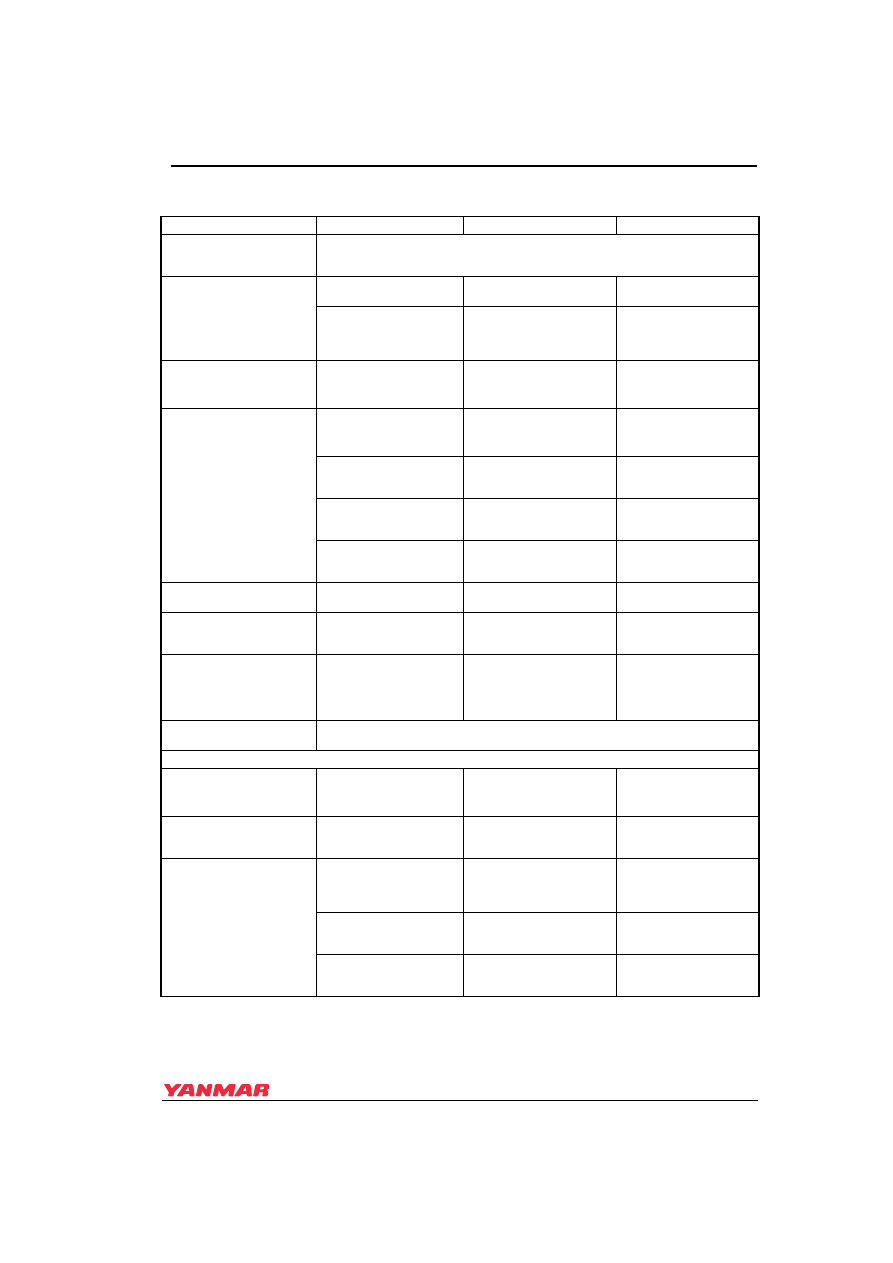
TROUBLESHOOTING CHART

Symptom

Probable Cause

Measure

Reference

Indicators light on the 

instrument panel and alarm 

sounds during operation

Shift to low speed operation immediately, and check which indicator has come on. 

Stop the engine and inspect. If no abnormality is identified and there is no problem 

with operation, return to port at lowest speed and request repairs. 

• Engine oil low pressure 

alarm indicator comes on 


Engine oil level is low.

Check engine oil level. Add 

or replace. 

See Adding Engine Oil 
on page 31

.

Engine oil filter clogged. 

Replace engine oil filter. 

Replace engine oil. 

See Changing the 
Engine Oil and Replacing 
the Engine Oil Filter 
Element on page 57

.

• Fresh water (coolant) 

level alarm comes on


Coolant / fresh water in 

coolant recovery tank is 

low. 

Check coolant level and 

refill.

See Checking and 
Adding Coolant on 
page 34

.

• Fresh water (coolant) 

high temperature alarm 

comes on


Coolant / fresh water in 

coolant recovery tank is 

low.

Check coolant level and 

refill.

See Checking and 
Adding Coolant on 
page 34

.

Leakage in fresh water 

cooling system causing 

temperature to rise.

See your authorized 

Yanmar Marine dealer or 

distributor. 

Contamination inside 

cooling system. 

See your authorized 

Yanmar Marine dealer or 

distributor.

Fresh water cooling pump 

damaged.

See your authorized 

Yanmar Marine dealer or 

distributor.

• Gear oil alarm comes on Insufficient drive oil.

Check oil level and refill.

See Marine Drive Oil on 
page 32

• Fuel filter alarm comes 

on

Water level in fuel / water 

separator too high.

Drain.

See Draining Fuel Filter / 
Water Separator on 
page 60

.

• Exhaust alarm comes on Insufficient discharge of 

cooling seawater.Check 

that seacock is 

open.Damaged seawater 

pump.

See your authorized 

Yanmar Marine dealer or 

distributor.

-

Faulty Warning Devices

Do not operate the engine if alarm devices are not repaired. Serious accidents may 

result if abnormalities are not identified due to faulty indicators or alarm. 

 Indicators Do Not Go On:
• When key is turned ON
• When any trouble occurs 

(oil pressure etc.)

No electrical current 

available. Circuit broken 

or lamp burned out.

See your authorized 

Yanmar Marine dealer or 

distributor.

• One of the indicators 

does not go out

Sensor switch is faulty.

See your authorized 

Yanmar Marine dealer or 

distributor.

• Battery low charge 

indicator does not go out 

during operation

V-belt is loose or broken.

Replace V-belt or adjust 

tension.

See Checking and 
Adjusting the Alternator 
V-Belt Tension on 
page 66

.

Battery is defective.

Check battery fluid level, 

specific gravity or replace 

battery. 

See Checking the Battery 
Electrolyte Level on 
page 57

.

Alternator power 

generation failure.

See your authorized 

Yanmar Marine dealer or 

distributor.

TROUBLESHOOTING

72

6LPA Series Operation Manual

Starting Failures:
• Starter turns but engine 

does not start


No fuel.

Add fuel. Bleed fuel 

system.

See Filling the Fuel Tank 
on page 28

 and See 

Bleeding the Fuel 
System on page 29

Air in fuel line.

Bleed fuel system.

See Bleeding the Fuel 
System on page 29

.

Fuel filter is clogged.

Replace filter element.

See Replacing the Fuel 
Filter Element on page 63

.

Improper fuel.

Replace with 

recommended fuel.

See Diesel Fuel 
Specifications on page 26

.

Problem with fuel 

injection.

See your authorized Yanmar 

Marine dealer or distributor.

Compression leakage 

from intake / exhaust 

valve.

See your authorized 

Yanmar Marine dealer or 

distributor.

•  Starter does not turn or 

turns slowly (engine can 

be turned manually)


Faulty clutch position.

Shift to NEUTRAL and 

start.

Insufficient battery 

charge.

Check fluid level. 

Recharge. Replace.

See Checking the Battery 
Electrolyte Level on 
page 57

.

Cable terminal contact 

failure.

Remove corrosion from 

terminals. Tighten battery 

cables.

Faulty safety switch 

device.

See your authorized Yanmar 

Marine dealer or distributor.

Faulty starter switch.

See your authorized Yanmar 

Marine dealer or distributor.

Power lacking due to 

accessory drive being 

engaged.

See your authorized Yanmar 

Marine dealer or distributor.

• Engine cannot be turned 

manually

Internal parts seized.

See your authorized Yanmar 

Marine dealer or distributor.

Abnormal Exhaust Color:
• Black  smoke
 

Overload

Reduce load.

Improper propeller 

matching. 

See your authorized Yanmar 

Marine dealer or distributor.

Dirty air cleaner. 

Clean air cleaner.

See Cleaning the Air 
Cleaner on page 65

.

Improper fuel. 

Replace with 

recommended fuel.

See Diesel Fuel 
Specifications on page 26

.

Faulty spraying of fuel 

injector. 

See your authorized Yanmar 

Marine dealer or distributor.

Low boost pressure.

See your authorized Yanmar 

Marine dealer or distributor.

-

Incorrect intake / exhaust 

valve clearance. 

See your authorized Yanmar 

Marine dealer or distributor.

-

• White smoke
 

Improper fuel.

Replace with 

recommended fuel.

See Diesel Fuel 
Specifications on page 26

.

Faulty spraying of fuel 

injector. 

See your authorized Yanmar 

Marine dealer or distributor.

Fuel injection timing off. 

See your authorized Yanmar 

Marine dealer or distributor.

Engine burning oil 

(excessive consumption). 

See your authorized Yanmar 

Marine dealer or distributor.

Symptom

Probable Cause

Measure

Reference

6LPA Series Operation Manual

73


LONG-TERM STORAGE

If the engine will not be used for an 
extended period of time, special measures 
should be taken to protect the cooling 
system, fuel system and combustion 
chamber from corrosion and the exterior 
from rusting.

The engine can normally stand idle for up 
to 6 months. If it remains unused for longer 
than this, please contact your authorized 
Yanmar Marine dealer or distributor.

Before performing any storage procedures 
within this section, review the Safety 
section on page 3.

In cold temperatures or before long-term 
storage, be sure to drain the seawater from 
the cooling system.

NOTICE

DO NOT drain the coolant system. A full 
coolant system will prevent corrosion and 
frost damage.

If seawater is left inside of the engine, it 
may freeze and damage parts of the 
cooling system when the ambient 
temperature is below 0°C (32°F).

PREPARE ENGINE FOR 
LONG-TERM STORAGE

Note: If the engine is close to a 

periodic maintenance interval, 
perform those maintenance 
procedures before putting the 
engine into long-term storage.

1. Wipe off any dust or oil from the outside 

of engine.

2. Drain water from fuel filters.
3. Drain fuel tank completely or fill the 

tank to prevent condensation.

4. Grease the exposed areas and joints of 

the remote control cables and the 
bearings of the remote control handle.

5. Seal the intake silencer, exhaust pipe, 

etc. to prevent moisture or 
contamination from entering engine.

6. Completely drain bilge in hull bottom.
7. Waterproof the engine room to prevent 

rain or seawater from entering.

8. Charge the battery once a month to 

compensate for battery’s 
self-discharge.

9. Remove key from key switch and cover 

the key switch with moisture cap.

LONG-TERM STORAGE

74

6LPA Series Operation Manual

DRAIN SEAWATER 
COOLING SYSTEM

 Figure 1

Figure 1 

 Figure 2

Figure 2 

 Figure 3

Figure 3 

 Figure 4

Figure 4 

1 – Seawater Drain Cock
2 – Fresh Water Drain Cock
3 – Fresh Water Drain Cock
4 – Seawater Pump Cover
5 – Seawater Drain Cock

NOTICE

If seawater is left inside, it may freeze and 
damage parts of the cooling system (heat 
exchanger, seawater pump, etc.) when 
ambient temperature is below 32°F (0°C).

1. Close the seacock.
2. Open the seawater drain cocks and 

drain off the seawater.

3. Remove four bolts attaching the side 

cover of the seawater pump. Remove 
the cover and drain the seawater.

4. Install cover and tighten bolts.
5. Close all the drain cocks.

(2)

(1)

0004904

(3)

0004905

(4)

0004906

(5)

0004907


Content   ..  16  17  18  19   ..