Nissan Qashqai (2007-2010). Manual - part 1894


  Index      Nissan     Nissan Qashqai - service and repair manual 2007 - 2010 year


Search            copyright infringement  


Content   ..  1892  1893  1894  1895   ..


Nissan Qashqai (2007-2010). Manual - part 1894
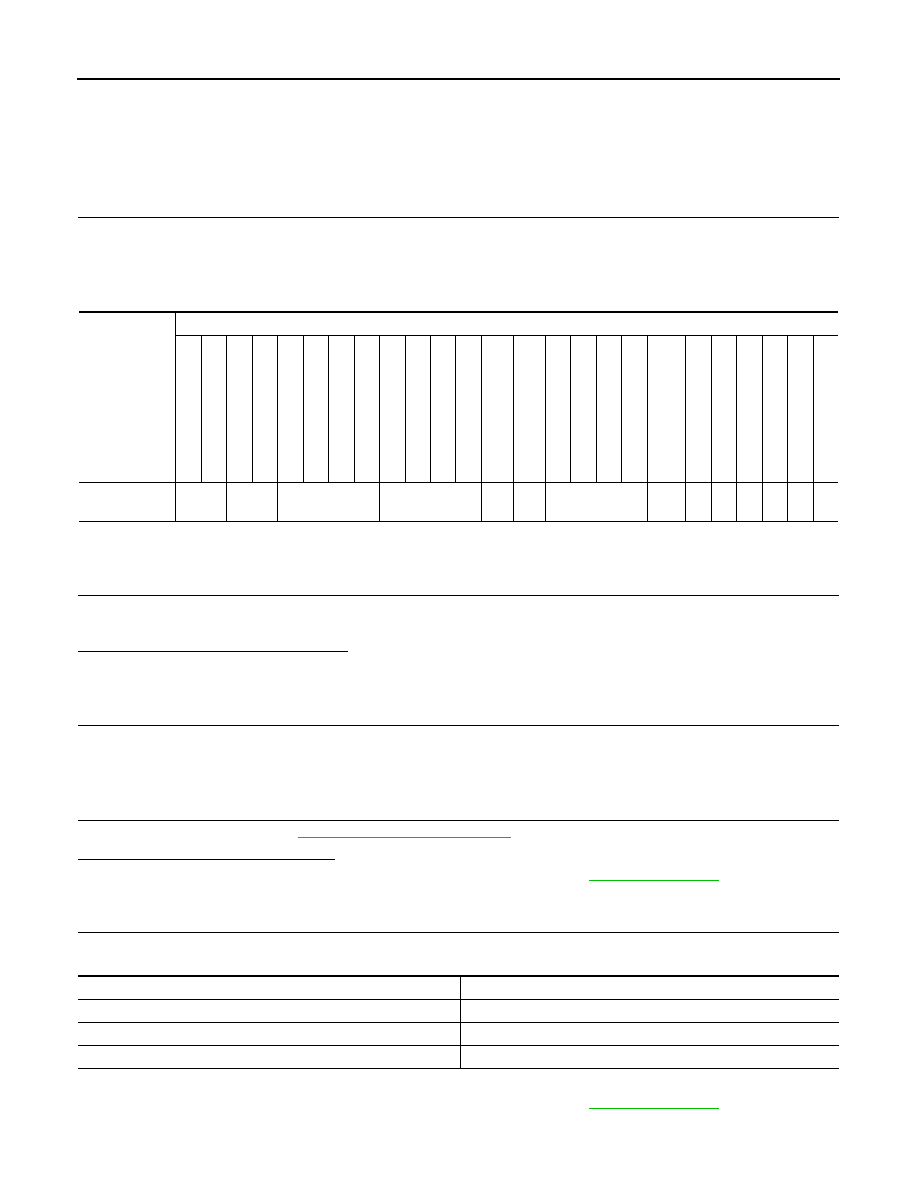


PG-114

< ON-VEHICLE MAINTENANCE >

[POWER SUPPLY & GROUND CIRCUIT]

BATTERY CHARGING CHART

ON-VEHICLE MAINTENANCE

BATTERY CHARGING CHART

Slow Charge

INFOID:0000000000978183

1.

DETERMINE INITIAL CHARGING CURRENT

1.

Determine initial charging current from specific gravity.

2.

Check battery type and determine the specified current using the table.

NOTE:
After starting charging, adjustment of charging current is not necessary.

Initial Charging Current Setting (Slow Charge)

>> GO TO 2.

2.

CHARGE BATTERY

1.

Charge battery.

2.

Check charge voltage 30 minutes after starting the battery charge.

Is the voltage between 12 V and 15 V?

YES

>> GO TO 3.

NO

>> Replace battery.

3.

CHARGE BATTERY

Continue to charge for 12 hours.

>> GO TO 4.

4.

CHECKING SPECIFIC GRAVITY

Check specific gravity. Refer to 

PG-3, "How to Handle Battery"

.

Is the specific gravity 1.240 or more?

YES

>> Complete slow charge. Perform “CAPACITY TEST”. Refer to 

PG-4, "Work Flow"

.

NO

>> GO TO 5.

5.

CONDUCT ADDITIONAL CHARGE

Add charging time depending on specific gravity.

Additional Charge (Slow Charge)

>> Complete slow charge. Perform “CAPACITY TEST”. Refer to 

PG-4, "Work Flow"

.

CAUTION:

CONVERTED

SPECIFIC

GRAVITY

BATTERY TYPE

28

B19

R

(L)

34

B19

R

(L)

46

B24

R

(L)

55

B24

R

(L)

50

D23

R

(L)

55

D23

R

(L)

025 [YUASA type code]

027 [YUASA type code]

80

D23

R

(L)

65

D26

R

(L)

80

D26

R

(L)

067 [YUASA type code]

096 [YUASA type code]

75

D31

R

(L)

95

D31

R

(L)

1

1

5

D

31

R(L)

1

1

0

D

26

R(L)

95

E41

R

(L)

13

0E

41

R(L

)

L

B

1 (3

30

)

L

B

1+

 (4

20

)

L

B

2 (5

10

)

L

B

2+

 (6

00

)

L

B

3 (7

20

)

L3

 (72

0

)

Below 1.100

4.0 (A)

5.0 (A)

7.0 (A)

8.0 (A)

8.5 
(A)

9.0 
(A)

10.0 (A)

14.0 

(A)

SPECIFIC GRAVITY

CHARGING TIME (h)

Below 1.150

5

1.150 - 1.200

4

1.200 - 1.240

2

PG

BATTERY CHARGING CHART

PG-115

< ON-VEHICLE MAINTENANCE >

[POWER SUPPLY & GROUND CIRCUIT]

C

D

E

F

G

H

I

J

K

L

B

A

O

P

N

• Set charging current to value specified in “Initial Charging Current Setting (Slow Charge)”. If charger

is not capable of producing specified current value, set its charging current as close to that value as
possible.

• Keep battery away from open flame while it is being charged.
• When connecting charger, connect leads first, then turn on charger. Never turn on charger first, as

this may cause a spark.

• If battery temperature rises above 55

°

C (131

°

F), stop charging. Always charge battery when its tem-

perature is below 55

°

C (131

°

F).

Standard Charge

INFOID:0000000000978184

1.

DETERMINE INITIAL CHARGING CURRENT

1.

Determine initial charging current from specific gravity.

2.

Check battery type and determine the specified current using the table.

NOTE:
After starting charging, adjustment of charging current is not necessary.

Initial Charging Current Setting (Standard Charge)

>> GO TO 2.

2.

CHARGE BATTERY

Charge battery for 8 hours.

>> GO TO 3.

3.

CHECKING SPECIFIC GRAVITY

Check specific gravity. Refer to 

PG-3, "How to Handle Battery"

.

Is the specific gravity 1.240 or more?

YES

>> Complete standard charge. Perform “CAPACITY TEST”. Refer to 

PG-4, "Work Flow"

.

NO

>> GO TO 4.

4.

CONDUCT ADDITIONAL CHARGE

Add charging time depending on specific gravity.

Additional Charge (Standard Charge)

CONVERTED

SPECIFIC

GRAVITY

BATTERY TYPE

28

B19

R

(L)

34

B19

R

(L)

46

B24

R

(L)

55

B24

R

(L)

50

D23

R

(L)

55

D23

R

(L)

025 [YUASA type code]

027 [YUASA type code]

80

D23

R

(L)

65

D26

R

(L)

80

D26

R

(L)

067 [YUASA type code]

096 [YUASA type code]

75

D31

R

(L)

95

D31

R

(L)

1

1

5

D

31

R(L)

1

1

0

D

26

R(L)

95

E41

R

(L)

13

0E

41

R(L

)

L

B

1 (3

30

)

L

B

1+

 (4

20

)

L

B

2 (5

10

)

L

B

2+

 (6

00

)

L

B

3 (7

20

)

L3

 (72

0

)

1.100 - 1.130

4.0 (A)

5.0 (A)

6.0 (A)

7.0 (A)

8.0 
(A)

9.0 (A)

13.0 

(A)

1.130 - 1.160

3.0 (A)

4.0 (A)

5.0 (A)

6.0 (A)

7.0 
(A)

8.0 (A)

11.0 

(A)

1.160 - 1.190

2.0 (A)

3.0 (A)

4.0 (A)

5.0 (A)

6.0 
(A)

7.0 (A)

9.0 
(A)

1.190 - 1.220

2.0 (A)

2.0 (A)

3.0 (A)

4.0 (A)

5.0 
(A)

5.0 (A)

7.0 
(A)

SPECIFIC GRAVITY

CHARGING TIME (h)

Below 1.150

3.5

1.150 - 1.200

2.5

1.200 - 1.240

1.5

PG-116

< ON-VEHICLE MAINTENANCE >

[POWER SUPPLY & GROUND CIRCUIT]

BATTERY CHARGING CHART

>> Complete standard charge. Perform “CAPACITY TEST”. Refer to 

PG-4, "Work Flow"

.

CAUTION:

• Never use standard charge method on a battery whose specific gravity is less than 1.100.
• Set charging current to value specified in “Initial Charging Current Setting (Standard Charge)”. If

charger is not capable of producing specified current value, set its charging current as close to that
value as possible.

• Keep battery away from open flame while it is being charged.
• When connecting charger, connect leads first, then turn on charger. Never turn on charger first, as

this may cause a spark.

• If battery temperature rises above 55

°

C (131

°

F), stop charging. Always charge battery when its tem-

perature is below 55

°

C (131

°

F).

Quick Charge

INFOID:0000000000978185

1.

DETERMINE INITIAL CHARGING CURRENT

1.

Determine initial charging current setting and charging time from specific gravity.

2.

Check battery type and determine the specified current using the table.

NOTE:
After starting charging, adjustment of charging current is not necessary.

Initial Charging Current Setting and Charging Time (Quick Charge)

CAUTION:

• Never use quick charge method on a battery whose specific gravity is less than 1.100.
• Set initial charging current to value specified in “Initial Charging Current Setting and Charging Time

(Quick Time)”. If charger is not capable of producing specified current value, set its charging current
as close to that value as possible.

• Keep battery away from open flame while it is being charged.
• When connecting charger, connect leads first, then turn on charger. Never turn on charger first, as

this may cause a spark.

• Be careful of a rise in battery temperature because a large current flow is required during quick-

charge operation.
If battery temperature rises above 55

°

C (131

°

F), stop charging. Always charge battery when its tem-

perature is below 55

°

C (131

°

F). 

• Never exceed the charging time specified in “Initial Charging Current Setting and Charging Time

(Quick Charge)”, because charging battery over the charging time can cause deterioration of the
battery. 

BATTERY TYPE

28B

19

R(L

)

34B

19

R(L

)

46B

24

R(L

)

55B

24

R(L

)

50

D23R(L

)

55

D23R(L

)

80

D23R(L

)

65

D26R(L

)

80

D26R(L

)

0

2

5

 [YUAS

A

 type

 code

]

0

2

7

 [YUAS

A

 type

 code

]

0

6

7

 [YUAS

A

 type

 code

]

0

9

6

 [YUAS

A

 type

 code

]

75

D31R(L

)

95

D31R(L

)

1

1

5

D

31R(L

)

1

1

0

D

26R(L

)

95E

41

R(L

)

13

0E4

1

R(L

)

LB1

 (3

30

)

LB1

+

 (4

20

)

LB2

 (5

10

)

LB2

+

 (6

00

)

LB3

 (7

20

)

L3

 (7

20

)

CURRENT [A]

10

15

20

25

30

40

C

O

NVER

TED S

PECIFIC 

GRA

V

IT

Y

1.100 - 

1.130

2.5 hours

1.130 - 

1.160

2.0 hours

1.160 - 

1.190

1.5 hours

1.190 - 

1.220

1.0 hour

Above 

1.220

0.75 hour (45 min.)

PG

BATTERY CHARGING CHART

PG-117

< ON-VEHICLE MAINTENANCE >

[POWER SUPPLY & GROUND CIRCUIT]

C

D

E

F

G

H

I

J

K

L

B

A

O

P

N

>> GO TO 2.

2.

CHARGE BATTERY

Charge battery.

>> Complete quick charge. Perform “CAPACITY TEST”. Refer to 

PG-4, "Work Flow"

.


Content   ..  1892  1893  1894  1895   ..