Content .. 1303 1304 1305 1306 ..
Nissan Qashqai (2007-2010). Manual - part 1305
RF-54
< ON-VEHICLE REPAIR >
SUNSHADE
1.
Fully open the sunshade.
2.
Remove the headlining. Refer to
INT-21, "Removal and Installation"
.
3.
Remove the sunshade motor assembly. Refer to
RF-50, "SUNSHADE MOTOR ASSEMBLY : Removal
4.
Remove the harness clamp.
5.
Remove the TORX bolt (T30)
6.
Remove the rear sunshade bracket.
7.
Remove the mounting bolt from the side rail.
8.
Remove the unit side bolts of the sunshade front bracket and loosen the body side bolts.
9.
Remove the bolt from the rear end, and then remove sunshade unit assembly.
10. Remove the sunshade from vehicle.
INSTALLATION
1.
Temporarily tighten the mounting bolts to the sunshade front bracket.
2.
Place the front end of the rail onto the sunshade front bracket.
3.
Temporarily tighten the mounting bolts to the rear end of sunshade unit assembly.
4.
Temporarily tighten the mounting bolts to the sunshade rear bracket.
5.
Tighten the installation points diagonally excluding the installation point of the sunshade bracket around
the roof.
6.
Tighten the sunshade front and rear bracket bolts, of the vehicle side, and then tighten the bolt of the rail
side.
7.
Tighten the mounting bolt to the rear end.
8.
Install the sunshade motor assembly. Refer to
RF-50, "SUNSHADE MOTOR ASSEMBLY : Removal and
.
9.
Install the headlining. Refer to
INT-21, "Removal and Installation"
SUNSHADE UNIT ASSEMBLY : Disassembly and Assembly
INFOID:0000000001026655
DISASSEMBLY
1.
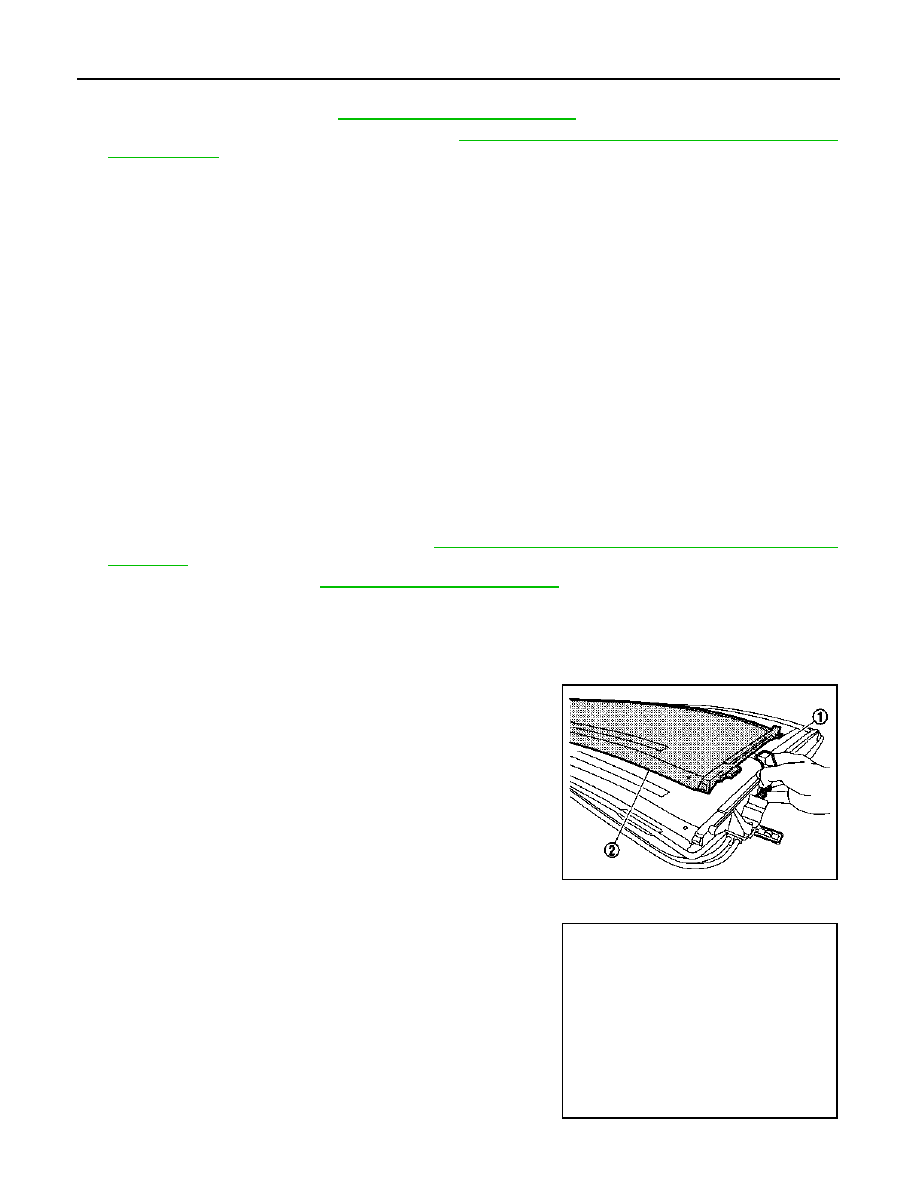
Remove the sunshade A and B.
Slide sunshades (2) A and B while lifting up the spring (1), and
then remove them from the rails
2.
Remove the sunshade C.
• Remove the tabs of the wire joint (1) and sunshade C joint (2).
• Slide sunshades C while lifting up the spring, and then remove
them from the rails
ASSEMBLY
JMKIA0322ZZ
JMKIA0323ZZ