Jaguar XJ (X350). Service manual - part 459
 

  Index      Jaguar     Jaguar XJ (X350) - service and repair manual 2003-2009 year


Search            


Content   ..  457  458  459  460   ..


Jaguar XJ (X350). Service manual - part 459


17 


NOTE:  


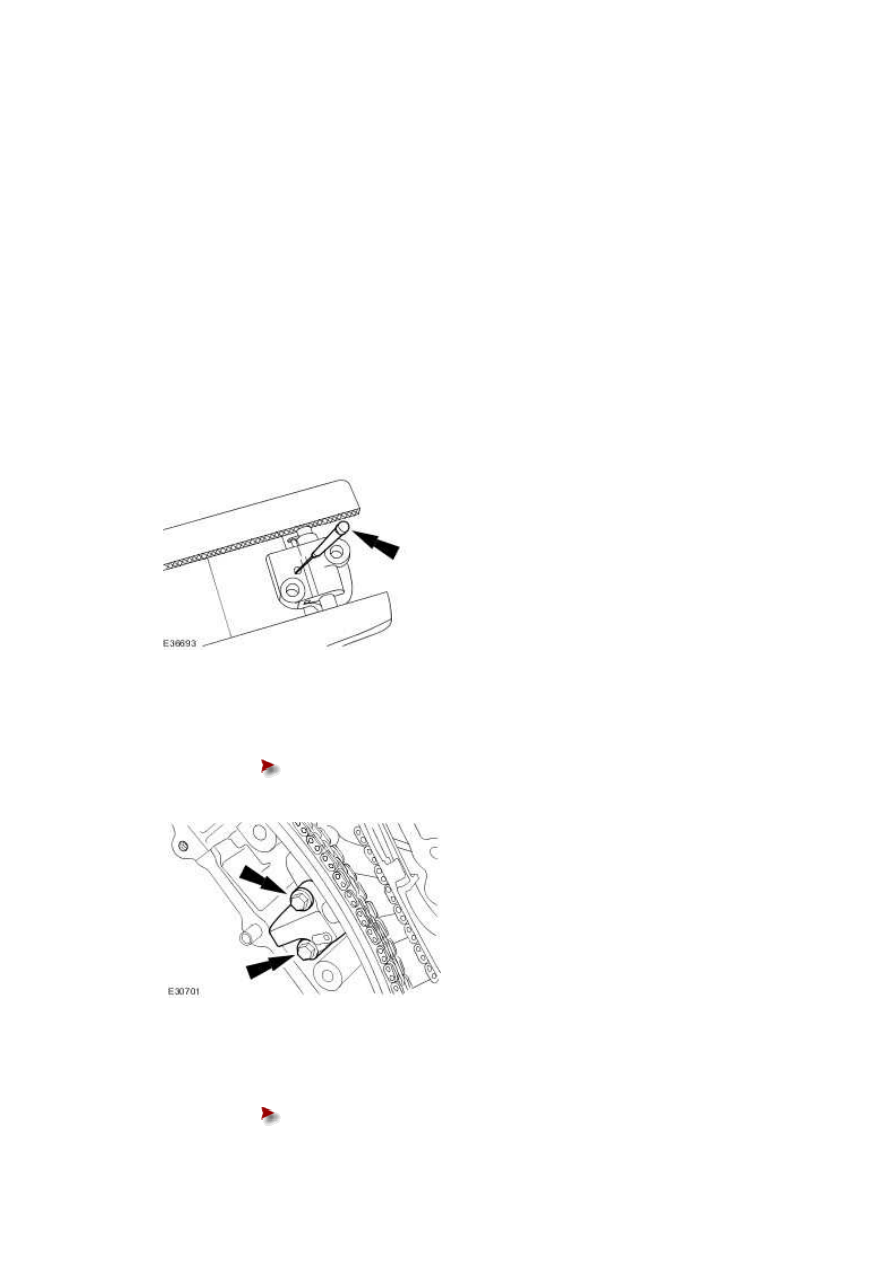
The timing chain tensioner piston should retract with minimal force. If binding occurs, 

reposition the timing chain tensioner to eliminate side loading. 


Slowly compress the right-hand timing chain tensioner. 


18 


NOTE:  


The retaining tool must remain in the timing chain tensioner until the timing chain 

tensioner is installed to the engine with the piston bottomed in the bore. 


Using a suitable tool, retain the right-hand timing chain tensioner piston.  


19 . Install the primary timing chain tensioner assembly. 


Tighten to 12 Nm.


20 . Release the tension in the right-hand timing chain tensioner. 


Remove the retaining tool.


21 


  CAUTION: While applying the opposing force to sprocket and chain, tighten the 

sprocket bolt. 


Using the special tool, apply force to the tool in an anti-clockwise direction to tension the 

primary timing chain on its drive side.  


Tighten to 120 Nm.


22 


  CAUTION: While applying the opposing force to sprocket and chain, tighten the 

sprocket bolt. 


Using the special tool, apply force to the tool in an anti-clockwise direction.  


Tighten to 120 Nm.


23 . Remove the special tool to the right-hand cylinder head. 

www.


24 . Remove the special tool to the left-hand cylinder head. 


25 . Install the left-hand variable camshaft timing oil control unit housing. 


Install new O-ring seals.


Tighten to 22 Nm.


26 . Install the right-hand variable camshaft timing oil control unit housing. 


Install new O-ring seals.


Tighten to 22 Nm.


27 


Install the engine front cover.  

For additional information, refer to Engine Front Cover - VIN Range: G45704->G99999 

(12.65.01)  


28 . Remove the special tool.  


29 . Install the CKP sensor.  


Tighten to 10 Nm.


30 . Connect the CKP sensor electrical connector. 

www.


Content   ..  457  458  459  460   ..