Jaguar XJ (X350). Service manual - part 147
 

  Index      Jaguar     Jaguar XJ (X350) - service and repair manual 2003-2009 year


Search            


Content   ..  145  146  147  148   ..


Jaguar XJ (X350). Service manual - part 147


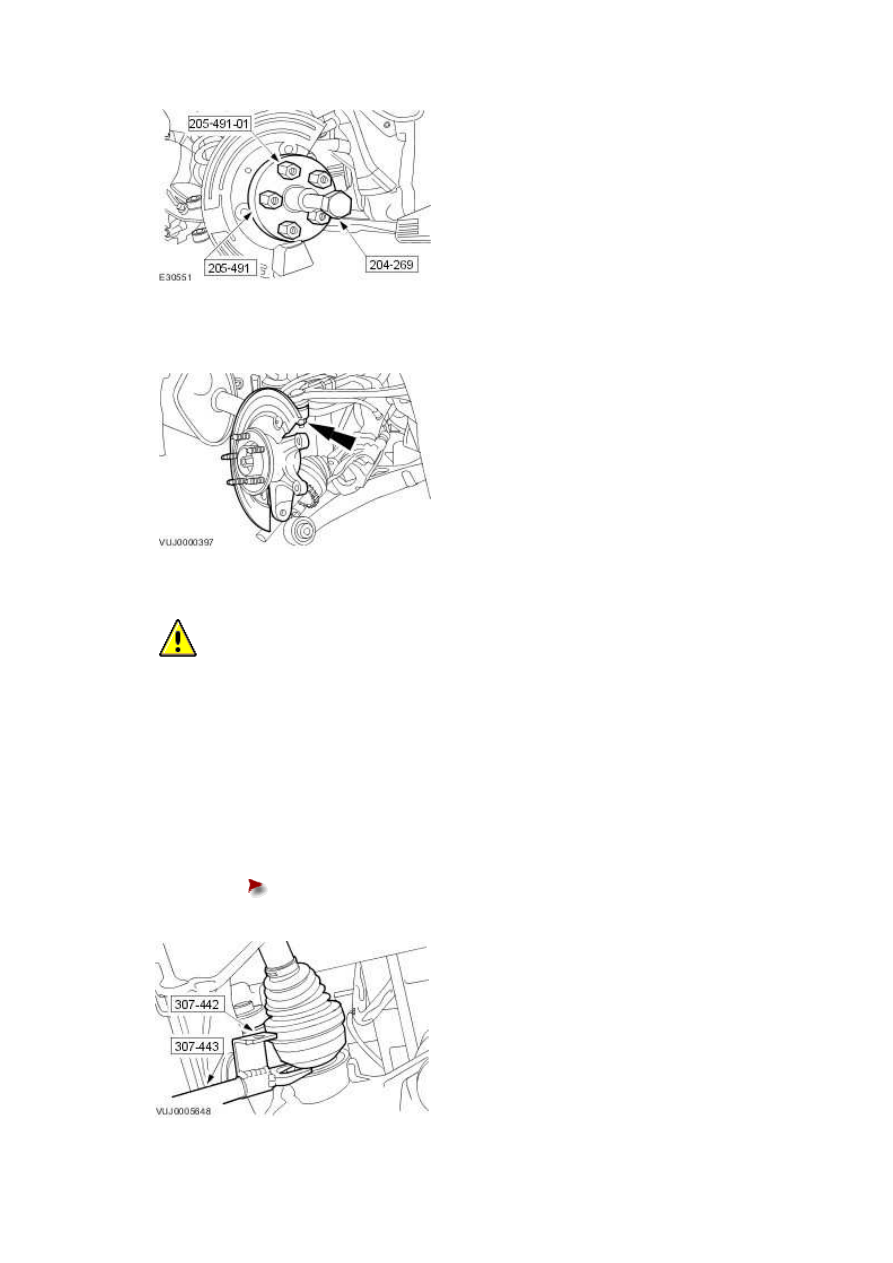
8 . Remove the wheel knuckle assembly.  


  CAUTION: To avoid damage to the halfshaft constant velocity (CV) joints and boots, 

do not allow the CV joints to exceed 18 degrees of travel. 


NOTE:  


The halfshaft is retained in the axle assembly by a retaining clip. 


Using the special tools, remove the halfshaft.  


Remove and discard the retaining clip.


10 . Remove the halfshaft seal.  


Installation  

  CAUTION: The final tightening of the rear suspension components must be carried out with 

the vehicle on its wheels. 


1 . Using the special tool, install the halfshaft seal. 


2 . Install a new retaining clip.  


www.


CAUTION: The next four steps must be carried out within 5 minutes of applying the 

sealant. 


  CAUTION: Install the halfshaft within 5 minutes of applying the sealant. 


Apply a 3mm diameter bead of Loctite WSK-M2G349-A4 or equivalent meeting Jaguar 

specification to the halfshaft splines.  


  CAUTION: Do not damage the axle shaft seal. 


  CAUTION: To avoid damage to the halfshaft CV joints and boots, do not allow the 

CV joints to exceed 18 degrees of travel. 


  CAUTION: Make sure no damage occurs to the halfshaft seal when installing the 

halfshaft. 


NOTE:  


Do not fully engage the halfshaft into the axle assembly. 


Install the halfshaft.  


1) Install the special tool to the halfshaft seal.


2) Install the halfshaft.


5 . Remove the special tool.  


  CAUTION: To avoid damage to the halfshaft CV joints and boots, do not allow the 

CV joints to exceed 18 degrees of travel. 


  CAUTION: Make sure no damage occurs to the halfshaft seal when installing the 

halfshaft. 


NOTE:  


Make sure the retaining clip is correctly seated. 


Attach the halfshaft.  

www.


Content   ..  145  146  147  148   ..