Ford Mondeo (petrol engines). Manual - part 49
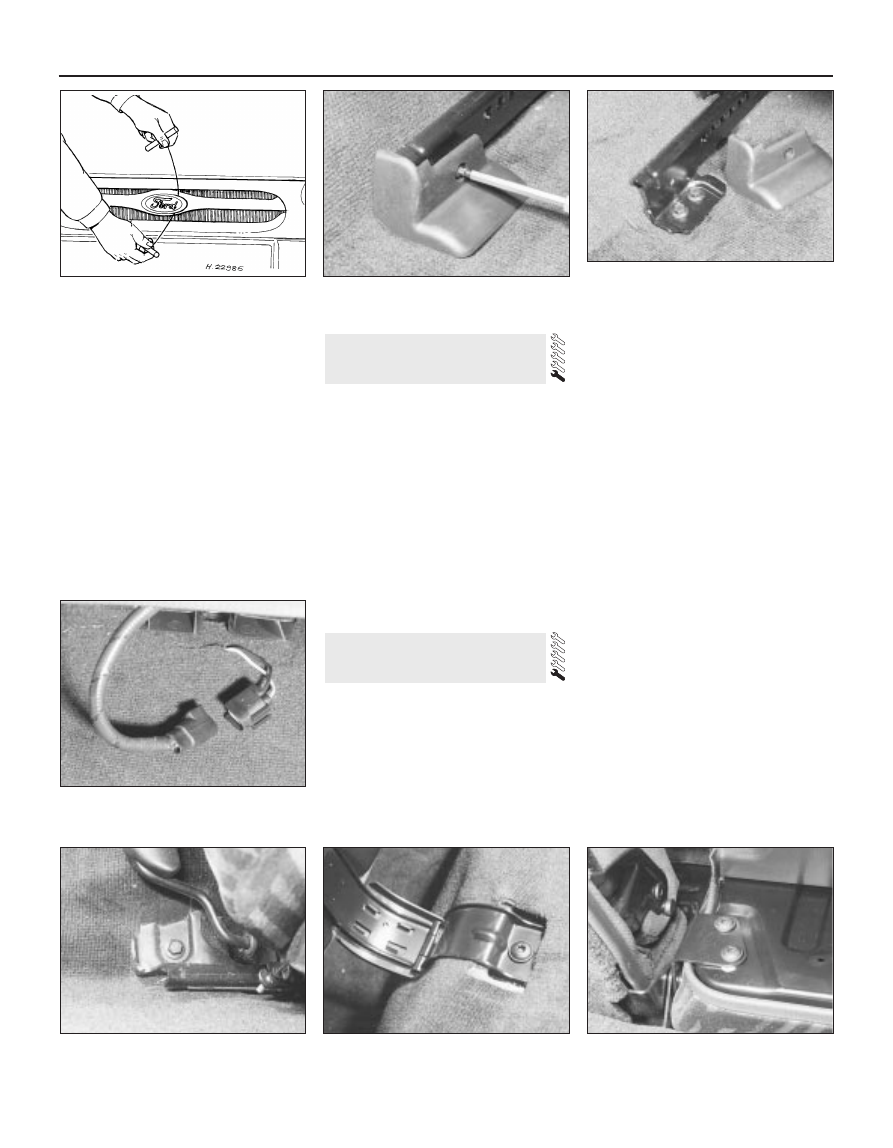
adhesive bond between the moulding or
emblem and the panel (see illustration).
2 Thoroughly clean all traces of adhesive
from the panel using
methylated spirit, and allow the location to
dry.
Refitting
3 Peel back the protective paper from the
rear face of the new moulding or emblem.
Carefully fit it into position on the panel
concerned, but take care not to touch the
adhesive. When in position, apply hand
pressure to the moulding/emblem for a short
period, to ensure maximum adhesion to the
panel.
1 The sunroof should operate freely, without
sticking or binding, as it is opened and
closed. When in the closed position, check
that the panel is flush with the surrounding
roof panel.
2 If adjustment is required, open the sun
blind, but leave the glass panel shut. Unscrew
and remove the three lower frame-to-glass
panel retaining screws. Slide the lower frame
back into the roof.
3 Loosen the central and front securing
screws. Adjust the glass roof panel so that it is
flush at its front edge with the roof panel, then
retighten the securing screws.
4 Pull the lower frame forwards, and insert
and tighten its retaining screws to complete.
Removal
Front seat
1 Release the seat belt, and slide the seat
fully forwards.
2 Using a Torx key, undo the screws and
remove the rear mounting trims, then unscrew
the rear mounting bolts (see illustrations).
3 Slide the seat fully rearwards.
4 Where electric seats are fitted, disconnect
the battery negative (earth) lead (Chapter 5,
Section 1). Disconnect the seat wiring multi-
plugs (see illustration).
5 Unscrew the front mounting bolts, and
remove the seat from the vehicle (see
illustration).
Rear seat cushion
6 Fold the rear seat cushion forwards. (Note
that, on some models, the seat cushion is
held in place by screws which must be
removed first.) Using a Torx key, unscrew and
remove the mounting bolts from the hinges on
each side (see illustration).
7 Withdraw the seat cushion from the vehicle.
Rear seat backrest
8 Fold the rear seat cushion and both
backrests forwards.
9 Unclip the backrest rear trims, where fitted,
and raise them.
10 Using a Torx key, unscrew the mounting
bolts (see illustration).
11 Withdraw the backrest from inside the
vehicle.
Rear seat side bolster
12 Fold the rear seat backrest forwards.
13 On low-series models, remove the screw
and pull the bolster forwards to disengage the
clips. On high-series models, simply pull the
bolster upwards to disengage the clips.
Refitting
14 Refitting is a reversal of the removal
procedure, but tighten the mounting bolts to
the specified torque.
27 Seats - removal and refitting
26 Sunroof - general
information and adjustment
11•18 Bodywork and fittings
25.1 Using a length of cord to remove the
emblem from the radiator grille
27.2A Unscrew the Torx-headed
screws . . .
27.2B . . . and remove the mounting trims
for access to the front seat rear mounting
bolts
27.5 Front seat front mounting bolt
27.4 Disconnecting an electric seat multi-
plug
27.6 Rear seat cushion hinge bolt
27.10 Rear seat backrest mounting bolts