Ford Contour (1999 year). Manual - part 25
 

  Index      Ford     Ford Contour - service manual 1999 year in english


Search            


Content   ..  23  24  25  26   ..


Ford Contour (1999 year). Manual - part 25


Seating and safety restraints

98

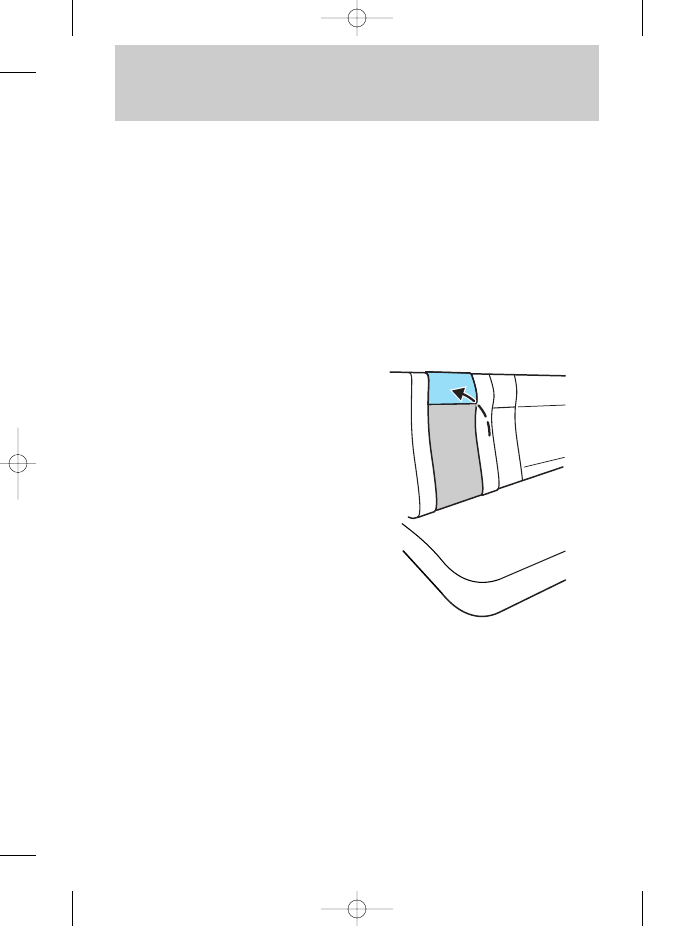
To stow the built-in child seat

Return the child seat cushion to
the upright position, then press
firmly in the center and top of the
child seat.

Removing your child from the
built-in child seat

1. Squeeze the tabs on the top and
the bottom of the chest clip and
pull the halves apart to open the
chest clip.

2. Press the release button on the
crotch safety belt buckle.

3. Slide the shoulder belts off the
child’s shoulders and remove the
child.

Inspecting the built-in child
seat after a collision

All built-in child restraints,
including seats, buckles, retractors,
seat latches, interlocks and
attaching hardware should be
inspected by your dealer or a
qualified technician after any
collision. If the child seat was in
use during a collision, Ford
recommends replacing it. Built-in
child restraints not in use during a
collision should be inspected and
replaced if either damage or
improper operation is noted.

14CSSen  3/25/99  1:59 PM  Page 98

Seating and safety restraints

99

Carefully follow all of the
manufacturer’s instructions

included with the safety seat you
put in your vehicle. If you do not
install and use the safety seat
properly, the child may be injured
in a sudden stop or collision.

Ford recommends the use of a
child safety seat having a top tether
strap. Install the child safety seat in
a seating position which is capable
of providing a tether anchorage.
For more information on top tether
straps see Attaching safety seats
with tether straps 
in this chapter.

When installing a child safety seat:

• Use the correct safety belt
buckle for that seating postion.

• Make sure the tongue is securely
fastened in the buckle.

• Keep the buckle release button
pointing up and away from the
safety seat, with the tongue
between the child seat and the
release button, to prevent
accidental unbuckling.

• Put the safety belt in the
automatic locking mode. Refer to
Using automatic locking mode in
this chapter.

Child safety seats

14CSSen  3/25/99  1:59 PM  Page 99

Seating and safety restraints

100

2. Pull down on the shoulder belt
and then grasp the shoulder belt
and lap belt together.

3. While holding the shoulder and
lap belt portions together, route
the tongue through the child seat
according to the child seat
manufacturer’s instructions. Be
sure the belt webbing is not
twisted.

Installing child safety seats in
combination lap and shoulder
belt seat positions

1. Position the child safety seat in a
seat with a combination lap and
shoulder belt.

When using forward-facing
child seats move the

passenger seat as far back from
the instrument panel as possible.
Never secure rear-facing infant
seats in the front seat.

14CSSen  3/25/99  1:59 PM  Page 100

Seating and safety restraints

101

5. To put the retractor in the
automatic locking mode, grasp the
shoulder portion of the belt and
pull downward until all of the belt
is extracted and a click is heard.

4. Insert the belt tongue into the
proper buckle for that seating
position until you hear and feel the
latch engage. Make sure the tongue
is latched securely by pulling on it.

6. Allow the belt to retract. The
belt will click as it retracts to
indicate it is in the automatic
locking mode.

7. Pull the lap belt portion across
the child seat toward the buckle
and pull up on the shoulder belt
while pushing down with your knee
on the child seat.

14CSSen  3/25/99  1:59 PM  Page 101


Content   ..  23  24  25  26   ..