Ford Contour (1999 year). Manual - part 18
 

  Index      Ford     Ford Contour - service manual 1999 year in english


Search            


Content   ..  16  17  18  19   ..


Ford Contour (1999 year). Manual - part 18


Controls and features

70

Functional check

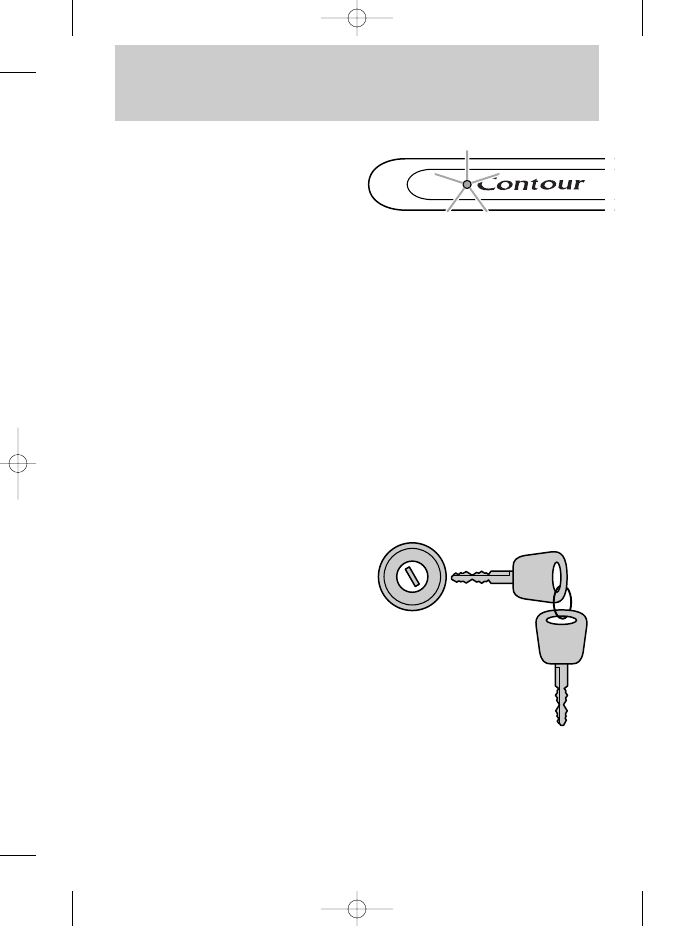
When the ignition is switched on,
the control light will illuminate for
approximately three seconds to
indicate that the system is
operating correctly.

If the control light flashes rapidly
for approximately one minute and
then repeatedly at irregular
intervals, the system did not
recognize the key code. Remove
the key and try again.

If the control light illuminates
continuously for approximately
one minute and then flashes
repeatedly at irregular intervals, a
system malfunction has occurred.

Have the malfunction repaired by
your dealer or a qualified
technician as soon as possible.

To ensure a trouble-free starting of
the vehicle, do not shield the keys
with any metal objects.

13CCfen  3/25/99  1:51 PM  Page 70

Controls and features

71

Spare key programming

A maximum of 8 keys in all can be
coded with any two coded keys.

Insert the first key in the

ignition switch and turn to position
3.

Turn the key back to position 1

and remove from the ignition
switch within 5 seconds.

Insert the second key in the

ignition switch and turn to position
3 within 5 seconds.

Turn the key back to position 1

and remove from the ignition
switch within 5 seconds - the key
coding mode is now activated.

If an uncoded key is now

inserted in the ignition switch and
turned to position 3 within 10
seconds, this key is coded to the
system.

If coding is not completed
correctly, the control light flashes
after the ignition is switched on
with the newly coded key. Repeat
the coding process after waiting 20
seconds with the ignition in
position 3.

If keys become lost, you must have
your dealer clear and reprogram
the code for security reasons.

3

4

2

1

13CCfen  3/25/99  1:51 PM  Page 71

Seating and safety restraints

72

Adjusting the head restraints

Push or pull the head restraint to
the desired height. 

SEATING

Manually adjusting the seats

Pull the lever located at the front
edge of the seat to move the seat
forward or backward.

Reclining the seats

Pull the lever on the outside of the
seat to recline the seat.

HEAD RESTRAINTS
(if equipped)

Never adjust the driver’s
seat or seat back when the

vehicle is moving.

14CSSen  3/25/99  1:58 PM  Page 72

Seating and safety restraints

73

Adjusting the power seats 
(if equipped)

Move the relevant control in the
respective direction to adjust the
seat as follows:

1

2

3

4

Seat 

(1) Forward and backward 

(2) Height of the entire seat

(3) Height of the front of the seat

(4) Height of the rear of the seat

Lumbar support

Pull the lever to adjust lumbar
support.

14CSSen  3/25/99  1:58 PM  Page 73


Content   ..  16  17  18  19   ..