CG958G Wheel Loader. Manual - part 27
 

  Index      loaders     SICHUAN CHENGDU CHENGGONG CG958G Wheel Loader - service manual


Search            


Content   ..  25  26  27  28   ..


CG958G Wheel Loader. Manual - part 27


- 112 - 

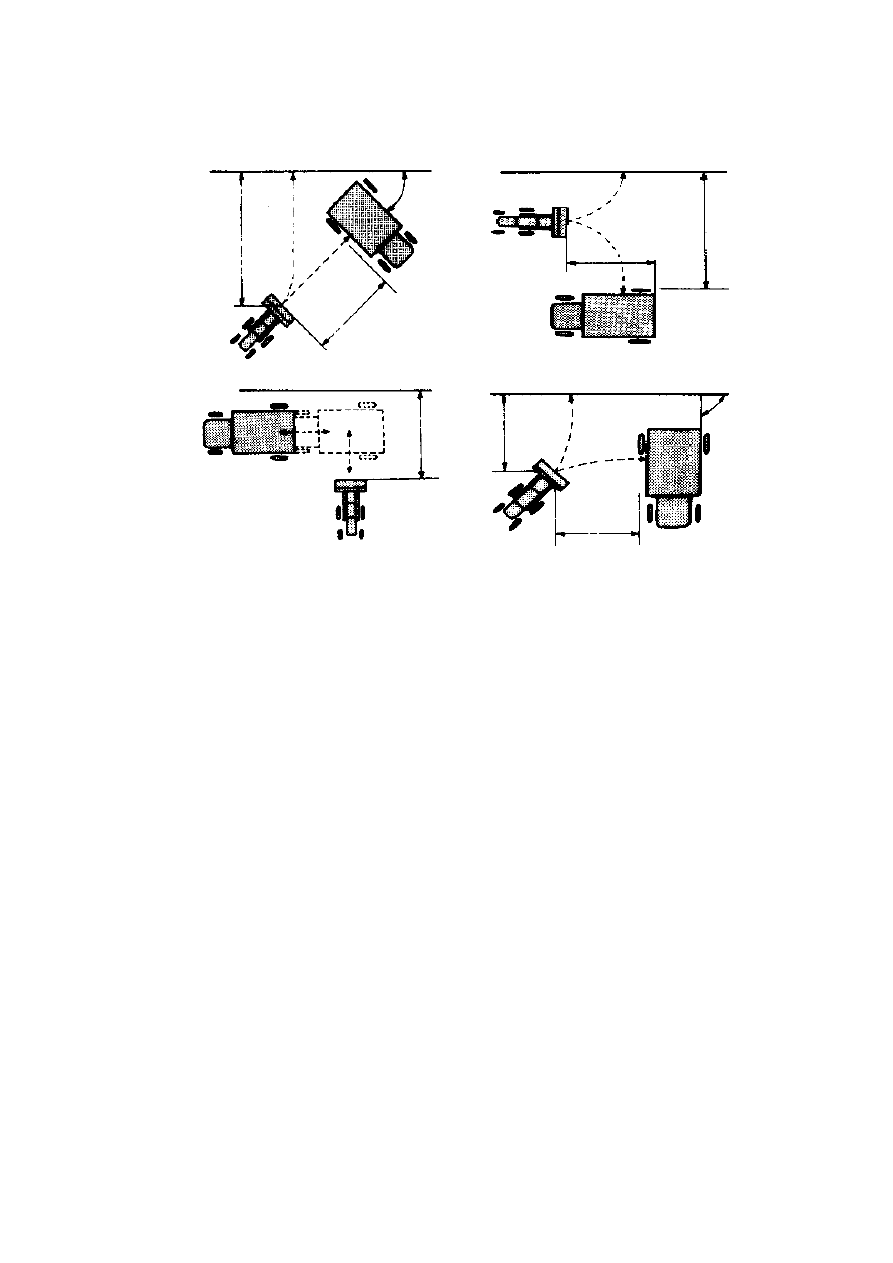
2.3 Loading with A Truck 

For the four loading methods above, the operation method with a short cycle 

time (for one time of loading) may be chosen depending on the situation on site. 

1. Enough distance shall be available to make the bucket reach the lifting height 

prior to the loader reduce the speed. 

2. Place the bucket at the middle of the truck to unload materials. In case the length 

of the truck body is two times of the bucket, the materials shall be unloaded to the 

back from the front of the body. 

3. Advance the joy stick of the bucket to reverse the bucket. 

4. Shake off the materials stuck on the bucket. Rapidly push and pull the joy stick of 

the bucket to make rocking arm touch the stopper. 

5. Make the joy stick of the bucket at the position of taking-back bucket. 

6. Prior to laying down the bucket, please note whether the truck is outside the 

bucket. 

7. Lay down the bucket as another bucket will be installed on the loader. 

 Unnecessary repeated collision with the stopper will accelerate its wear. The 

charge of repairing linkage gear of the working device is very high. 

T-shaped cycle

V-shaped cycle 

L-shaped

cycle

I-shaped

cycle

- 113 - 

2.4 Loading of Hard Soil 

 The collapse of materials will cause personal injuries and death. 

 Remove suspender and note the materials slid. 

1. Load hard soil from the bottom to the upper surface 

2. Lift the bucket slightly and leave the soil stack. 

2.5 Excavation 

1. Lay the bucket on the ground and make it have a small excavation angle. 

2. Prior to the loader advances, press the bucket downwards, and make the lifting joy 

stick of the moving arm at the position of holding when the bucket reaches the 

enough depth. 

3. Keep the bucket leveled scraping and excavation by lifting and laying down the 

bucket. 

4. As the bucket is filled, take back the bucket to make it run against the stopper. 

Drive the loader to the material unloading position when the bucket is away from 

the ground for 40cm. 

2.6 Loading to Bucket 

1.  Fill the bucket (See “Loading of Stockpile”). 

When the bucket reaches the lifting limit position, materials may be loaded to the 

chopper leeward if possible.53 

2.7 Application of KD Key 

The KD key (1) is designed at the topside 

of the speed operating rod with the purpose to 

improve the operation efficiency. Its application 

technology is given below: 

1. As the loader advances to and near the 

stockpile at the speed of II gear, press the KD 

key (1) for maximum tractive force. 

2. As the speed operating rod is turned to the reverse direction upon the completion 

1

- 114 - 

of loading work, the loader will back to II gear automatically (reverse and 

advance are II gear) for the relatively high speed to finish the loading work; 

Repeat steps 1~2 to use the KD key for a higher operation efficiency.

- 115 - 

Loader’s Parking 

Parking  

Caution 

The loader shall be parked on the leveled ground. If on a slope, the wheels 

shall be padded well. 

Do not close the parking brake while driving under exceptional 

circumstances  


1. Step on the service parking pedal to stop the loader. 

2. Make the transmission control rod at the neutral position. 

3. Close the parking brake. 

4. Place the bucket on the ground and press it slightly. 


Shutdown of Engine 

1. After parking, the engine shall be idled at a low speed for 5 minutes. 

2. Turn the key switch to flame out the engine. 

3. Take away the key. 

4. Hold ladder with both hands and step down along the ladder facing the loader. 

5. Examine whether there exist some foreign substances in the engine cover. The 

foreign substances and paper shall be got rid of to avoid fire. The flammables at 

the bottom of the loader shall be eliminated to reduce the occurrence the fire. 

6. Install all protective covers and locks. 


Content   ..  25  26  27  28   ..