Diesel engine 12V 4000 G73, 16V 4000 G73. Manual - part 24
 

  Index      Engines     Diesel engine 12V 4000 G73, 16V 4000 G73. Application group 3B - service manual


Search            


Content   ..  22  23  24  25   ..


Diesel engine 12V 4000 G73, 16V 4000 G73. Manual - part 24


7.11 Air Intake

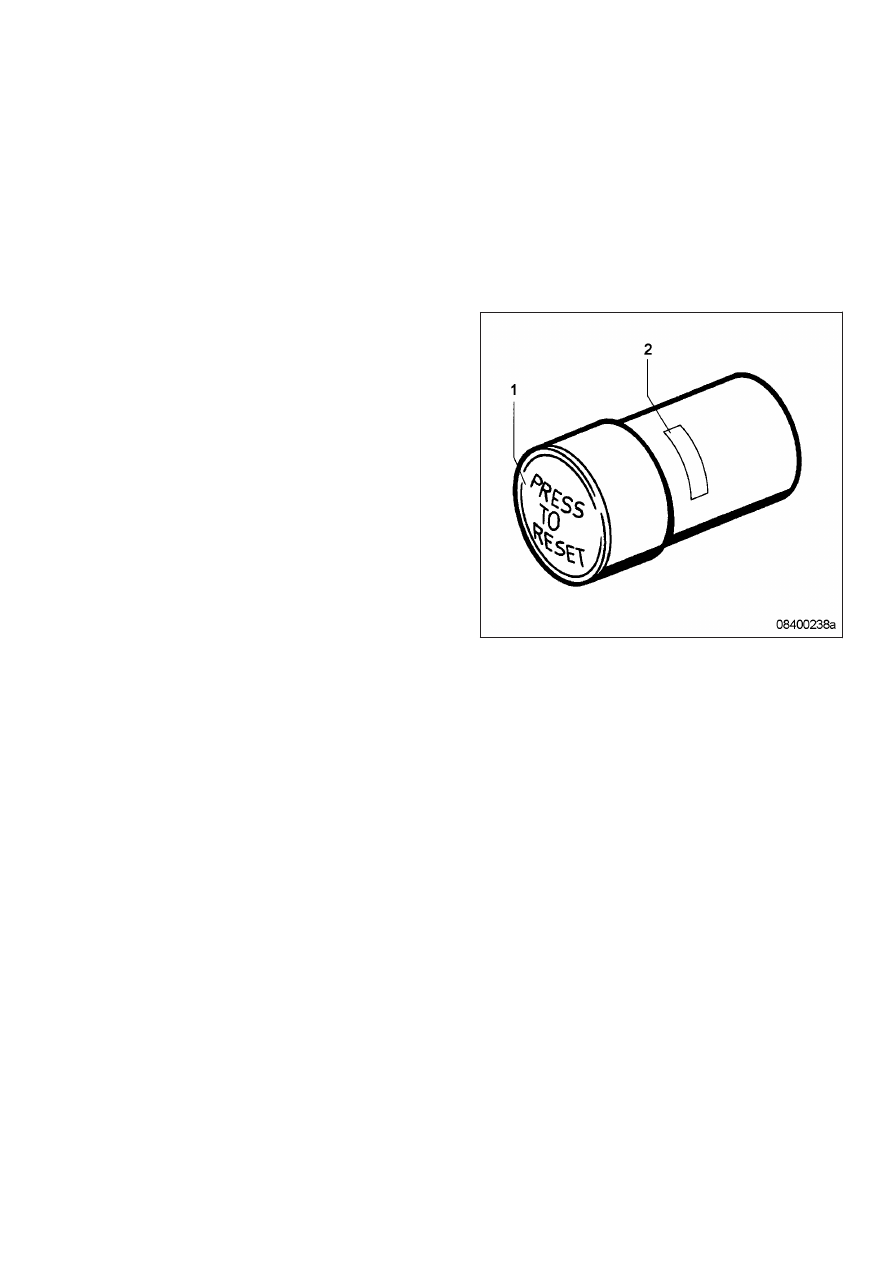
7.11.1 Contamination indicator – Signal ring position check

Preconditions

☑ Engine is stopped and starting disabled.

Checking signal ring position

1.

If the signal ring is completely visible in the

control window (2), replace air filter

(→ Page 94).

2.

After installation of new filter, press reset

button (1).

Result:

Engaged piston with signal ring moves back

to initial position.

7.11.2 Emergency air-shutoff flaps – Functional check with electric actuation

DANGER

Unguarded rotating and moving engine components.

Risk of serious injury – danger to life!

• Before barring or starting the engine, make sure that nobody is in the danger zone.

WARNING

Air flaps close abruptly.

Risk of injury!

• Before actuating, ensure that nobody is in the danger zone.

WARNING

Engine noise above 85 dB (A).

Risk of damage to hearing!

• Wear ear protectors.

Emergency air-shutoff flaps –

Functional check with electric

actuation

1.

Start engine (→ Page 32).

2.

Activate the appropriate function to trigger

emergency air-shutoff flaps (depending on

installation), e.g. by carrying out overspeed

test. Check the following items:

• The emergency air-shutoff flaps must

close as soon as the set point is

reached.

• The levers must be in position B.

• Emergency engine stop must be initiat‐

ed.

3.

Open the emergency air-shutoff flaps man‐

ually after completion of test so that the lev‐

ers are in position A.

4.

Observe fault message.

TIM-ID: 0000013435 - 001

7.11.3 Rubber sleeves in air pipework before intercooler – Replacement

Preconditions

☑ Engine is stopped and starting disabled.

Special tools, Material, Spare parts

Designation / Use

Part No.

Qty.

Rubber sleeve

(→ Spare Parts Catalog)

O-ring

(→ Spare Parts Catalog)

Also applicable to 12 V

Preparatory steps

u

Remove air filter (→ Page 94).

Replacing rubber sleeves on right engine side

1.

Release clamps (1).

2.

Remove screws from elbow (8), remove elbow and pull off rubber sleeves (2).

3.

Remove charge-air pipe (9), pull off rubber sleeve (2).

4.

Clean charge-air pipe and elbow and check for obstructions.

5.

Fit new rubber sleeves on exhaust turbocharger and charge-air pipe.

6.

Slide clamps onto all rubber sleeves.

7.

Insert elbow (8) and charge-air pipe (9) ends into rubber sleeves.

8.

Secure elbow (8) with new O-ring on intercooler.

9.

Align clamps (1) and secure.

Replacing rubber sleeves on left engine side

1.

Release clamps (3).

2.

Remove retainer (5) on charge-air pipe.

3.

Remove screws from elbow (7) and remove elbow.

4.

Pull off charge-air pipe (6).

5.

Clean charge-air pipe and elbow and check for obstructions.

6.

Slide new rubber sleeves (4) onto exhaust turbocharger and charge-air pipe (6).

7.

Slide clamps onto all rubber sleeves.

8.

Insert elbow (7) and charge-air pipe (6) ends into rubber sleeves.

9.

Secure elbow (7) with new O-ring on intercooler.

10.

Align clamps (3) and secure.

11.

Install retainer (5) on charge-air pipe (6).

Final steps

u

Install air filter (→ Page 94).

TIM-ID: 0000013614 - 002


Content   ..  22  23  24  25   ..