BBM 21 Push Mower Model: BB21 Zone Start-Kawasaki. Manual - part 2
 

  Index      Engines     BBM 21 Push Mower Model: BB21 Zone Start-Kawasaki - service manual


Search            


Content   ..   1  2  3   ..


BBM 21 Push Mower Model: BB21 Zone Start-Kawasaki. Manual - part 2


5

LAWN MOWER SAFETY 

II  SLOPE OPERATION
Slopes are a major factor related to slip and fall accidents, 
which can result in severe injury.  Operation on all slopes 
requires extra caution.  If you feel uneasy on a slope, do not 
mow it.

1. Mow across the face of slopes; never up and down.  Exer-
cise extreme caution when changing direction on slopes.

2. Watch for holes, ruts, bumps, rocks, or other hidden ob-
jects.  Uneven terrain could cause a slip and fall accident.  Tall
grass can hide obstacles.

3. Do not mow on wet grass or excessively steep slopes.
Poor footing could cause a slip and fall accident.

4. Do not mow near drop-offs, ditches, or embankments.  You
could lose your footing or balance.

III. CHILDREN
Tragic accidents can occur if the operator is not alert to the
presence of children.  Children are often attracted to the ma-
chine and the mowing activity.  Never assume that children will
remain where you last saw them.

1. Keep children out of the mowing area and under the watch-
ful care of a responsible adult other than the operator.

2. Be alert and turn mower off if a child enters the area.

3. Never allow children to operate the machine.

4. Use extra care when approaching blind corners, shrubs,
trees, or other objects that may block your view of a child.

IV. SAFE HANDLING OF GASOLINE:
To avoid personal injury or property damage, use extreme care
in handling gasoline.  Gasoline is extremely fl ammable and the
vapors are explosive.

1. Extinguish all cigarettes, cigars, pipes, and other sources of
ignition.

2. Use only an approved gasoline container.

3. Never remove gas cap or add fuel with the engine running.
Allow engine to cool before refueling.

4. Never refuel the machine indoors.

5. Never store the machine or fuel container where there is an
open fl ame, spark, or pilot light such as on a water heater or
on other appliances.

6. Never fi ll containers inside a vehicle or on a truck or trailer
bed with a plastic liner.  Always place containers on the ground
away from your vehicle before fi lling.

7. Remove the mower from the truck or trailer and refuel it on
the ground. If this is not possible, then refuel the mower with
a portable container, rather than from a gasoline dispenser
nozzle.

Continued,

8. Keep the nozzle in contact with the rim of the fuel tank or
container opening at all times until fueling is complete.  Do not
use a nozzle lock-open device.

9. If fuel is spilled on clothing, change clothing immediately.

10. Never overfi ll fuel tank.  Replace gas cap and tighten
securely.

V. GENERAL SERVICE

1. Never operate the mower in a closed area.

2. Keep all nuts and bolts tight to be sure the mower is in safe
working condition.

3. Never tamper with safety devices.  Check their proper
operation before each use of the mower.

4. Keep the mower free of grass, leaves, or other debris build-
up.  Clean up oil or fuel spillage and remove any fuel-soaked
debris.  Allow machine to cool before storing.

5. If you strike a foreign object, stop and inspect the mower.
Repair, if necessary, before starting.

6. Never make any adjustments or repairs with the engine
running.  Disconnect the spark plug wire and ground against
engine to prevent unintended starting.

7. Never attempt to make wheel height adjustments while the
engine is running.

8. Check grass catcher components and the rear discharge
door frequently and replace only with 

Bad Boy Mowers original

parts when necessary.

9. Mower blades are sharp.  Wrap the blade or wear gloves,
and use extra caution when servicing them.

10  Do not change engine governor setting or over speed the 
engine.

11. Maintain or replace all safety and instruction labels.

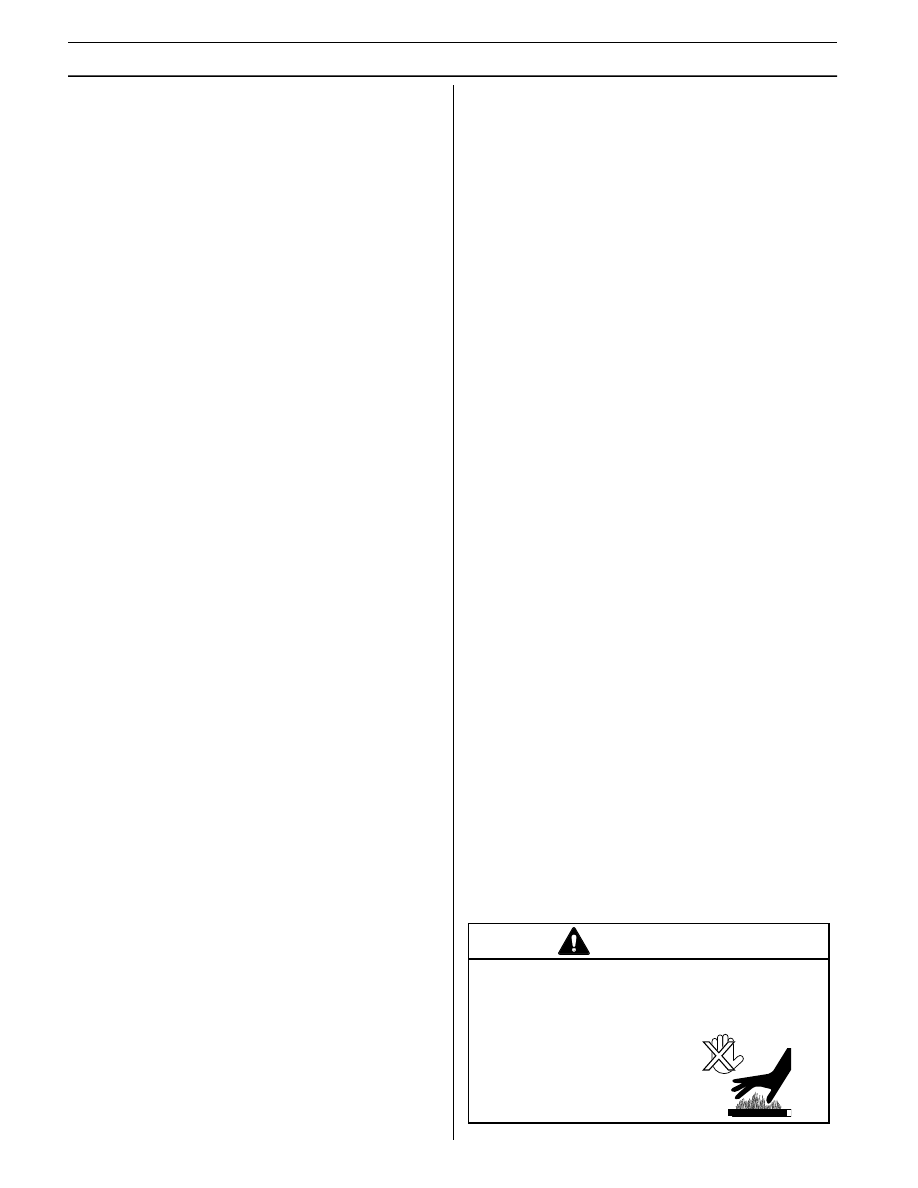
CAUTION

Muffl er and other engine parts become extremely 
hot during operation and remain hot after engine 
has stopped. To avoid severe burns on contact, 
stay away from these areas.

6

DECALS AND LOCATIONS

WHAT IS WHAT

These labels warn you of potential hazards that can cause serious injury.  Carefully read and understand 
them.  If a label comes off or becomes hard to read, contact 

Bad Boy Mowers immediately for replacement. 

Cutting height adjustment - page 11

Lower control bar - Ground speed control  
page 11

Throttle cable adjustment  
at the engine - page 9

Ground speed cable adjustment - page 11

Oil fi ller cap and dipstick - page 8, 13

Gasoline - page 10

Throttle control - page 9

Gear shift lever - page 11
HI and LO range 

Upper control bar/Operator’s presence control 
Zone Start control - page 9-10, 

Spark Plug - Engine Owner’s Manual

Part #: 201155-1

Part #: 201157-1

Part #: 201438-1

Part #: 201441-1

Part #: 201437-1

Label on grass bag

Part #: 201443-1

7

ASSEMBLY - SETUP

UNPACKING:

Carefully remove the mower from its packaging and check that 
you have all the following items: 
Upper Handle complete
(2)

 Lower Handle tubes

Mower Bag and Mulch Plug (installed on the mower)


Engine Owner’s Manual and Warranty Statemen

t

BB21 Operator’s Manual.

NOTICE:

If you are missing any of these items or if you are unsure of 
how to properly assemble this mower please contact 

Bad Boy 

Mower by phone: (866) 622-3269 

Tools needed for assembly:
2 pcs  10mm wrenches
1 pcs  13mm wrench
1 pcs   Needle nose pliers

STEP 1
Install the black handle tubes to the mower with the M8 
carriage bolts.  Do not tighten the nuts.  Please note that there 
are three holes for the upper clamp.  We suggest to install the 
bolt in the center hole as a start.

STEP 2
Slide the upper handle assembly into the two lower tubes.  
Insert the carriage bolt on the left side and use one square 
washer on each side of the handle tube (1). 

Insert the eyelet screw on the right side (2).  Use the eyelet to 
hold the starter rope and handle for convenient reach on the 
Zone Start model. 

Eyelet screw used on
Zone Start models to hold 
the starter handle 

STEP 3
To simplify the alignment of the handle, install the grass 
catcher.   
Tighten the bolts in the following order:
1 - Tighten the two bolts on the right side tube clamps.
2 - Align the left tube with the catcher (same as the right side) 
and tighten the two clamps.
3 - Tighten the upper bolts that attaches the handle 
assembly to the tubes. 

I

nstall the right side front  

bolt and insert the mulch 
plug to hold the bolt 
during installation.  

I

nstall the nuts fi nger tight.

Tighten completely 
in step 3.

1

2

Needle Nose 

Pliers 

10 mm

13 mm

10 mm

Install the bolt in 
center hole

1

2

3

8

All BBC Models

Kawasaki 

Zone Start

ASSEMBLY - SETUP

Note: The control 

panel does not 

have to be removed 

to install the cables 

STEP 5 
Install the engine control cable in the upper control bar (1).  
Note that there are three holes for the control cable - 
install per the drawing for the proper mower model.  
Pull on the cable sheath and insert into the upper hole (2).  

STEP 6 
Install the drive cable into the lower control bar (1) and insert 
the cable sheath fi tting into the lower hole of the handle 
bracket (2). 

STEP 4
Insert the throttle cable inside the left handle tube.  Install the 
cable into the throttle control.  The cable has been adjusted at 
the factory (1) and the nut locked in place.  However verify 
the proper throttle cable adjustment per the instructions 

of 

Kawasaki Engines.  See “STEP 9”. 

1

1

2

1

2

STEP 7 Kawasaki Engine
Fill a new engine with an SAE 10W-30 engine oil.  
Fill; 22 Fl.Oz (0.7 Qt. - 0.65 Liters)  
If the oil fi lter is changed the fi ll volume is;
 29 Fl.Oz (0.9 Qt - 0.85 Liters)
Please read the Kawasaki engine Owner’s Manual for full 
information. 


Content   ..   1  2  3   ..