Nissan Qashqai (2007-2010). Manual - part 672
COIL SPRING
RSU-7
< ON-VEHICLE REPAIR >
C
D
F
G
H
I
J
K
L
M
A
B
RSU
N
O
P
ON-VEHICLE REPAIR
COIL SPRING
Exploded View
INFOID:0000000000935942
Removal and Installation
INFOID:0000000000935943
REMOVAL
1.
Remove tires from vehicle.
2.
Remove torque member mounting bolts. Hang torque member where it does not interfere with work. Refer
to
BR-42, "BRAKE CALIPER ASSEMBLY : Exploded View"
(LHD),
CAUTION:
Never depress brake pedal while brake caliper is removed.
3.
Remove wheel sensor from axle housing. Refer to
BRC-67, "REAR WHEEL SENSOR : Exploded View"
(with ABS),
BRC-172, "REAR WHEEL SENSOR : Exploded View"
(with ESP).
4.
Set suitable jack under suspension arm.
5.
Remove shock absorber from suspension arm. Refer to
6.
Remove lower link from suspension arm. Refer to
.
7.
Remove upper link from suspension arm. Refer to
8.
Remove drive shaft. Refer to
.
9.
Remove coil spring from vehicle.
INSTALLATION
Note the following, and install in the reverse order of removal.
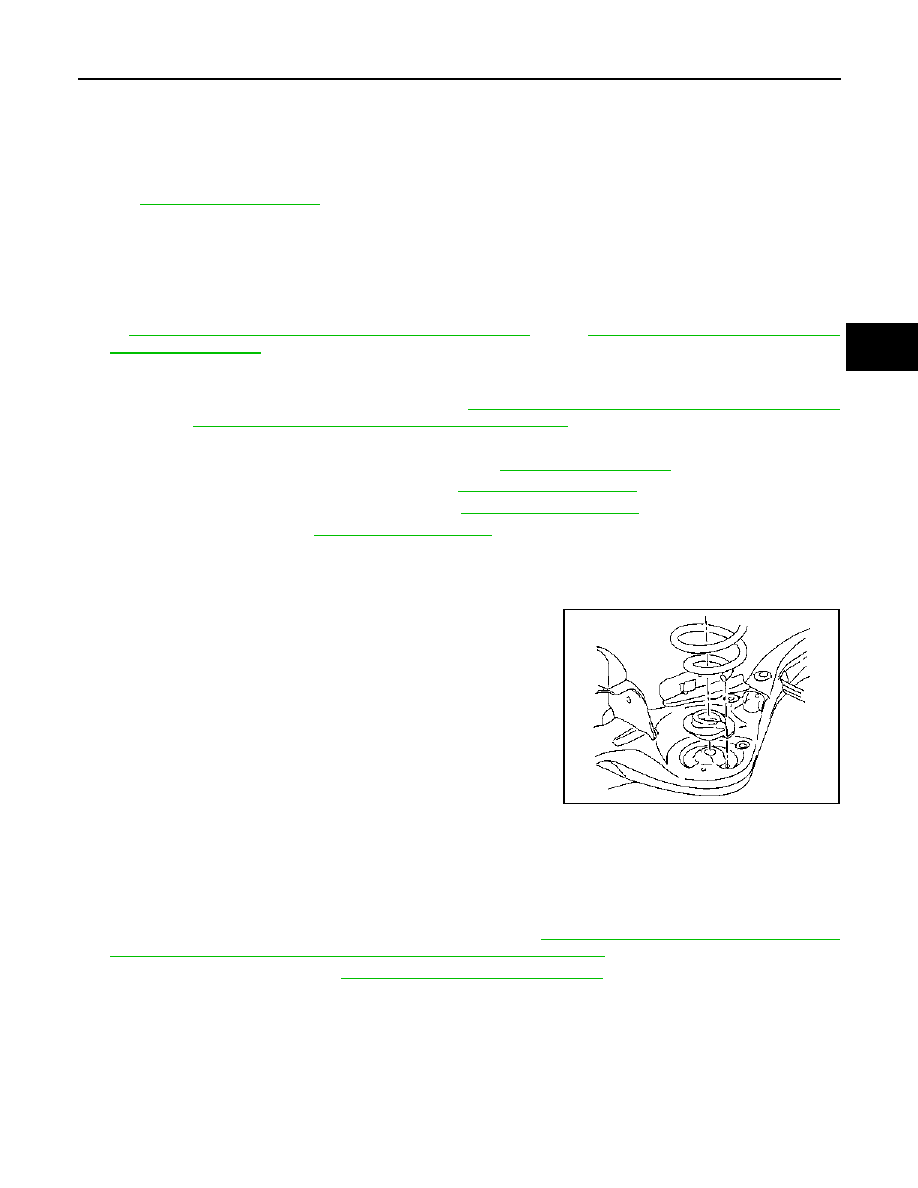
• Match up lower rubber seat indentions and suspension arm
grooves and attach.
• Install coil spring by aligning lower end of the large diameter side to
step between lower rubber seat and suspension arm.
• Perform the final tightening of rear suspension member and axle
installation position (rubber bushing) under unladen condition with
tires on level ground.
Inspection
INFOID:0000000000935944
INSPECTION AFTER REMOVAL
Check lower link, bushing and coil spring for deformation, crack, and damage. Replace it if necessary.
INSPECTION AFTER INSTALLATION
1.
Adjust neutral position of steering angle sensor. Refer to
BRC-78, "ADJUSTMENT OF STEERING
ANGLE SENSOR NEUTRAL POSITION : Special Repair Requirement"
(with ESP).
2.
Check wheel alignment. Refer to
RSU-5, "Wheel Alignment Inspection"
SEIA0636J