Nissan Qashqai (2007-2010). Manual - part 595
 

  Index      Nissan     Nissan Qashqai - service and repair manual 2007 - 2010 year


Search            copyright infringement  


Content   ..  593  594  595  596   ..


Nissan Qashqai (2007-2010). Manual - part 595


CVT FLUID

TM-315

< ON-VEHICLE MAINTENANCE >

[CVT: RE0F10A]

C

E

F

G

H

I

J

K

L

M

A

B

TM

N

O

P

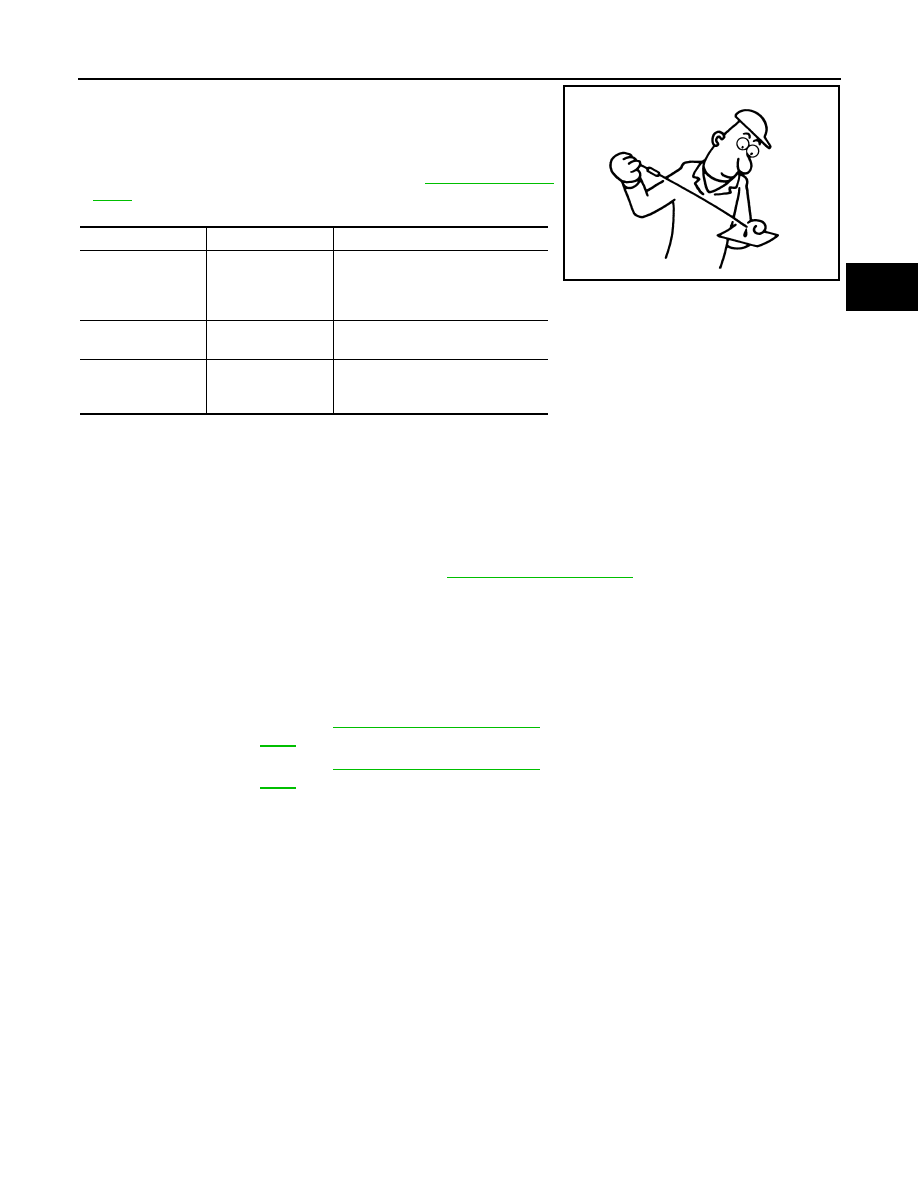
Check CVT fluid condition.
• If CVT fluid is very dark or smells burned, check operation of CVT.

Flush cooling system after repair of CVT.

• If CVT fluid contains frictional material (clutches, brakes, etc.),

replace radiator and flush cooler line using cleaning solvent and
compressed air after repair of CVT. Refer to 

CO-34, "Exploded

View"

.

Changing

INFOID:0000000000988984

1.

Remove drain plug, and then drain CVT fluid from oil pan.

2.

Install drain plug to oil pan.

CAUTION:

Never reuse drain plug gasket.

3.

Fill CVT fluid from CVT fluid charging pipe to the specified level.

4.

With the engine warmed up, drive the vehicle in an urban area. When ambient temperature is 20

°

C

(68

°

F), it takes about 10 minutes for the CVT fluid to warm up to 50 to 80

°

C (122 to 176

°

F).

5.

Check CVT fluid level and condition.

6.

Repeat steps 1 to 5 if CVT fluid has been contaminated.

CAUTION:

• Use only Genuine NISSAN CVT Fluid NS-2. Never mix with other fluid.
• Using CVT fluid other than Genuine NISSAN CVT Fluid NS-2 will deteriorate in driveability and CVT

durability, and may damage the CVT, which is not covered by the warranty.

• When filling CVT fluid, take care not to scatter heat generating parts such as exhaust.
• Sufficiently shake the container of CVT fluid before using.
• Delete CVT fluid deterioration date with CONSULT-III after changing CVT fluid.

Fluid status

Conceivable cause

Required operation

Varnished (viscous 
varnish state)

CVT fluid become 
degraded due to 
high temperatures.

Replace the CVT fluid and check the 
CVT main unit and the vehicle for 
malfunctions (wire harnesses, cool-
er pipes, etc.)

Milky white or 
cloudy

Water in the fluid

Replace the CVT fluid and check for 
places where water is getting in.

Large amount of 
metal powder mixed 
in

Unusual wear of 
sliding parts within 
CVT

Replace the CVT fluid and check for 
improper operation of the CVT.

ATA0022D

Drain plug – tightening torque

: Refer to 

TM-335, "Exploded View"

.

CVT fluid

: Refer to 

TM-361, "General Specifica-

tion"

.

Fluid capacity

: Refer to 

TM-361, "General Specifica-

tion"

.

TM-316

< ON-VEHICLE MAINTENANCE >

[CVT: RE0F10A]

STALL TEST

STALL TEST

Inspection and Judgment

INFOID:0000000000914702

INSPECTION

1.

Inspect the amount of engine oil. Replenish the engine oil if necessary.

2.

Drive for about 10 minutes to warm up the vehicle so that the
CVT fluid temperature is 50 to 80

°

C (122 to 176

°

F). Inspect the

amount of CVT fluid. Replenish if necessary.

3.

Securely engage the parking brake so that the tires do not turn.

4.

Install a tachometer where it can be seen by driver during test.
NOTE:
It is good practice to mark the point of specified engine rpm on
indicator.

5.

Start engine, apply foot brake, and place selector lever in “D”
position.

6.

While holding down the foot brake, gradually press down the
accelerator pedal.

7.

Quickly read off the stall speed, and then quickly remove your
foot from the accelerator pedal.

CAUTION:

Never hold down the accelerator pedal for more than 5 sec-
onds during this test.

8.

Move the selector lever to the “N” position.

9.

Cool down the CVT fluid.

CAUTION:

Run the engine at idle for at least 1 minute.

10. Repeat steps 6 through 9 with selector lever in “R” position.

JUDGMENT

SAT647B

SCIA7463E

Stall speed:

Refer to 

TM-361, "Stall Speed"

.

SAT514G

STALL TEST

TM-317

< ON-VEHICLE MAINTENANCE >

[CVT: RE0F10A]

C

E

F

G

H

I

J

K

L

M

A

B

TM

N

O

P

O: Stall speed within standard value position.

H: Stall speed is higher than standard value.

L: Stall speed is lower than standard value.

Selector lever position

Expected problem location

“D”

“R”

Stall rotation 

H

O

• Forward  clutch

O

H

• Reverse brake

L

L

• Engine and torque converter one-way clutch

H

H

• Line pressure low
• Primary pulley
• Secondary pulley
• Steel  belt

TM-318

< ON-VEHICLE MAINTENANCE >

[CVT: RE0F10A]

LINE PRESSURE TEST

LINE PRESSURE TEST

Inspection and Judgment

INFOID:0000000000914703

INSPECTION

Line Pressure Test Procedure

1.

Inspect the amount of engine oil and replenish if necessary.

2.

Drive the car for about 10 minutes to warm it up so that the CVT fluid reaches in the range of 50 to 80

°

C

(122 to 176

°

F), then inspect the amount of CVT fluid and replenish if necessary.

NOTE:
The CVT fluid temperature rises in the range of 50 to 80

°

C (122 to 176

°

F) during 10 minutes of driv-

ing.

3.

After warming up CVT, remove the oil pressure detection plug
(A) and install the oil pressure gauge (commercial service tool).

CAUTION:

When using the oil pressure gauge, be sure to use the O-
ring attached to the oil pressure detection plug.

4.

Securely engage the parking brake so that the tires do not turn.

5.

Start the engine, and then measure the line pressure at both idle
and the stall speed.

CAUTION:

• Keep the brake pedal pressed all the way down during

measurement.

• When measuring the line pressure at the stall speed, refer

to 

TM-316, "Inspection and Judgment"

6.

After the measurements are complete, install the oil pressure
detection plug and tighten to the specified torque below.

CAUTION:

• Never reuse O-ring.
• Apply CVT fluid to O-ring.

Line Pressure

SCIA6591J

SCIA7463E

: 7.5 N·m (0.77 kg-m, 66 in-lb)

SAT493G


Content   ..  593  594  595  596   ..