Jaguar XJ (X350). Service manual - part 1073


  Index      Jaguar     Jaguar XJ (X350) - service and repair manual 2003-2009 year


Search            


Content   ..  1071  1072  1073  1074   ..


Jaguar XJ (X350). Service manual - part 1073
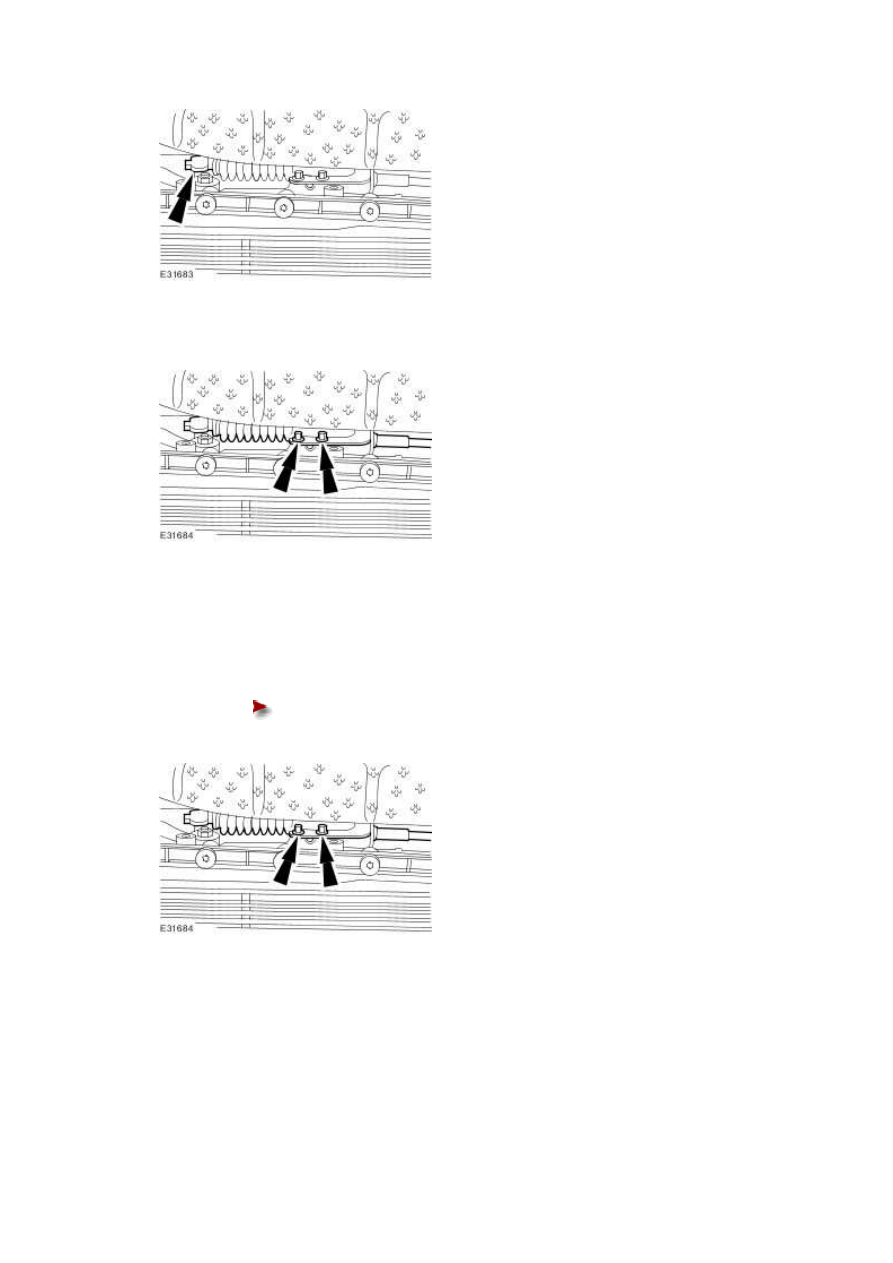


9 . Remove the selector lever cable.  


Installation  


1 . Install the selector lever cable.  


Tighten to 11 Nm.


NOTE:  


Make sure the selector lever cable is fully seated to the transmission unit gear selector 

pivot ball. 


Attach the selector lever cable.  


3 . Lower the vehicle. 


4 . NOTE:  


Make sure the selector lever cable grommet is seated correctly. 


Attach the selector lever cable.  


5 . NOTE:  


Fully extend the selector cable, then retract the selector cable one detent. 


Make sure the selector lever cable is in the "R" position. 


6 . Make sure the transmission selector lever is in the "R" position. 


7 . Attach the selector lever cable.  

www.


Do not tighten the selector lever cable retaining nuts.


8 . Connect the selector lever cable.  


Adjust the selector lever cable retaining nuts to lock against the retaining bracket without 

moving the set position of either the shift lever or the selector lever cable.  


Do not tighten the selector lever cable retaining nuts.


10 


NOTE:  


Make sure all transmission selector lever positions are illuminated to indicate the 

selected gear and the automatic transmission selects the relevant transmission state. 


Move the transmission selector lever to all positions. 


11 


NOTE:  


When tightening the selector lever cable retaining nuts, make sure both retaining nuts 

are tightened to the specified torque simultaneously. 


Tighten the selector lever cable retaining nuts.  


Tighten to 20 Nm.


12 . Attach the wiring harness bracket.  


13 . Install the floor console. <<501-12>> 


www.


Content   ..  1071  1072  1073  1074   ..