CG958G Wheel Loader. Manual - part 33
 

  Index      loaders     SICHUAN CHENGDU CHENGGONG CG958G Wheel Loader - service manual


Search            


Content   ..  31  32  33  34   ..


CG958G Wheel Loader. Manual - part 33


- 136 - 

 Only the fuse of fusing current can be used, or not, the circuit will be 

damaged possibly. If the fuse requires to be replaced frequently, it is possible 

the circuit is involved in failure. Please examine the circuit. 

Windscreen wiper 

Examination/replacement 

Examine the brush of the wiper. If it is worn too mush or damaged, or cracked, 

the wiper shall be replaced.   


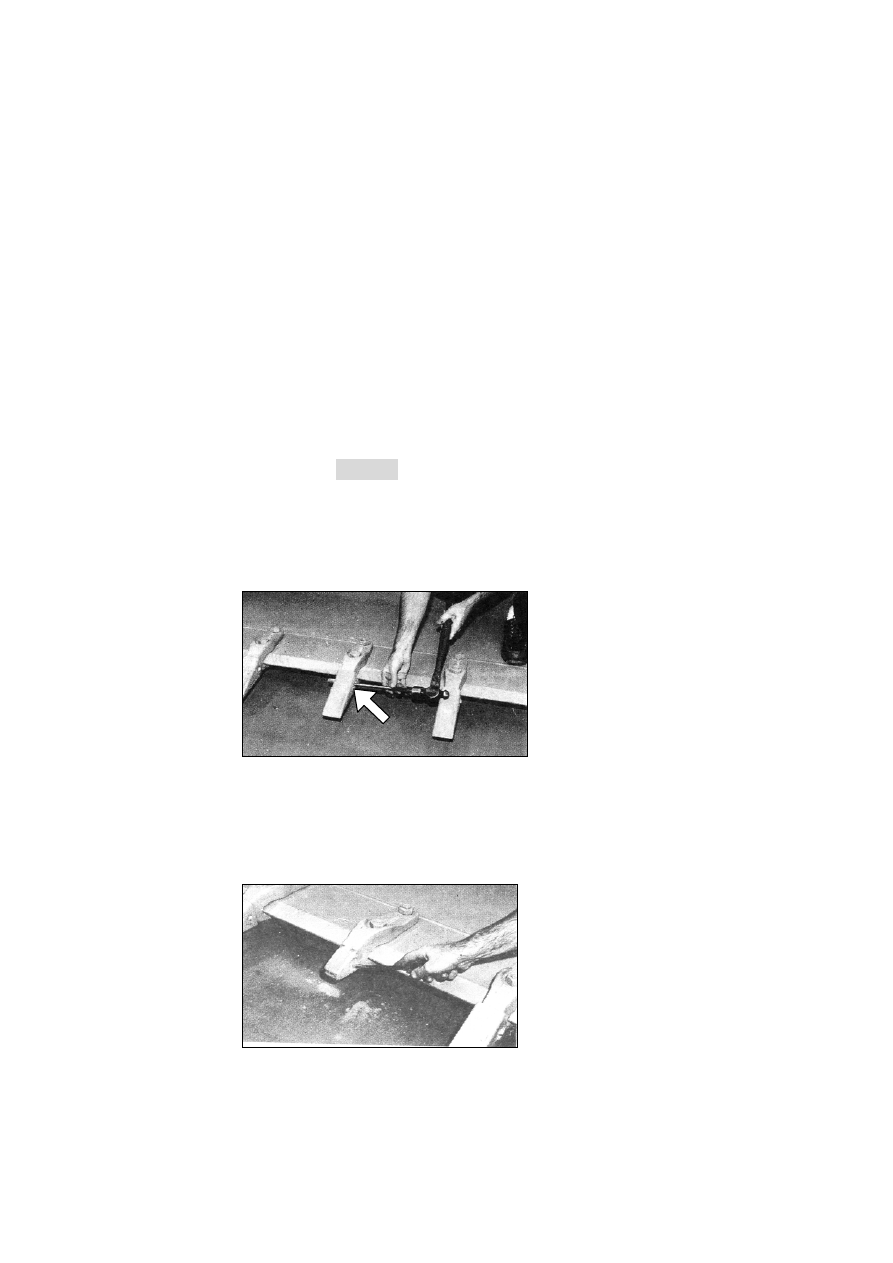
Dipper tooth 

The damaged dipper tooth shall be replaced. 

Warning 

Prior to replacing the dipper tooth, the dipper shall be padded well, or not, it will 

result in personal injuries and death possibly. 


1.  Dismantle the pin from the snap ring side of the dipper tooth, and then dismantle 

tooth sleeve and snap ring; 


2. Clean the tooth, pin and snap ring, and install the snap ring in the groove at the side 

of the tooth; 

- 137 - 

3. Install a new tooth sleeve on the tooth; 

4. Drive the pin into the snap ring, tooth and tooth sleeve from the side of the snap 

ring.


9.2 Maintenance of Each 10 Working Hours or Every Day 

Before carrying out any operation or maintenance, the warnings and annotations 

in this manual’s safety chapter shall be read and understood.  

Engine oil 

Examine oil level. The oil shall not be excessive so as to avoid the engine 

from damage. 

1. Open the maintenance door at the side of the machine; 

2. Keep the oil level between the normal mark on the oil scale; 

3. If the oil requires to be added, open the oil filling cap to add oil; 

4. Clean the oil filling cap and install it. 

5. Close the maintenance door. 

Transmission fluid 

Examine the oil level. The transmission fluid scale is located at the left side of the 

machine. 

1. In low-speed idling, the oil level shall be kept between two scales of the oil scale; 

2. The oil shall be added depending on demand; 

- 138 - 

3. Clean the oil filling cap and install it. 


Hydraulic oil 

Examine the oil level. The hydraulic oil box is situated behind the cab and 

hydraulic oil’s level is at left side. 

1. Keep the oil level at the middle of the oil level gauge; 

2. If the oil requires to be added, open the oil filling cap to add oil with an oil tube; 

3. Clean the oil filling cap and install it. 

In oil filling, the dipper shall be leveled on the ground. 

Cooling system 

Examine the level of the coolant. The radiator cap is located in the engine hood 

behind the machine. 

1. Open the maintenance door on the engine hood; 

2. Unfasten the radiator cap slowly to release the pressure; 

3. Keep the level of the coolant within 1cm under the water filter. If the water 

requires to be filled every day, please examine the leakage. 

4. Examine the sealing of the cap. Any damaged cap shall be replaced; 

5. Mount the cap and close up the maintenance door. 

Fuel box 

Discharged water and precipitate 

The fuel box is located at back of the machine, and the discharging screw plug is 

located at the right bottom of the fuel box. 

1. Release the discharging screw plug slowly to discharge the water and precipitate. 

2. Fasten the discharging screw plug. 

Round examination over machine 

Examine machine 

1. Examine whether the working device and linkage gear are worn. Any damaged 

one shall be replaced; 

2. Examine whether bulbs and glass are damaged. Any damaged one shall be 

replaced; 

- 139 - 

3. Examine and remove the dust and foreign substance on the engine hood; 

4. Examine leakage of cooling system, hose failure and dust accumulation status. 

The leakage shall be removed and foreign substance on the radiator shall be got 

rid of; 

5. Examine the leakage status of the hydraulic system; examine the oil box, soft and 

hard tubs, screw plug, and joints. Any leakage shall be removed; 

6. Examine the leakage status of front and rear differential gears, final transmission, 

and wet brake; 

7. Examine the leakage status of the transmission box; 

8. Examine damage and pressure of tyres; 

9. Examine whether the covers and hoods are closed and whether they are damaged; 

10.  Examine ladder, aisle and railing and their cleanness; 

11.  Examine the cleanness of the cab; 

12.  Examine whether the instruments and switches are damaged. Any damaged one 

shall be replaced; 

13.  Examine the rear bumper for optimal vision. 

Cleaning of glass window   

Clean glass windows with common glass cleaner. Open the windows. 

Meters and lamp 

Start the engine to examine whether the meter, meter glass and switch are 

damaged; examine all lamps; blow the electrical horn and turn off the engine. 

9.3 Maintenance of A New Loader after Service for 50 Hours   

Replace the oil of differential gear and final transmission of the front and rear 

axles 

Maintain according to the following requirements (except otherwise herein provided); 

1. Disassemble the oil drain plug of front axle and rear axle, and discharge the oil. 

2. Clean the oil drain plug and reinstall it. 

3. Disassemble the oil drain plug of front axle and rear axle, and refuel the axle 

through the oil filling port till bleeding. See figures and tables in “the viscosity 


Content   ..  31  32  33  34   ..